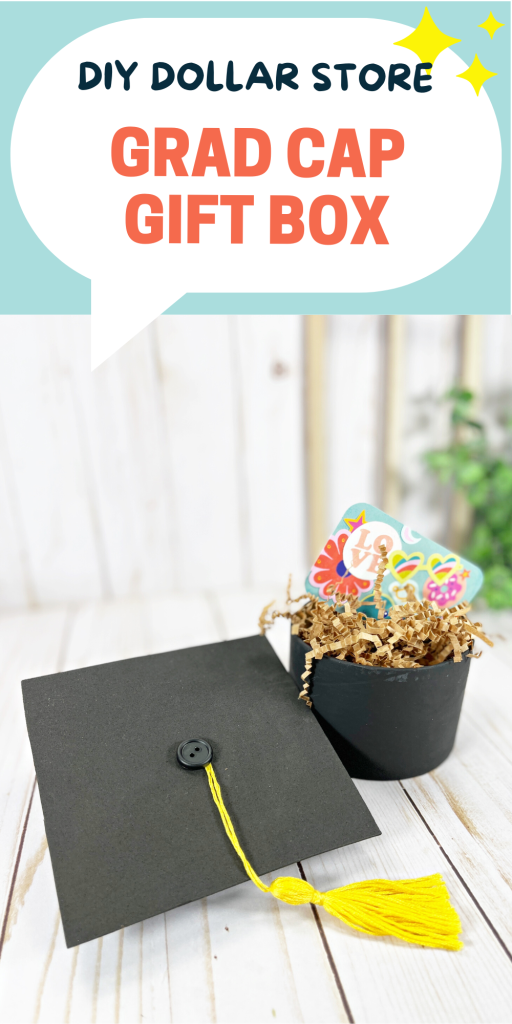
Take simple supplies from your local dollar store and create a quick, easy, and absolutely adorable grad cap gift box. You can make this in about half an hour and can even customize it to match the school colors.
What can you use this box for? Small gifts like jewelry will fit, but this is also the perfect way to present a gift card to the graduate. Such a great gift!
Check out this adorable grad cap mason jar too!
DOLLAR STORE GRAD CAP GIFT BOX CRAFT
Materials:
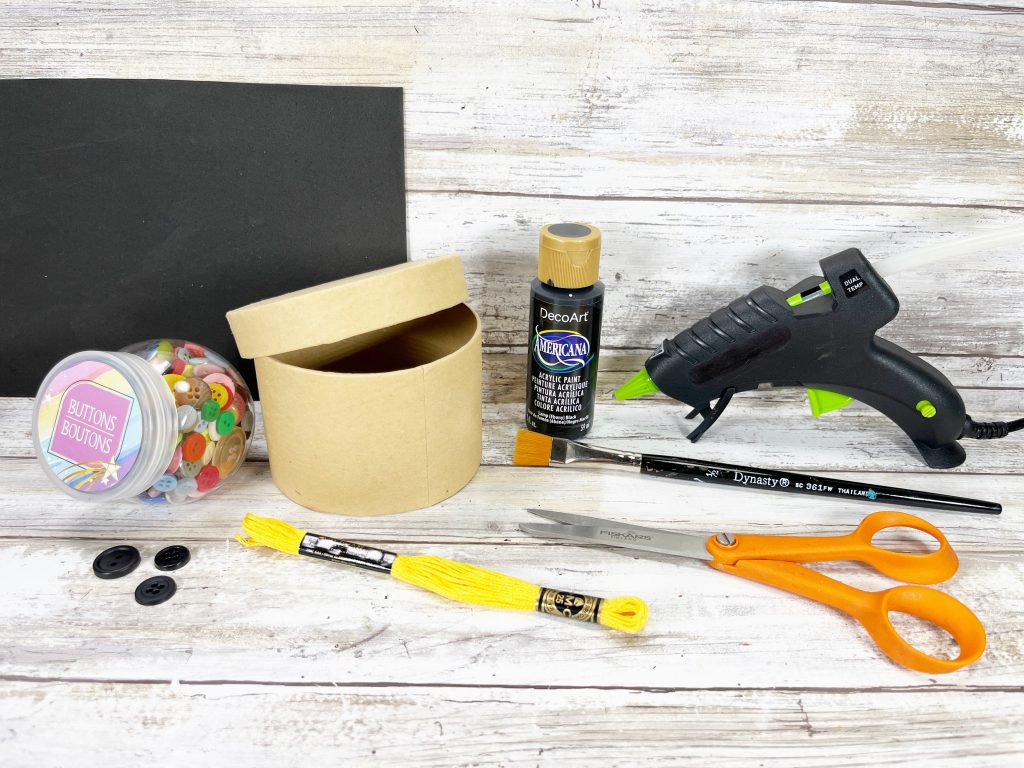
- Paper Mache Box, 4” Round – Dollar Store
- Craft Foam, Black – Dollar Store
- Embroidery Floss Skein – Yellow
- Button, Black – Dollar Store
- Glue Gun and Glue Sticks – Dollar Store
- Acrylic Craft Paint – Black
- Paintbrush
- Scissors
- Ruler
- Pencil
- PATTERN GRAD CAP

Instructions:
STEP ONE
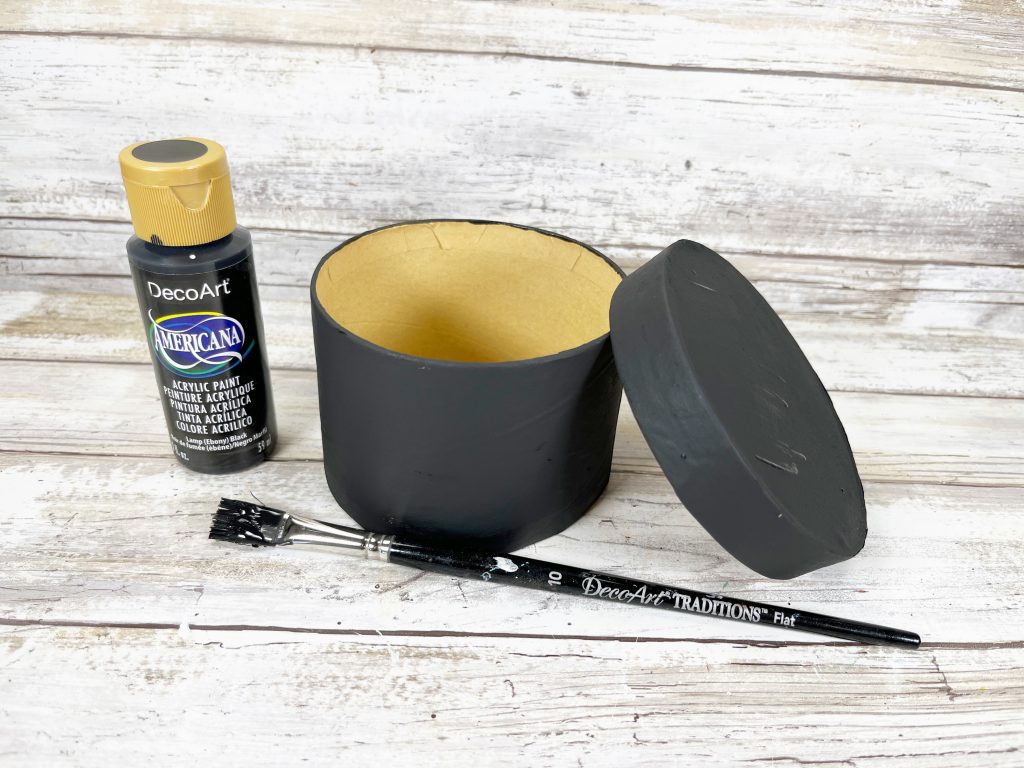
Gather all supplies. Remove the labels and packaging from the supplies. Basecoat the lid and base of the round paper mache box with black acrylic craft paint. Let dry, and apply a second coat, if necessary.
STEP TWO
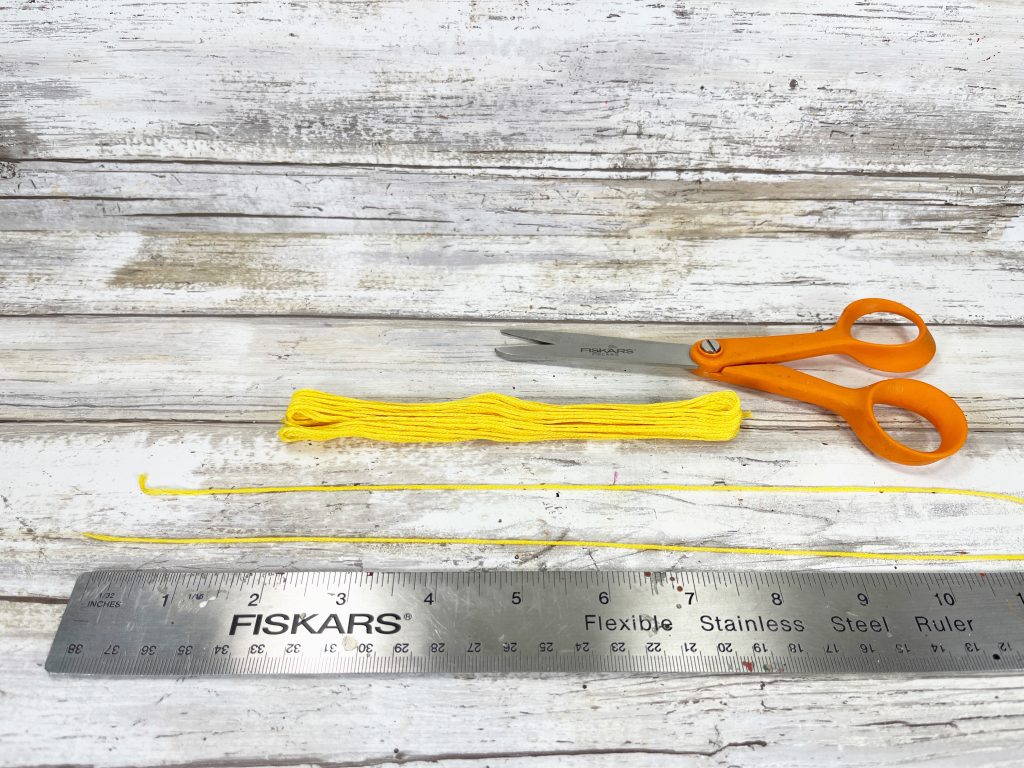
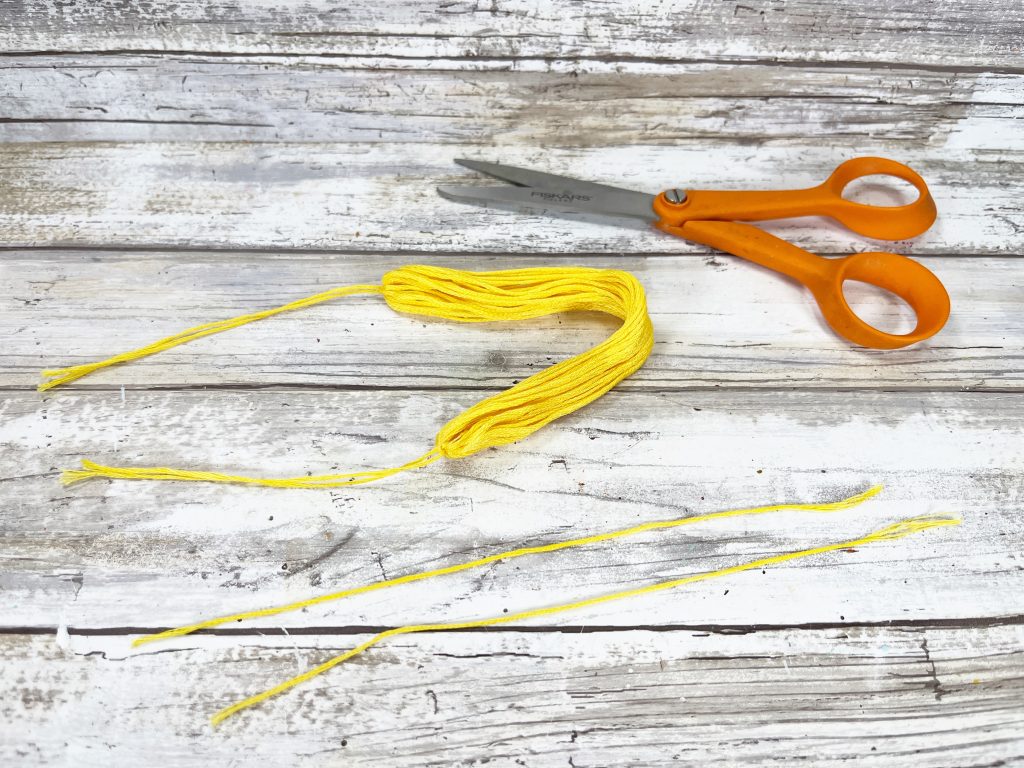
Remove the labels from the embroidery floss skein, then measure and cut four lengths that are 12 inches each. Open the middle of the skein of floss. Tie and knot one of the embroidery floss lengths through and around each of the loops at the ends of the skein.
STEP THREE
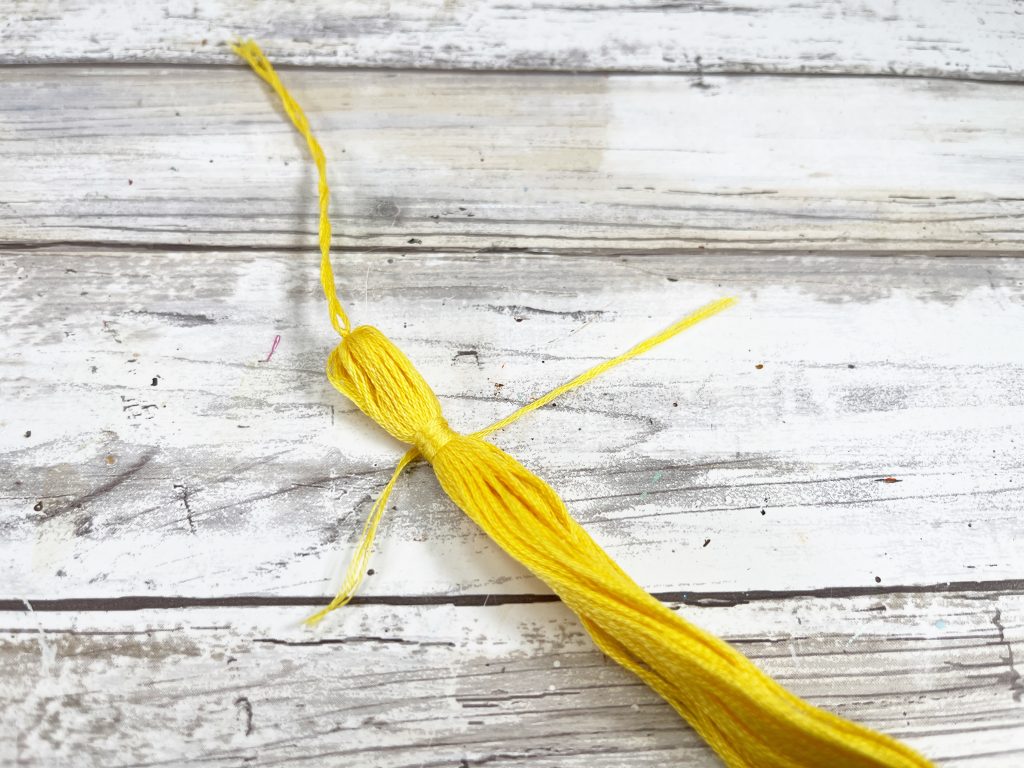
Approximately three quarters of an inch down from the top knot, tie one length of embroidery floss around the skein, securing with a knot. Wrap each end around the skein three times. Wrap one to the left and one to the right. Secure again with a knot. Repeat on the opposite end of the skein.
STEP FOUR
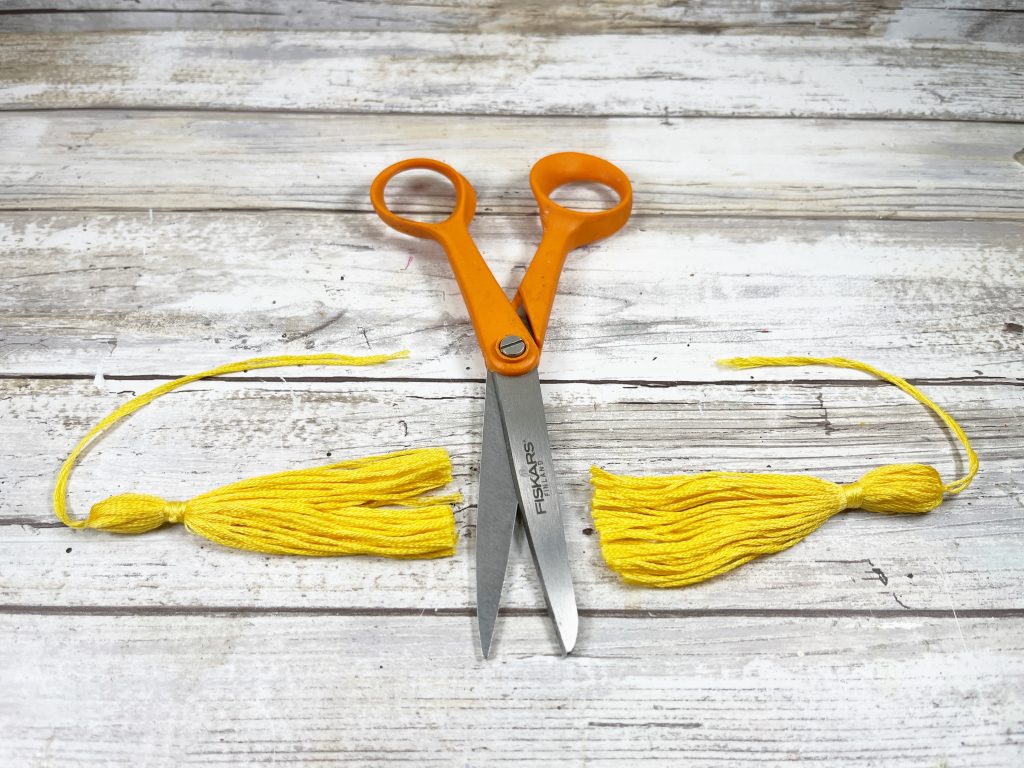
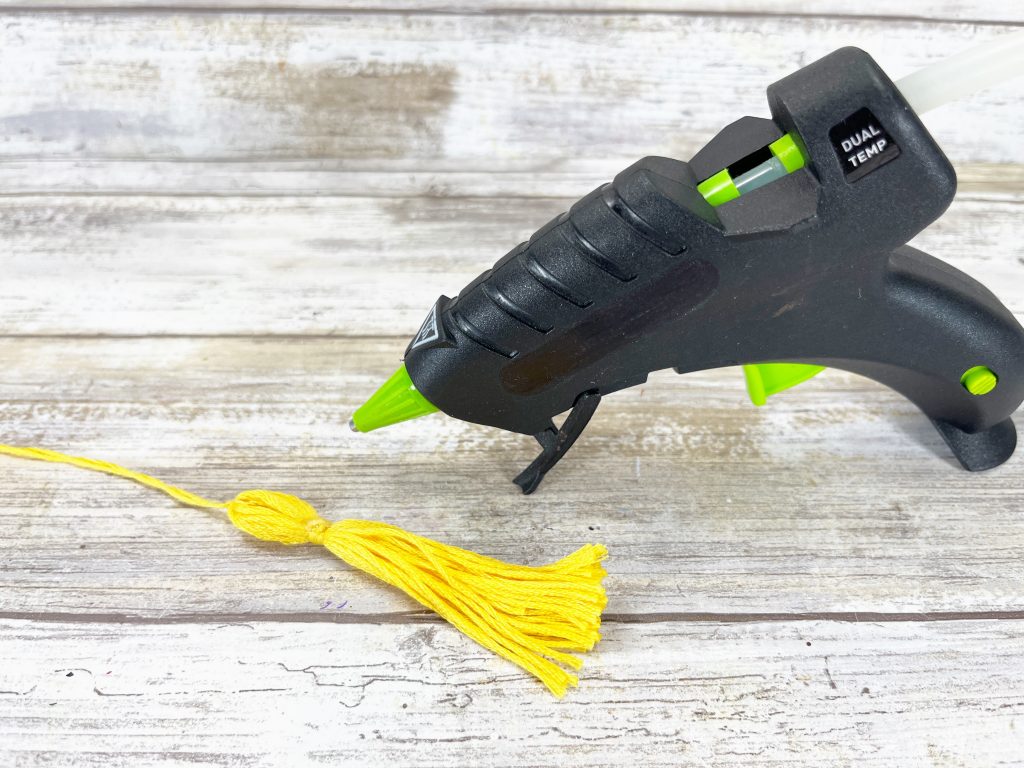
Trim the longs ends of the wrapped embroidery floss with scissors. Measure and cut the skein of embroidery floss in half at the three inch mark with scissors. Secure the knots with a small dot of glue from the glue gun.
STEP FIVE
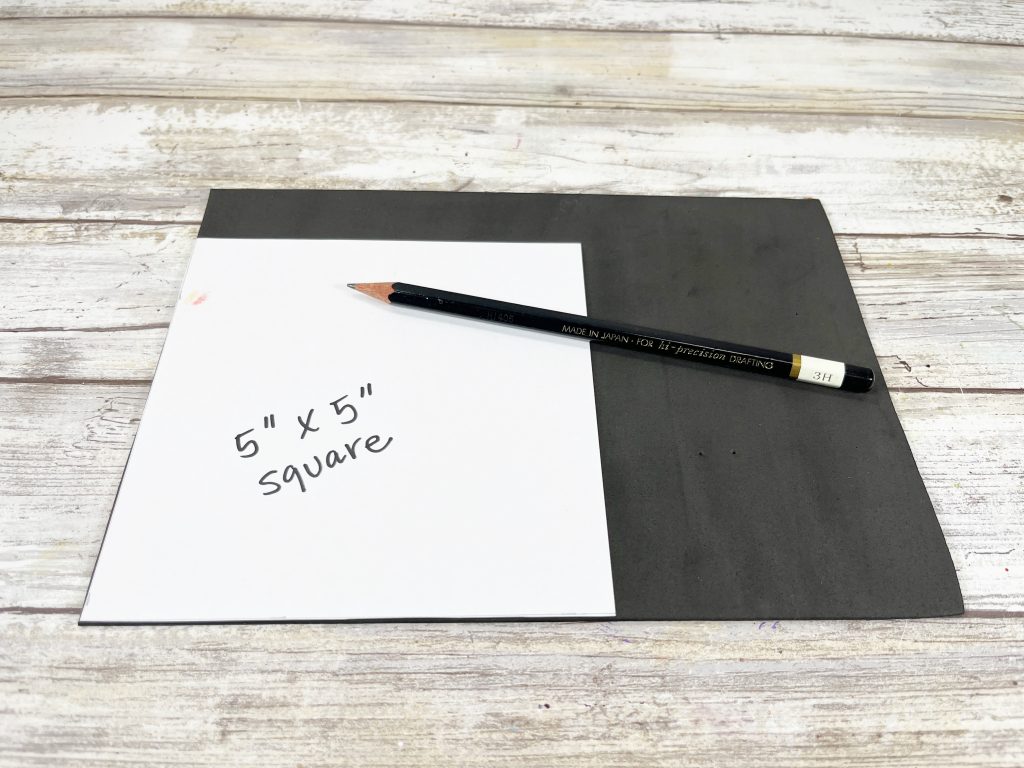
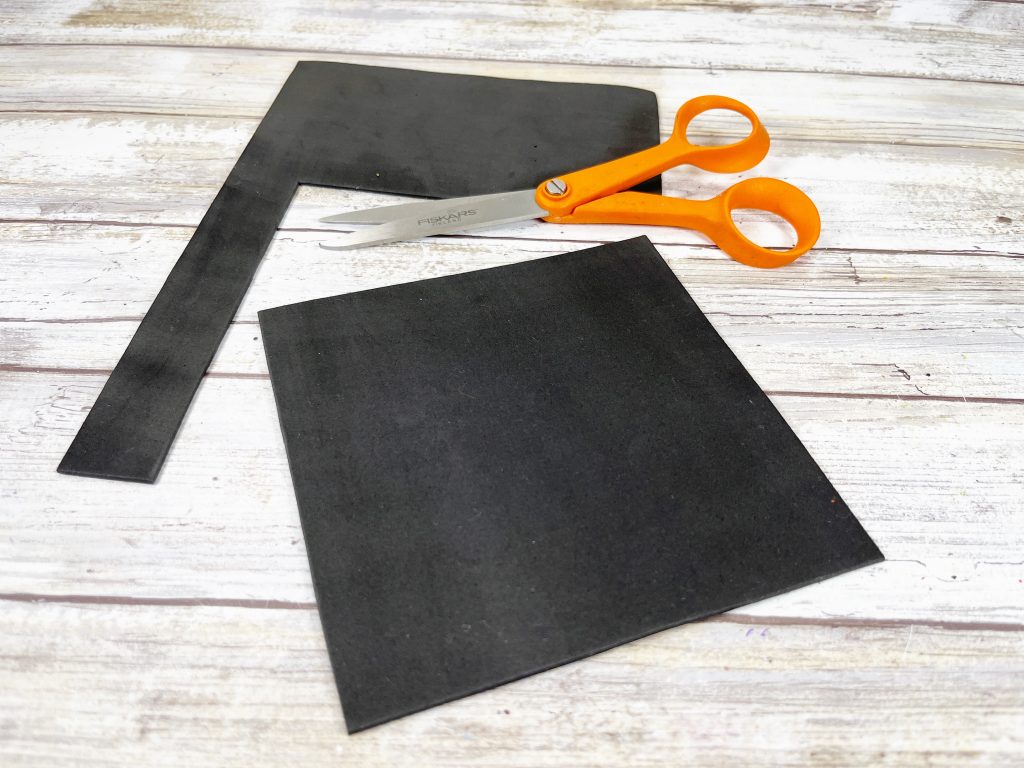
Download and print the grad cap pattern. Cut out the pattern with scissors. Trace onto black craft foam with a pencil, and then cut out with scissors.
STEP SIX
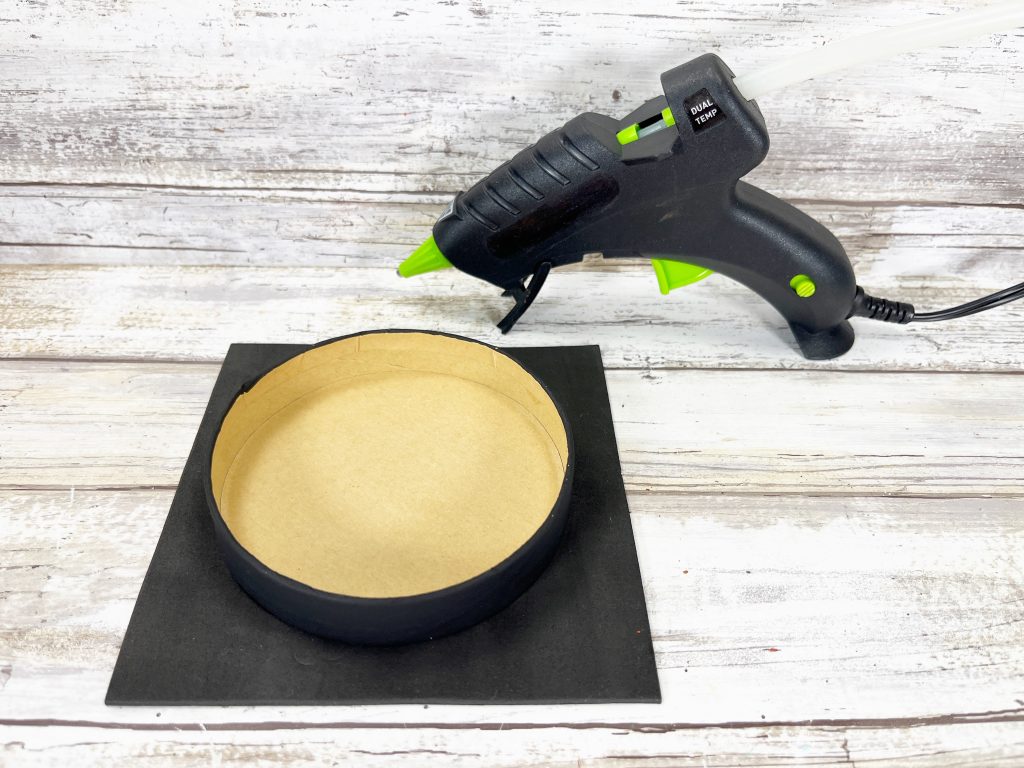
Attach the craft foam square to the top of the paper mache box lid with a glue gun and glue sticks.
STEP SEVEN
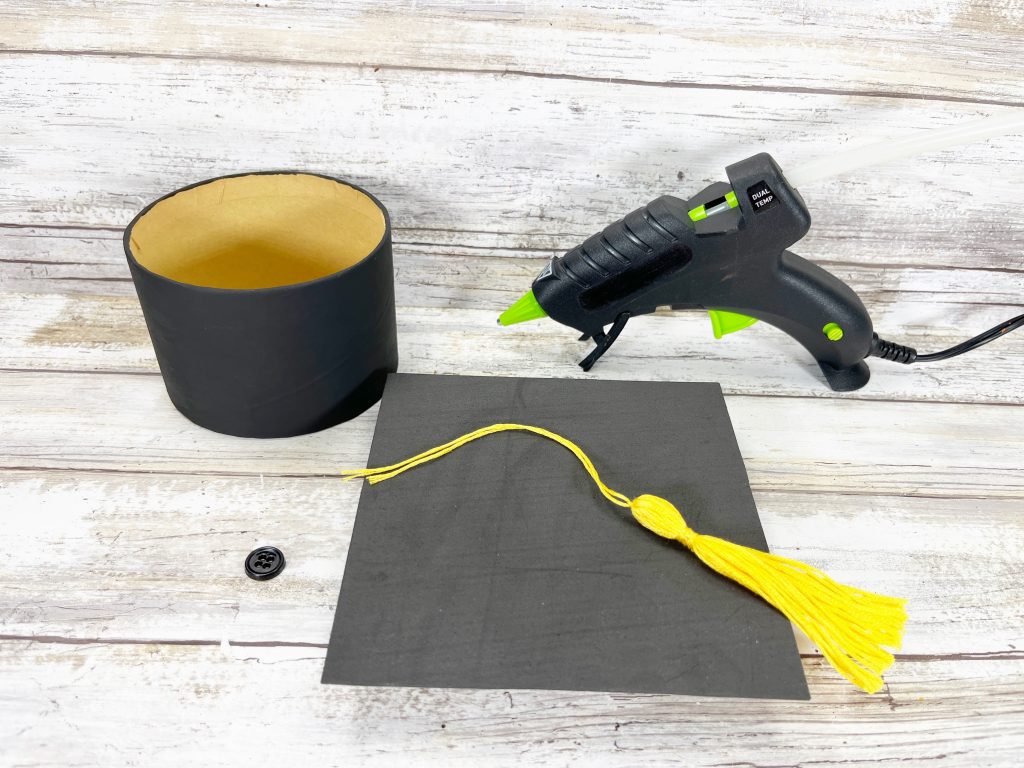
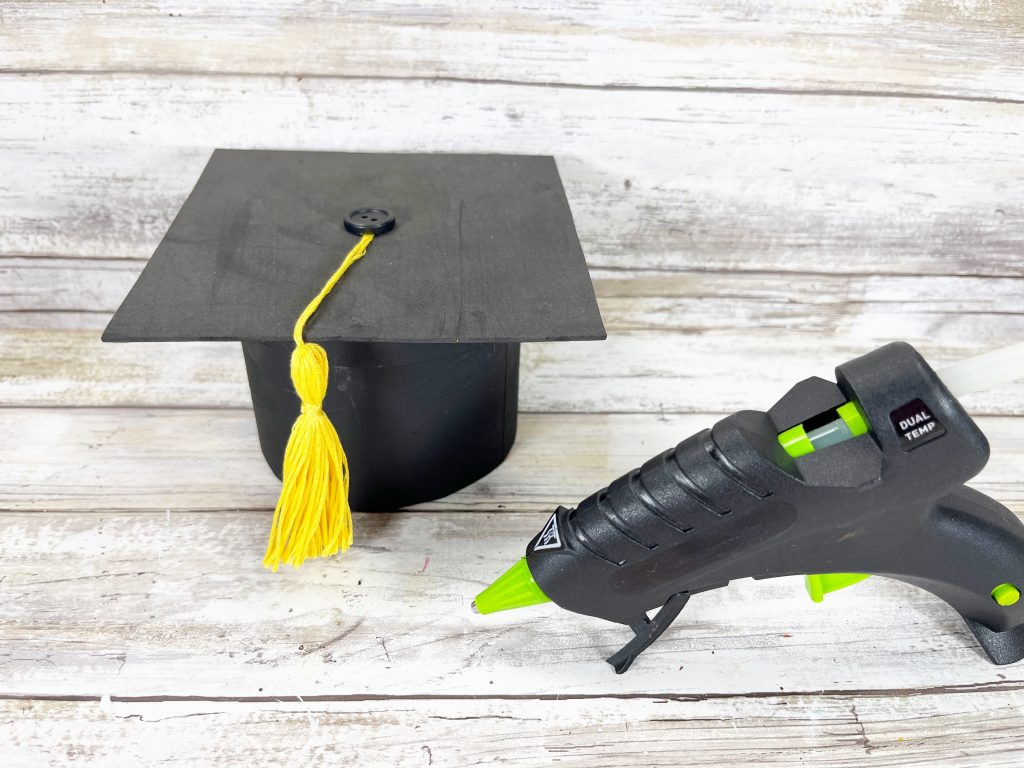
Flip the box lid over and lay the tassel out on top. Trim the tassel loop with scissors and attach to the center on the gift box lid with a glue gun and glue sticks. To finish, glue the button on top of the tassel loop to cover the cut end.

Leave a Reply