Do you have a lot of birds in your backyard? We sure do! In fact, we have a pair of cardinals, a pair of blue jays, and a pair of robins who nest back there every spring/summer. One time, after a heavy rain put so much water in the back corner of our yard that it looked like a pond, we ended up with a pair of mallard ducks one day and a blue heron another.
This makes my little animal-loving heart very happy. So, I try to keep the birds happy too in hopes that they keep coming back. This DIY Upcycled Milk Carton Washi Tape Bird Feeder is so simple to make and so adorable. I’m hoping to get my grand-niece and nephew to help me make some so I can fill the trees with them!
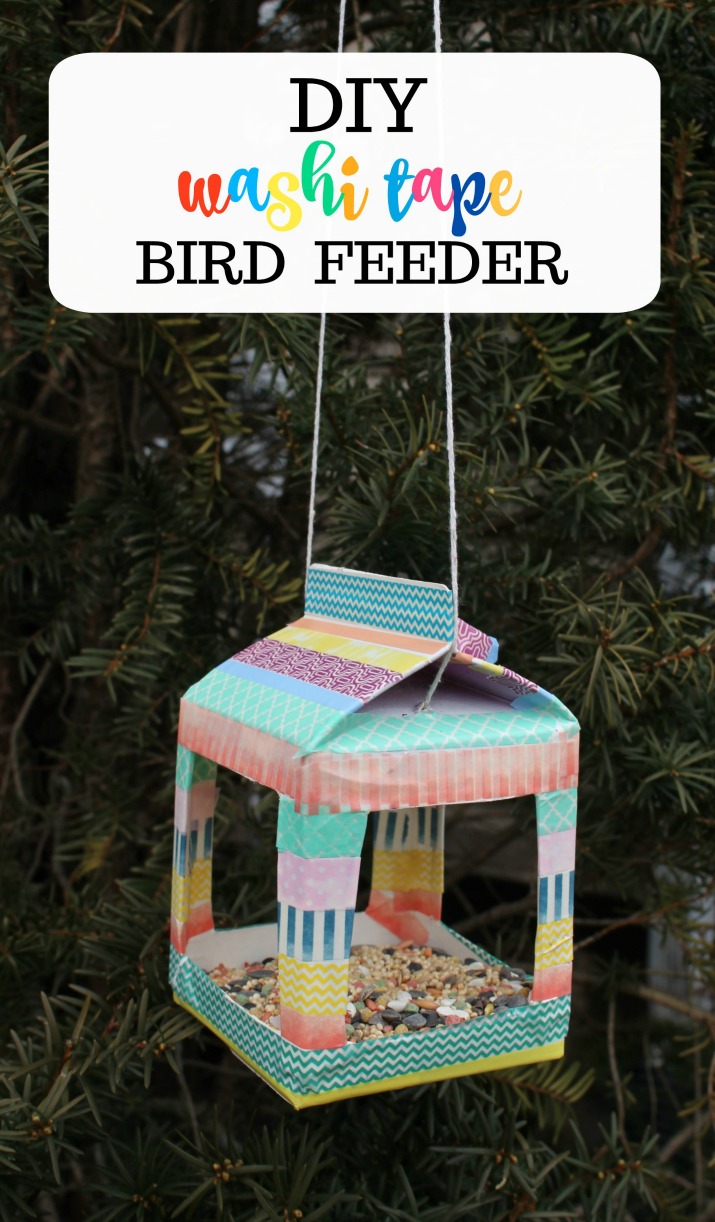
DIY Upcycled Milk Carton Washi Tape Bird Feeder
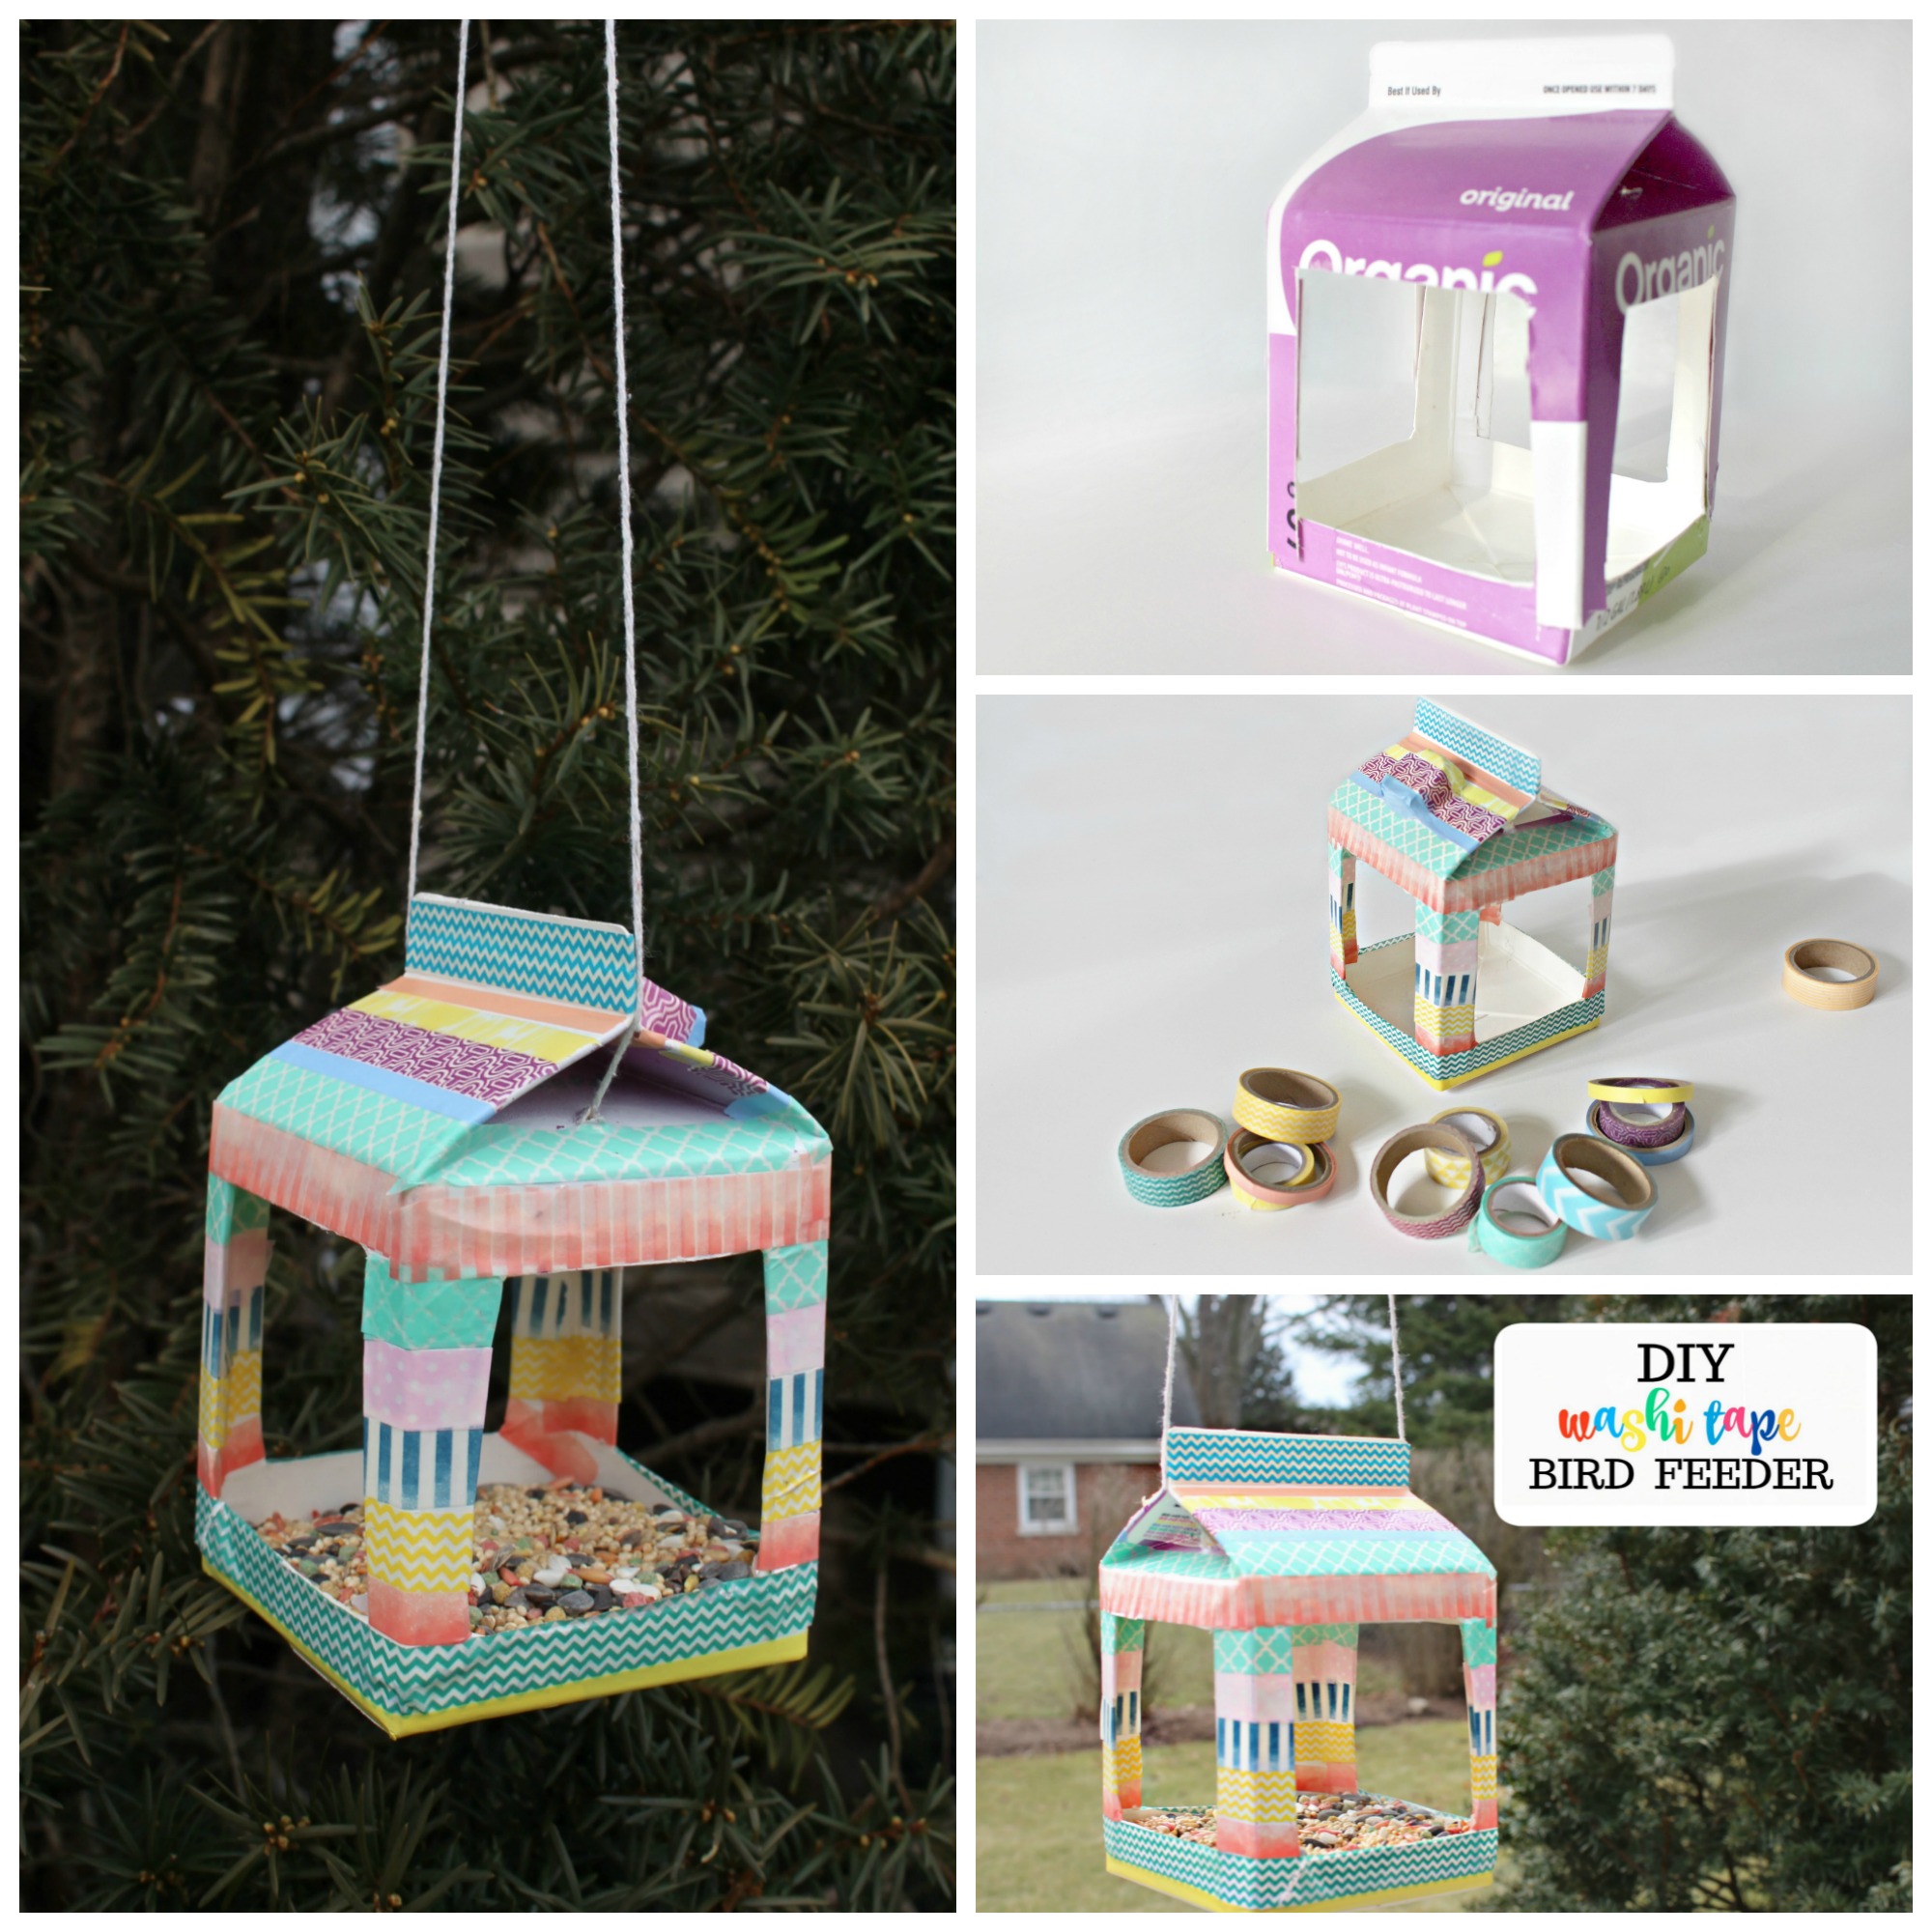
Supplies:
- Empty Milk Carton (clean and dry)
- Craft Scissors
- Hot glue gun
- White Spray Paint (use outside and wear a mask)
- Various Rolls of Washi Tape
- Roll of twine
Be sure to take proper safety precautions. Adults will need to help with the cutting and gluing as needed depending on kids’ ages and skill levels. The spray painting is definitely an adult job.
Instructions:
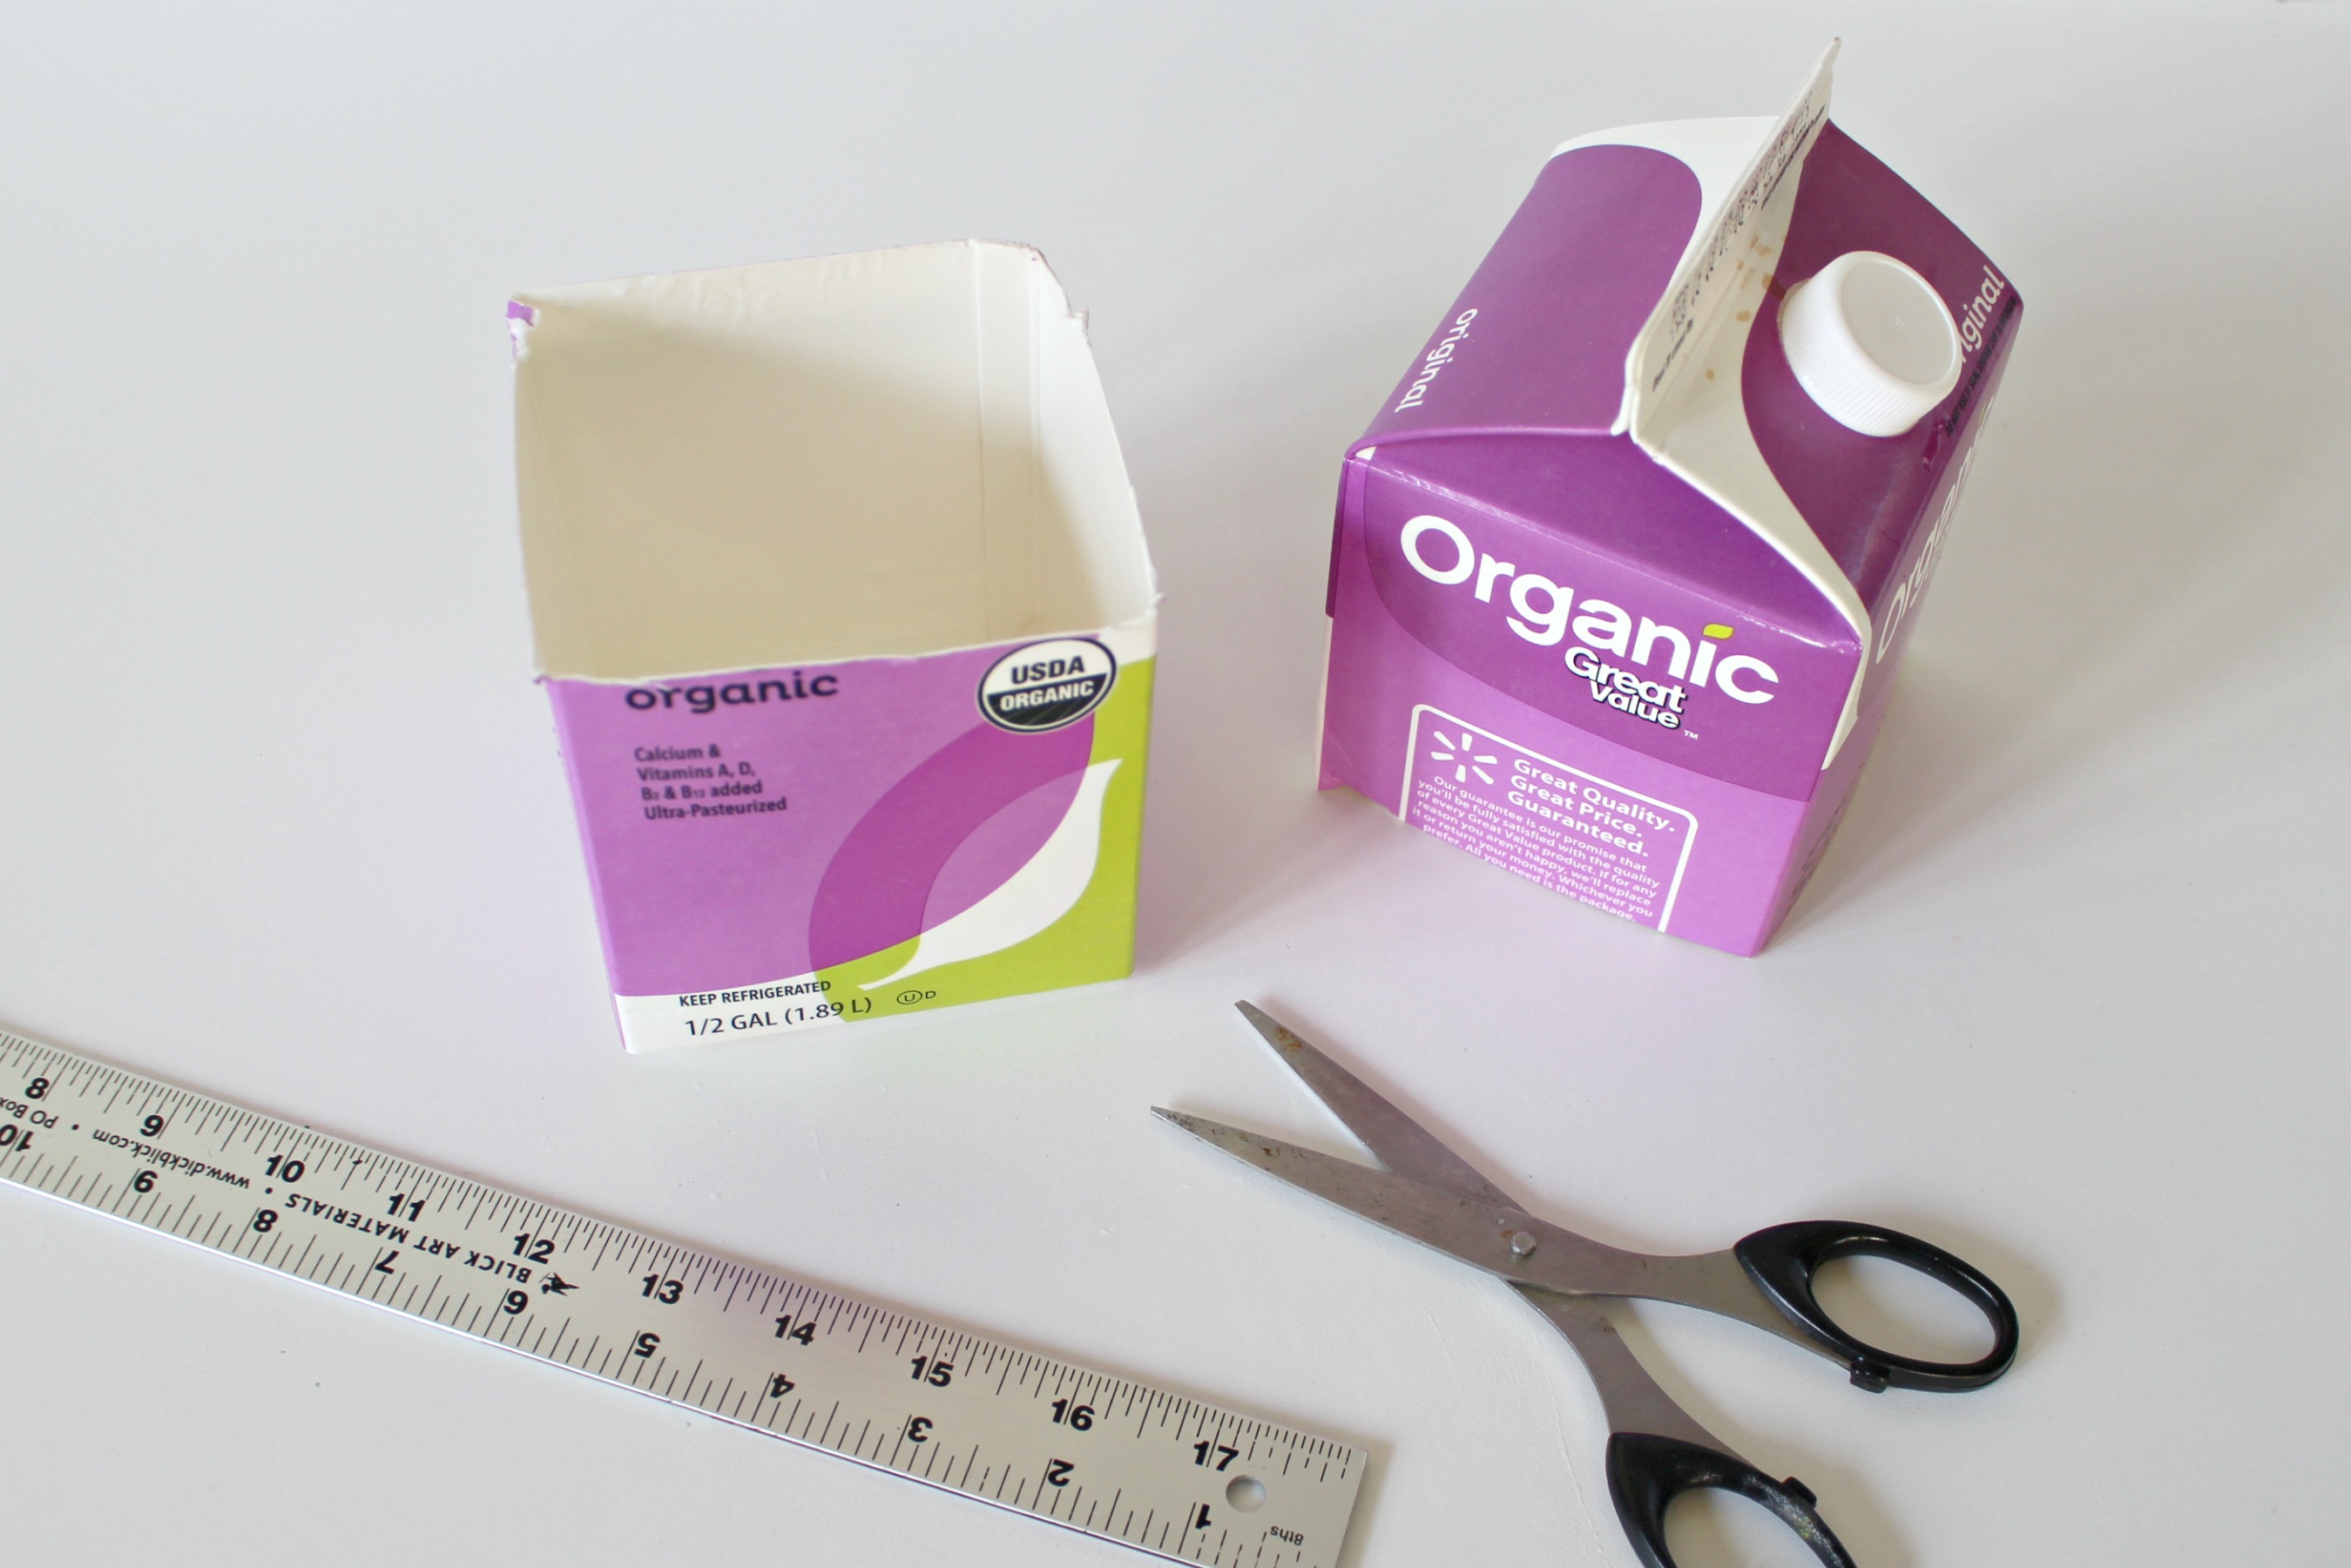
Step 1 Cut the milk carton in half, 4 inches up from the bottom.
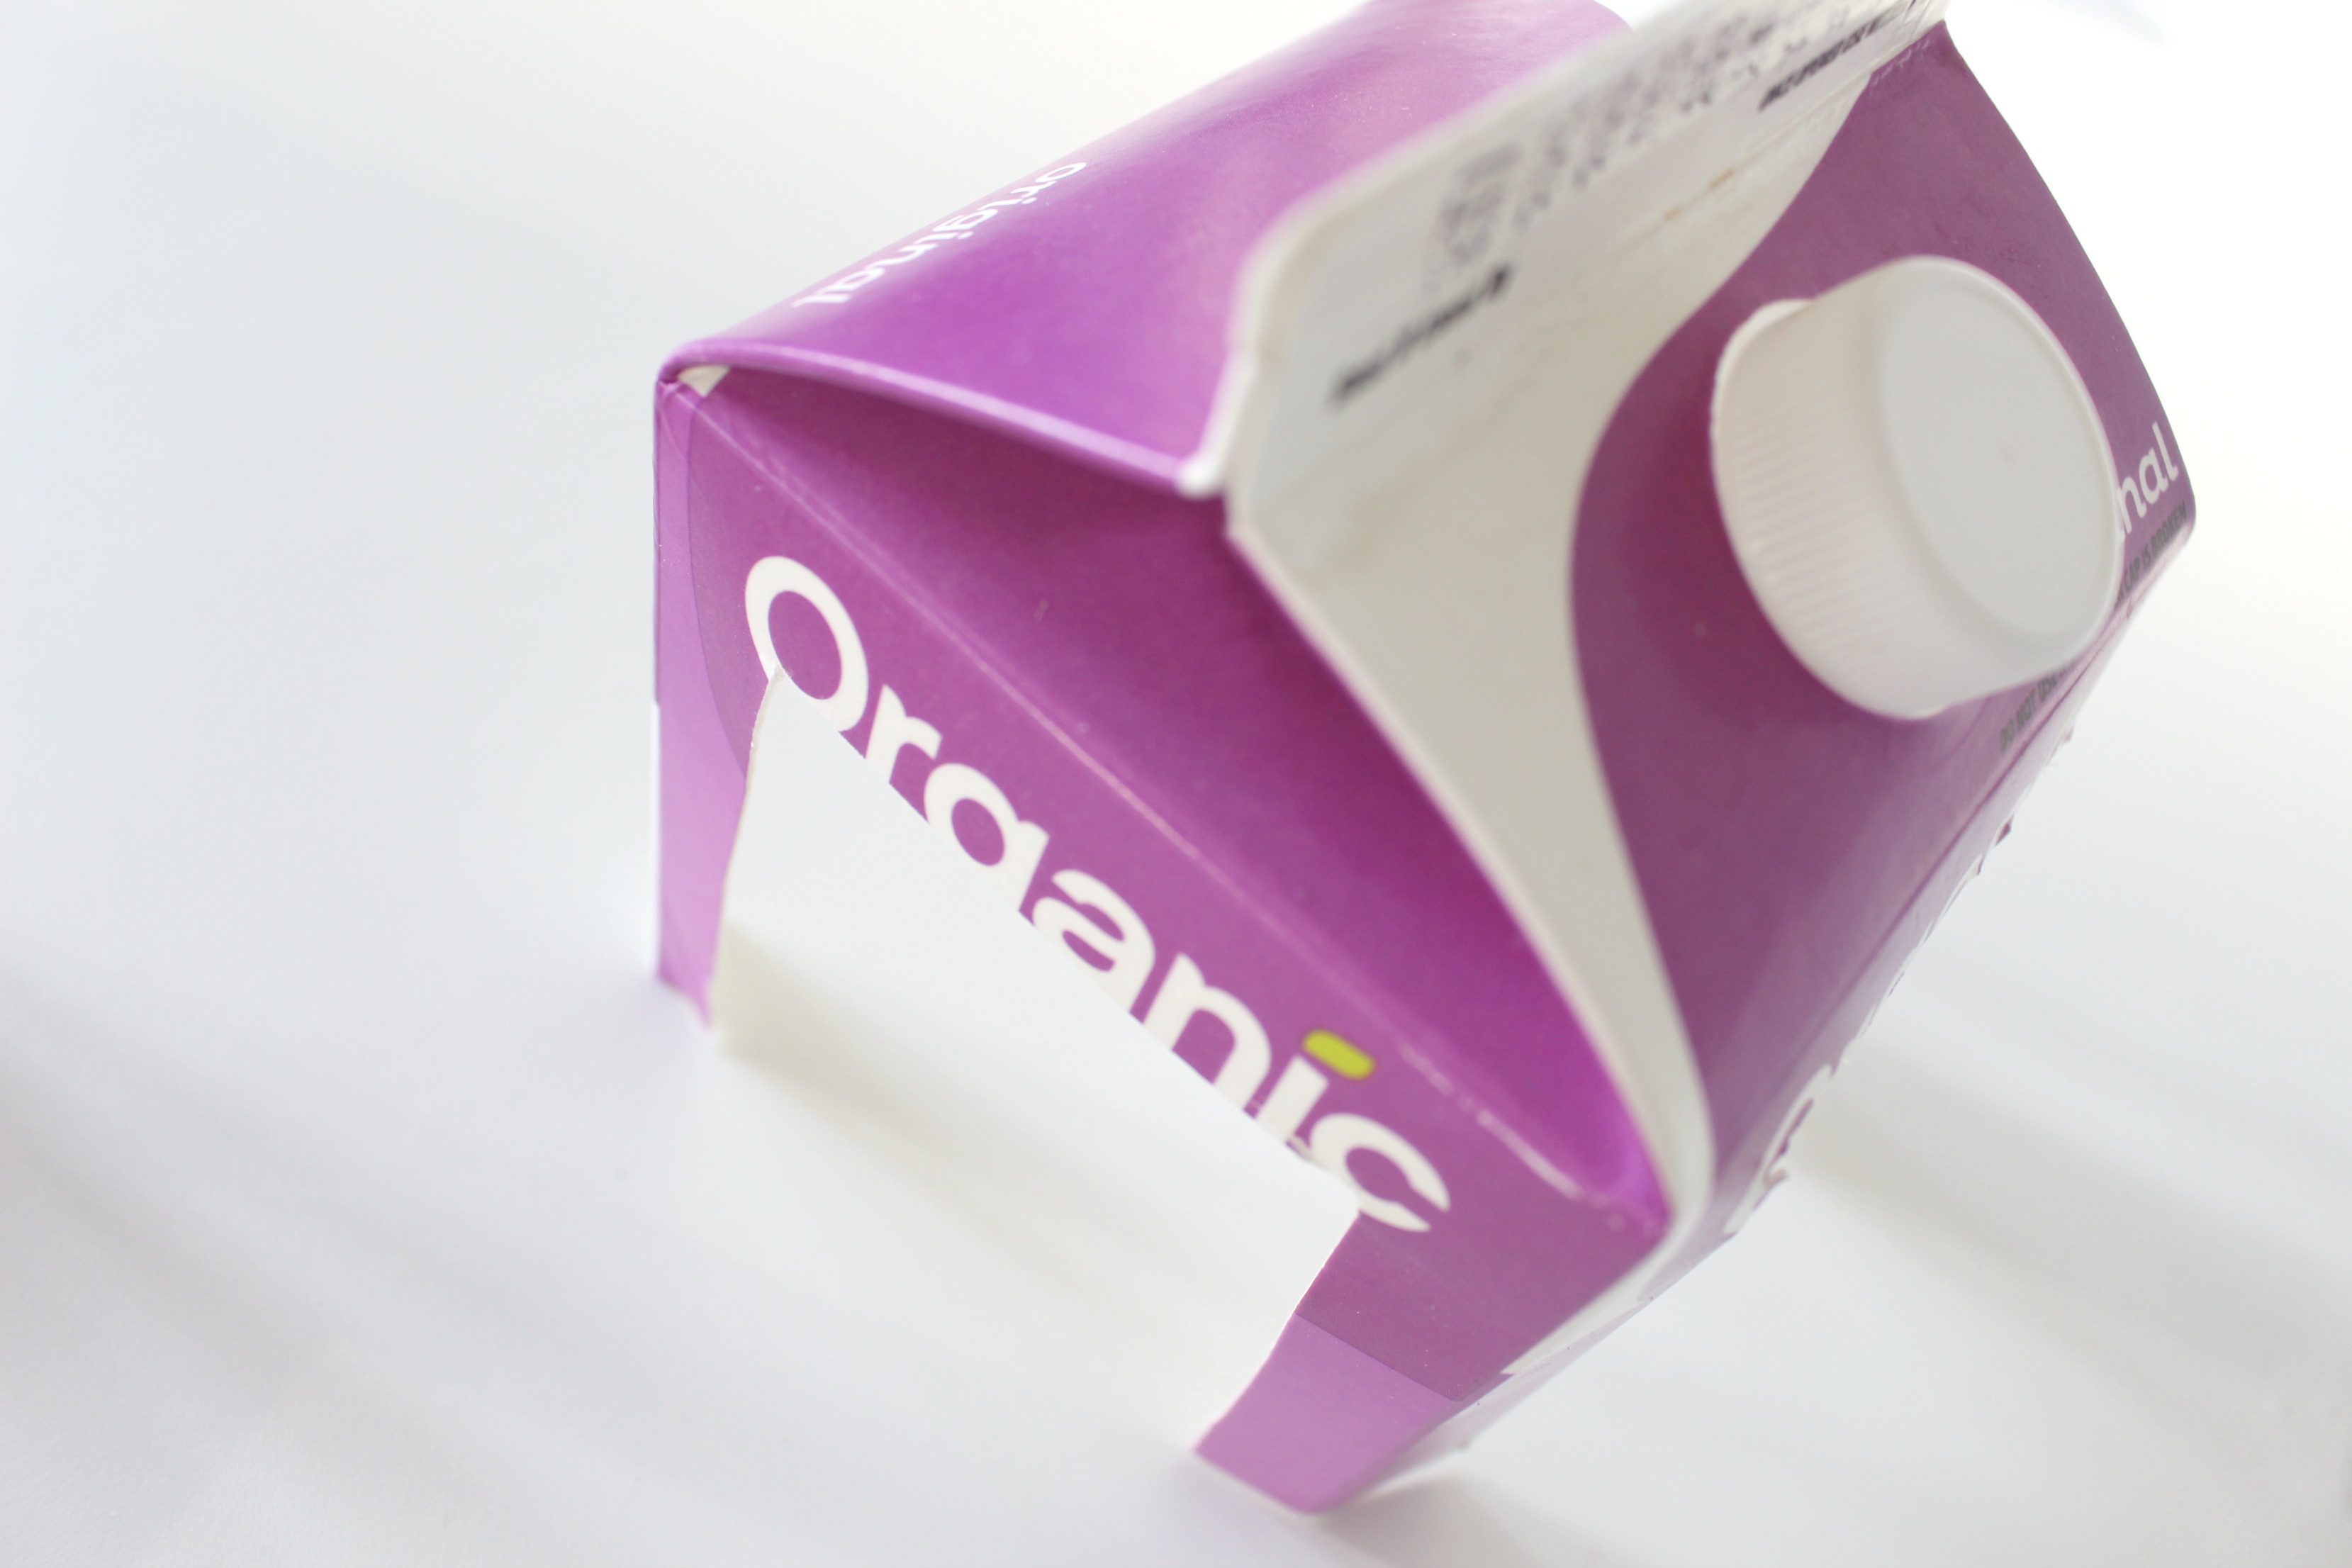
Step 2. On the top half of the milk carton, measure a rectangle that is ¼ inch in from each corner and ¼ inch from the top. Following your lines, cut out each side of the milk carton.
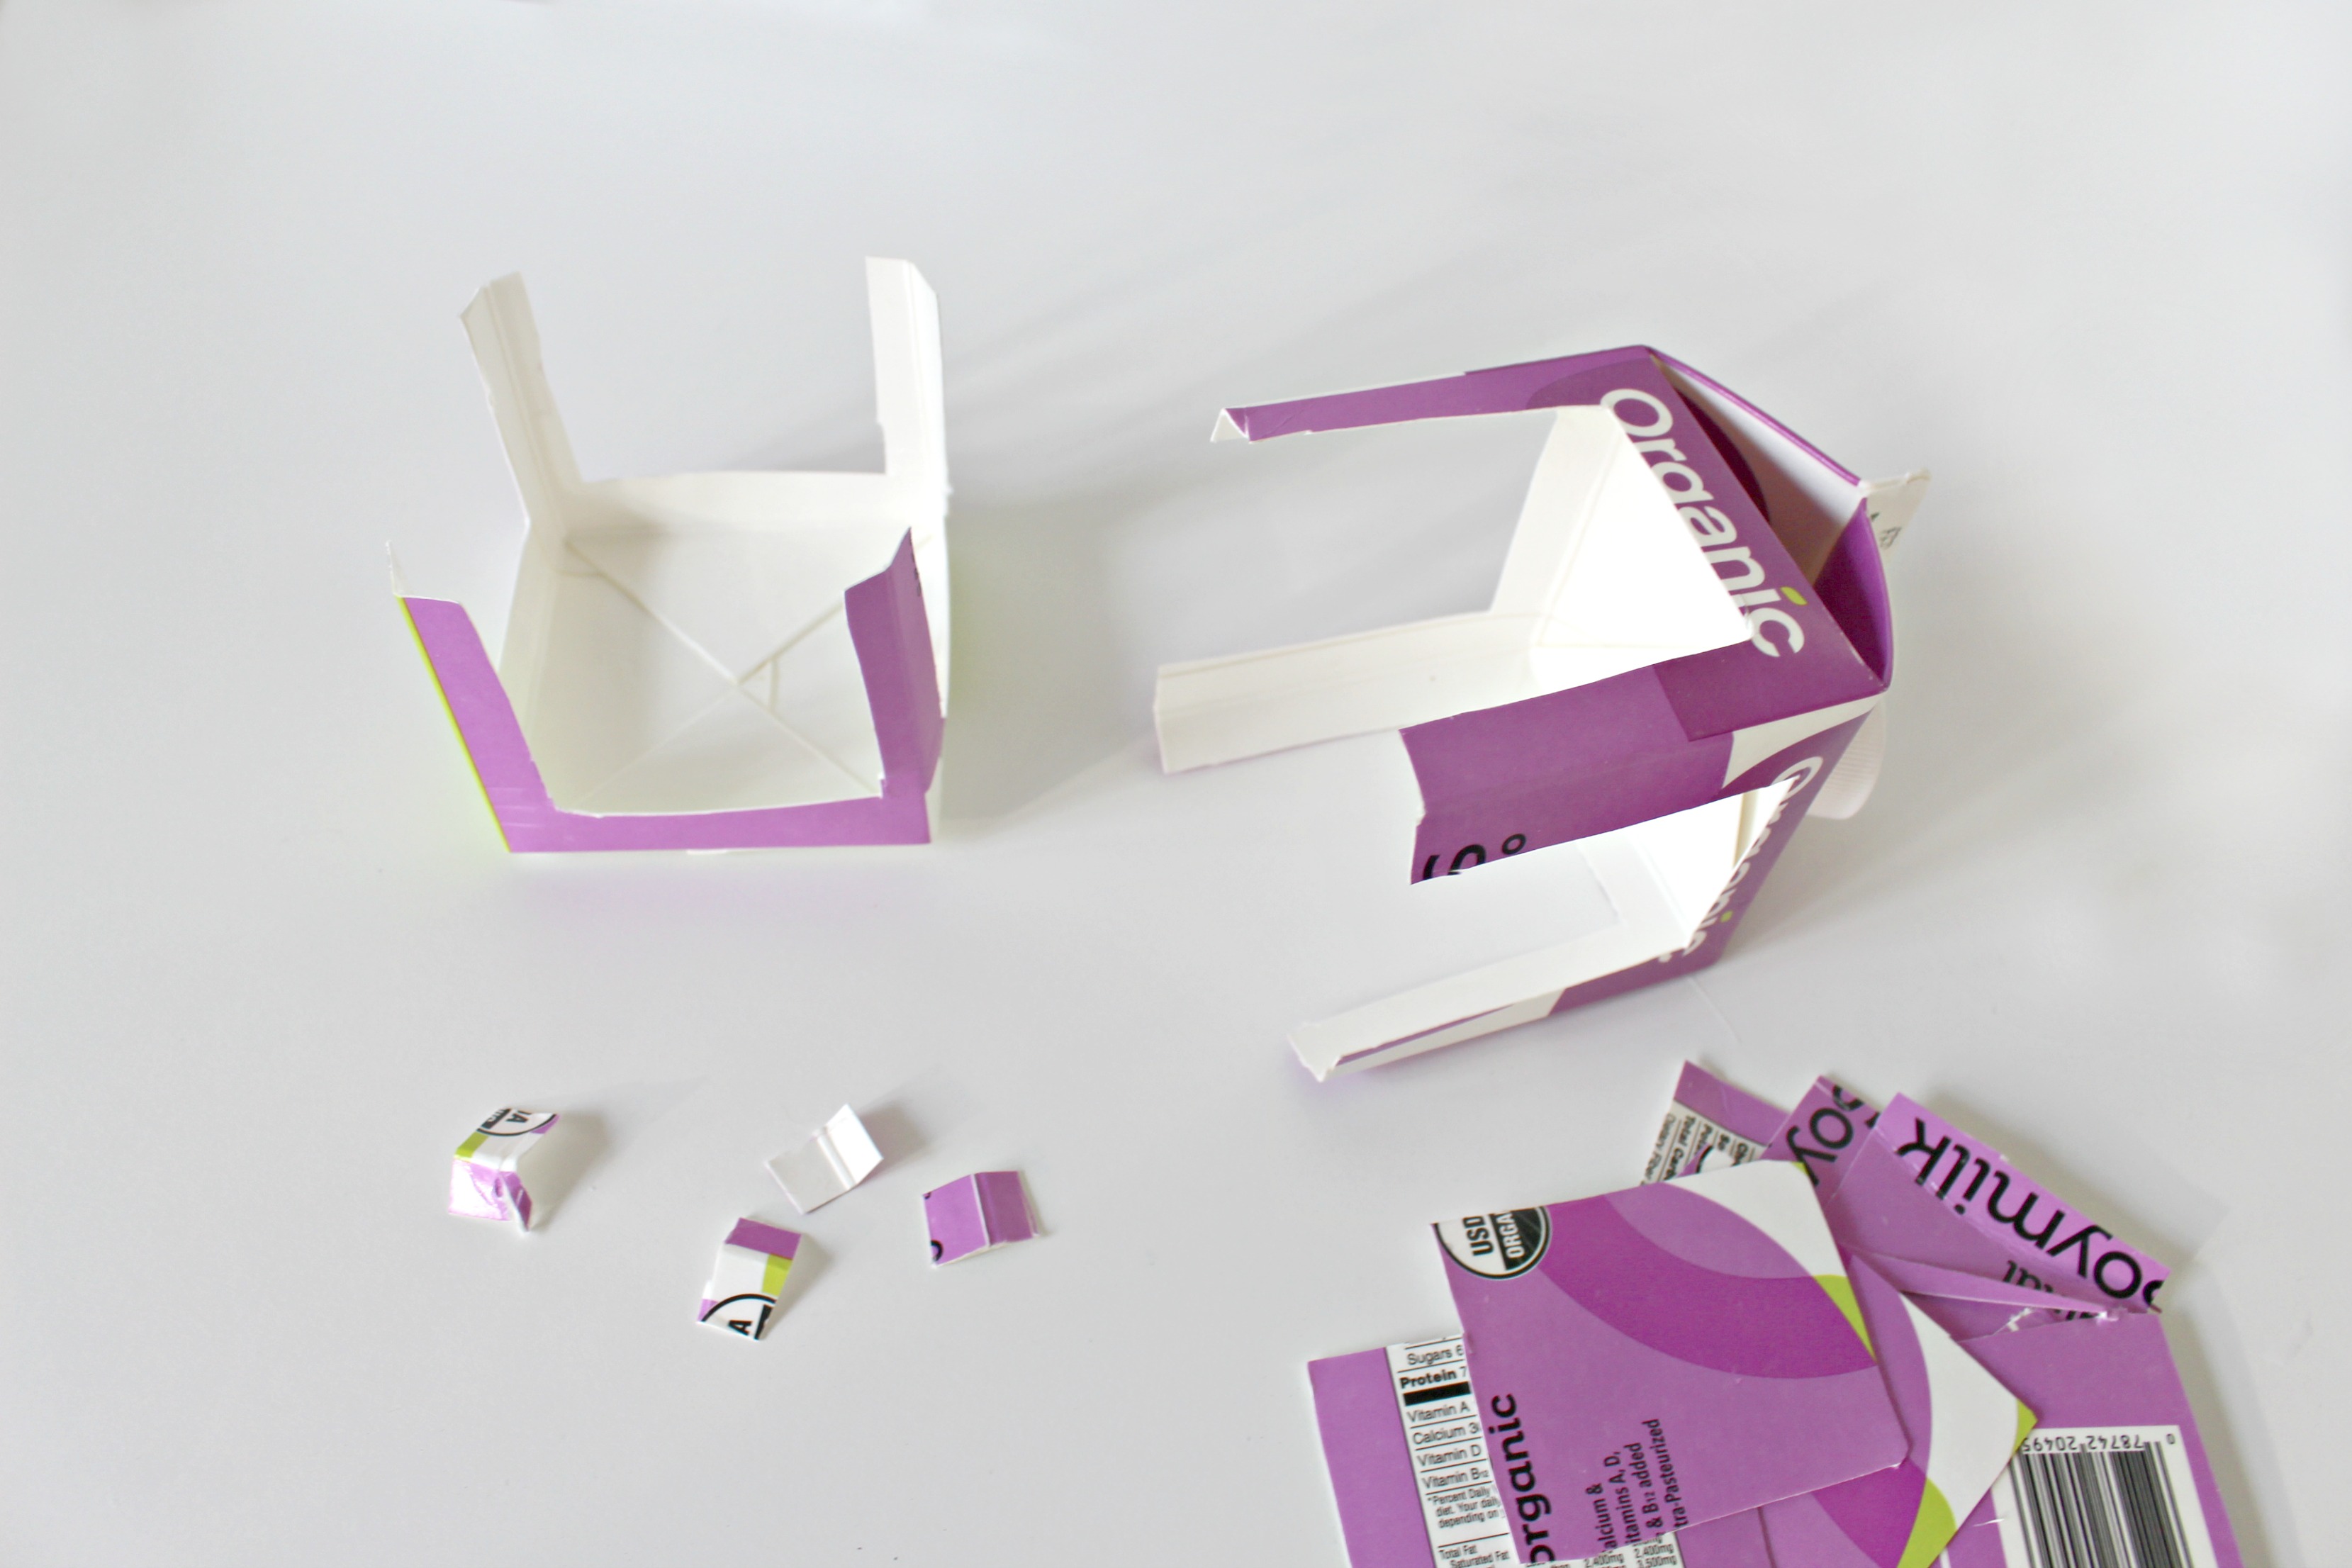
Step 3. Do the same thing to the bottom of the milk carton.
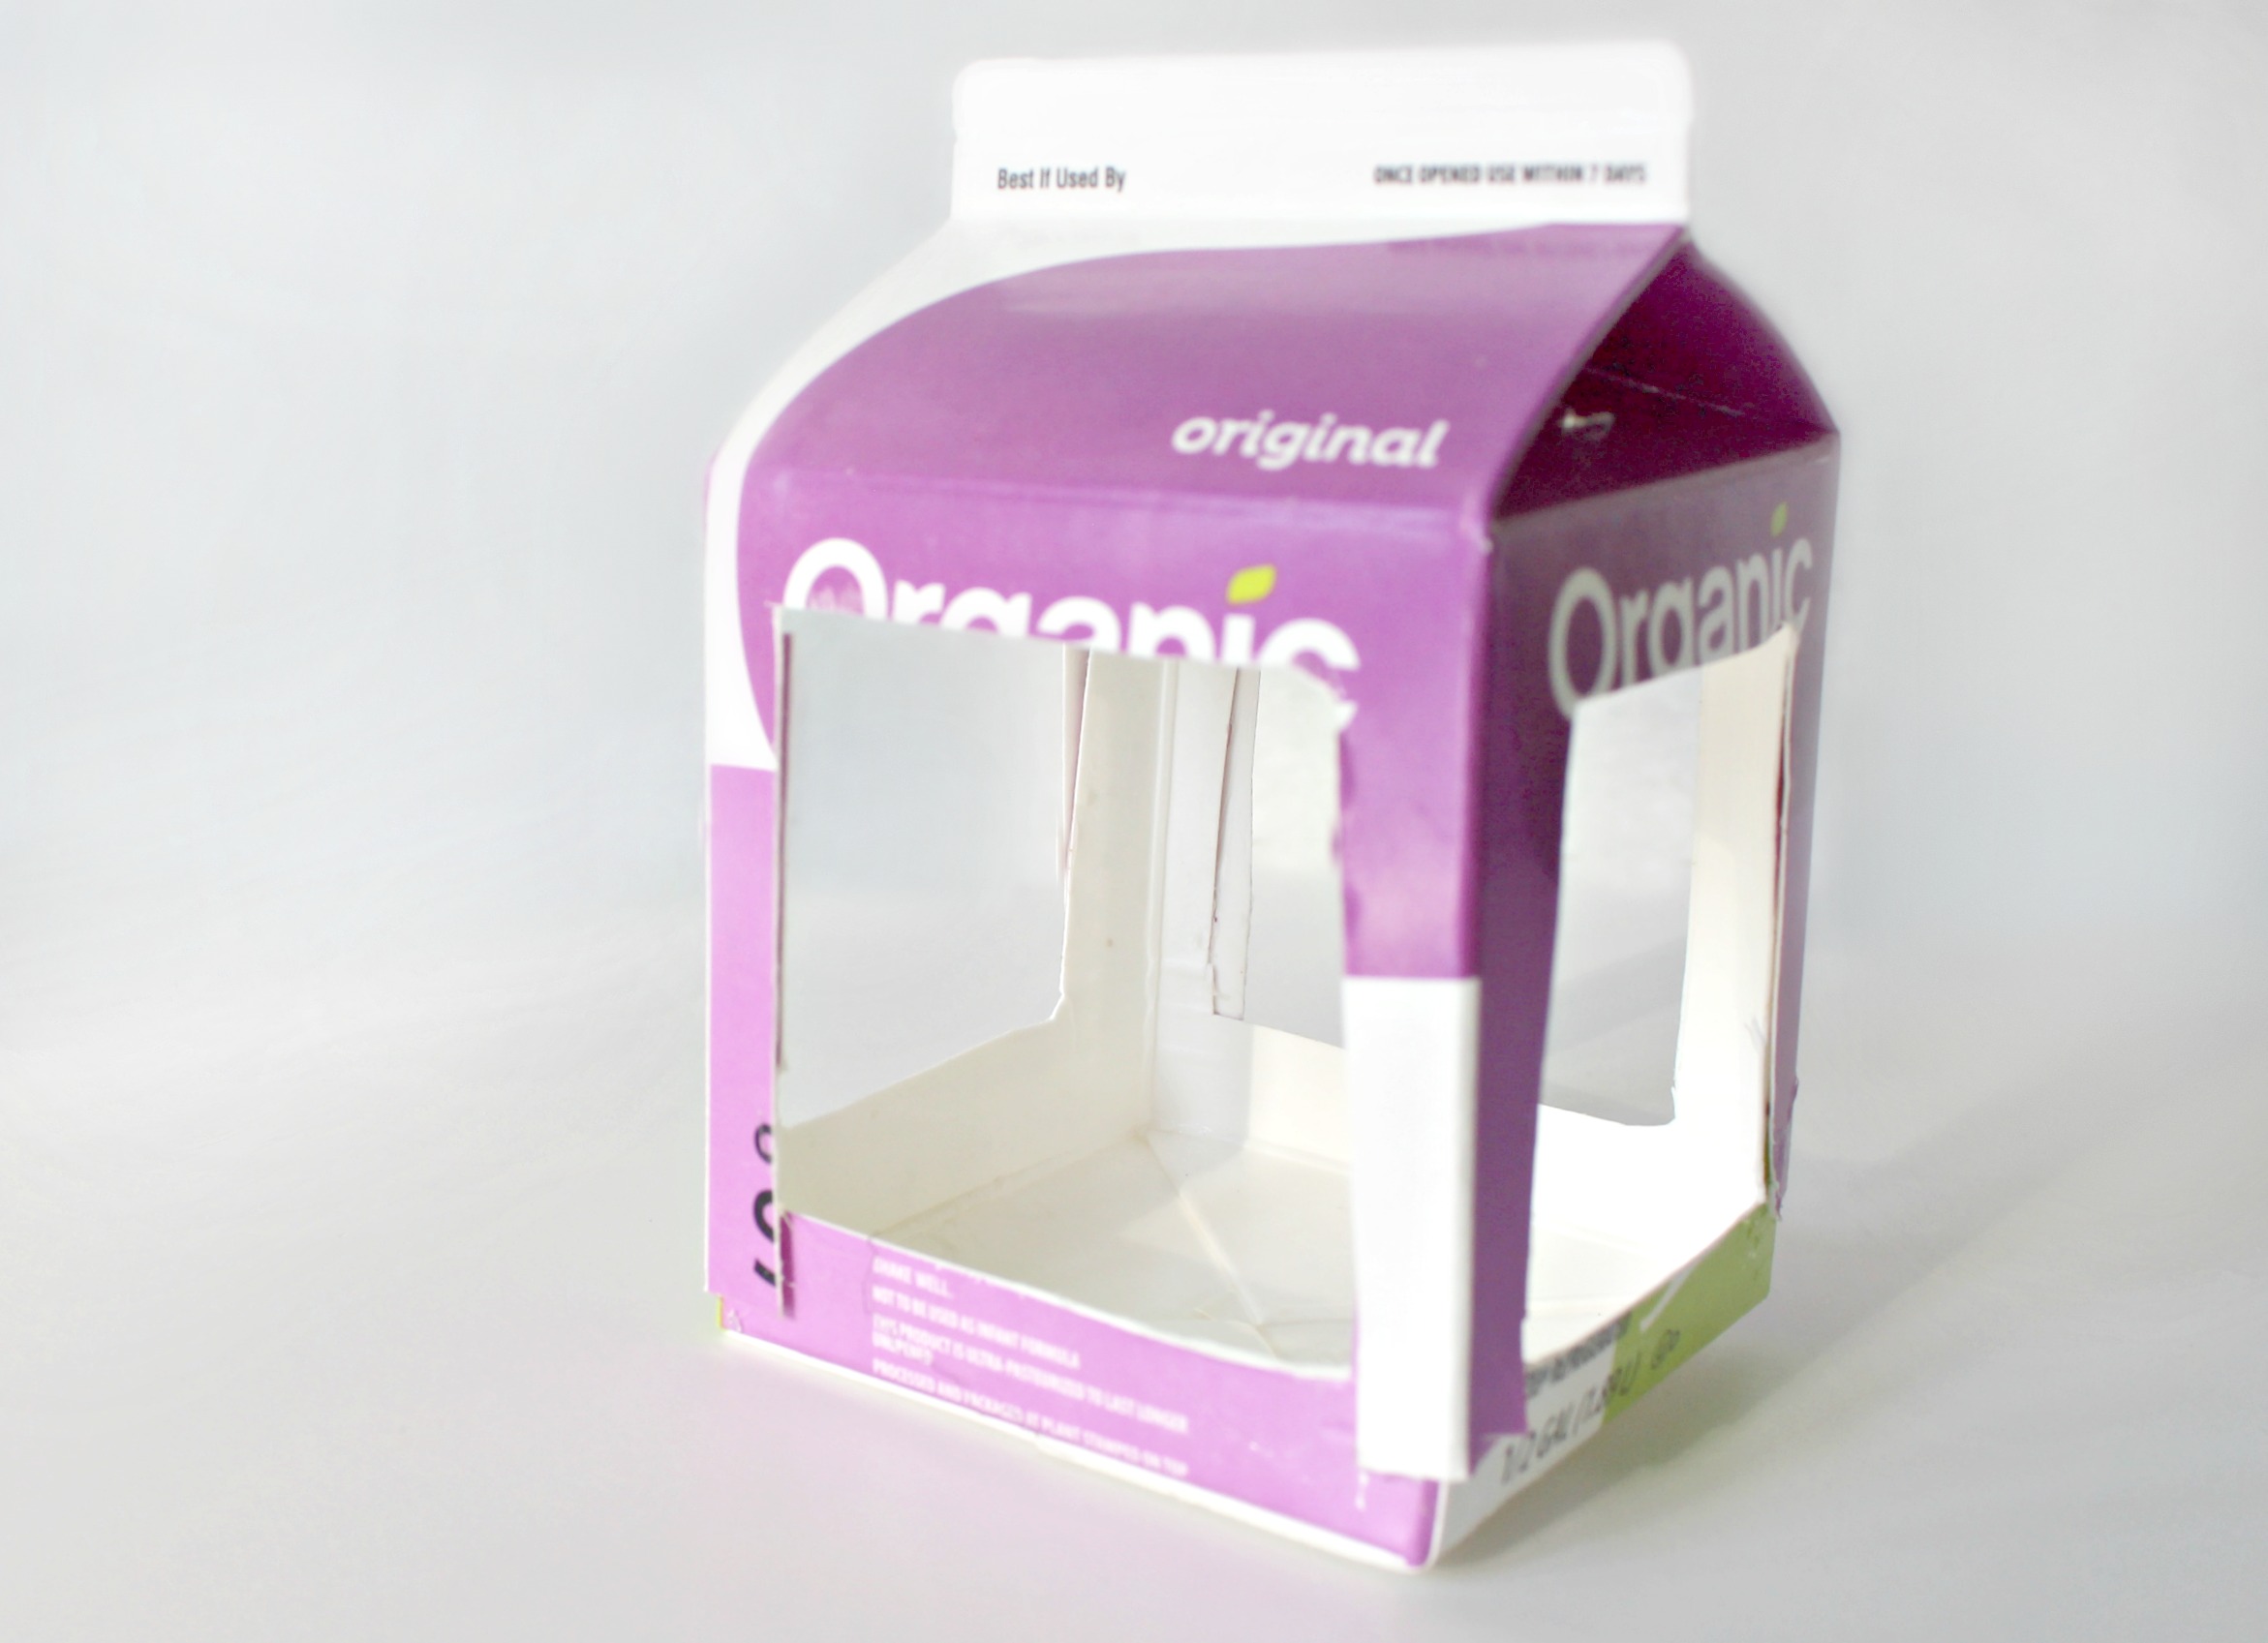
Step 4. Fit the bottom piece under and into the top piece (as shown). Use the glue gun to secure each of the four corner pieces together.
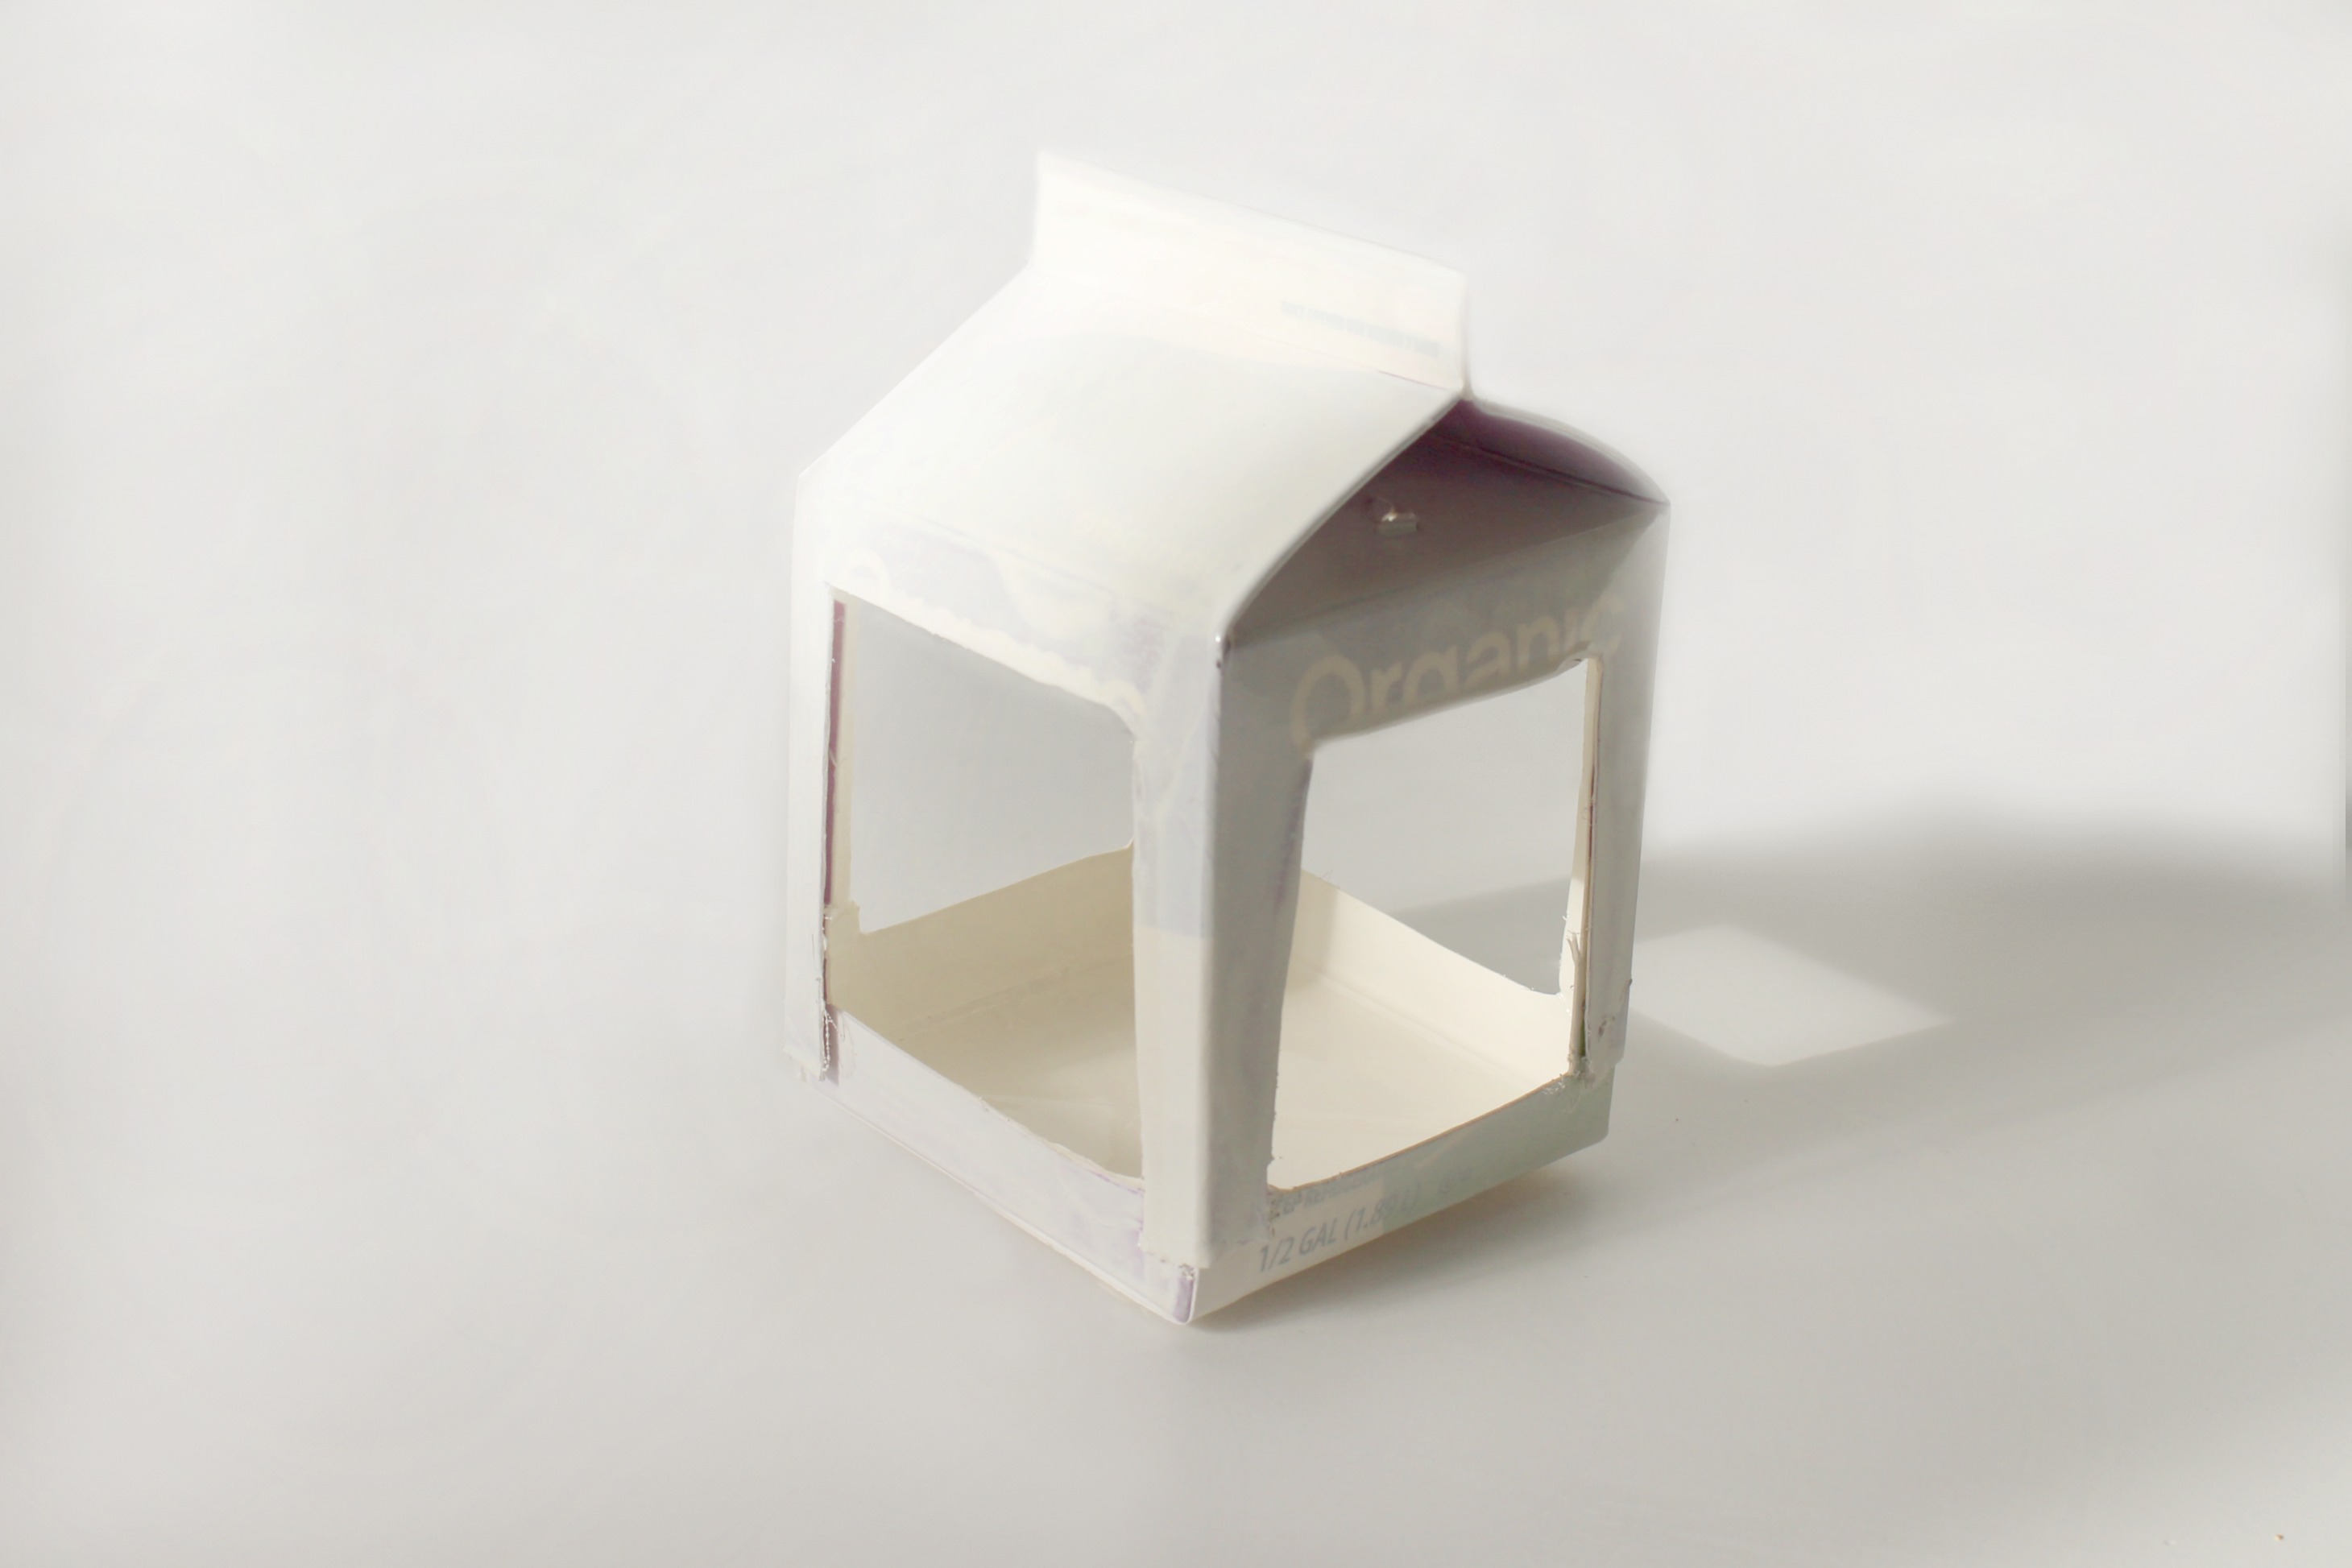
Step 5. Use white spray paint to cover the colored areas of the milk carton so that it does not show through the washi tape. Use as many coats as needed. Let the paint dry.
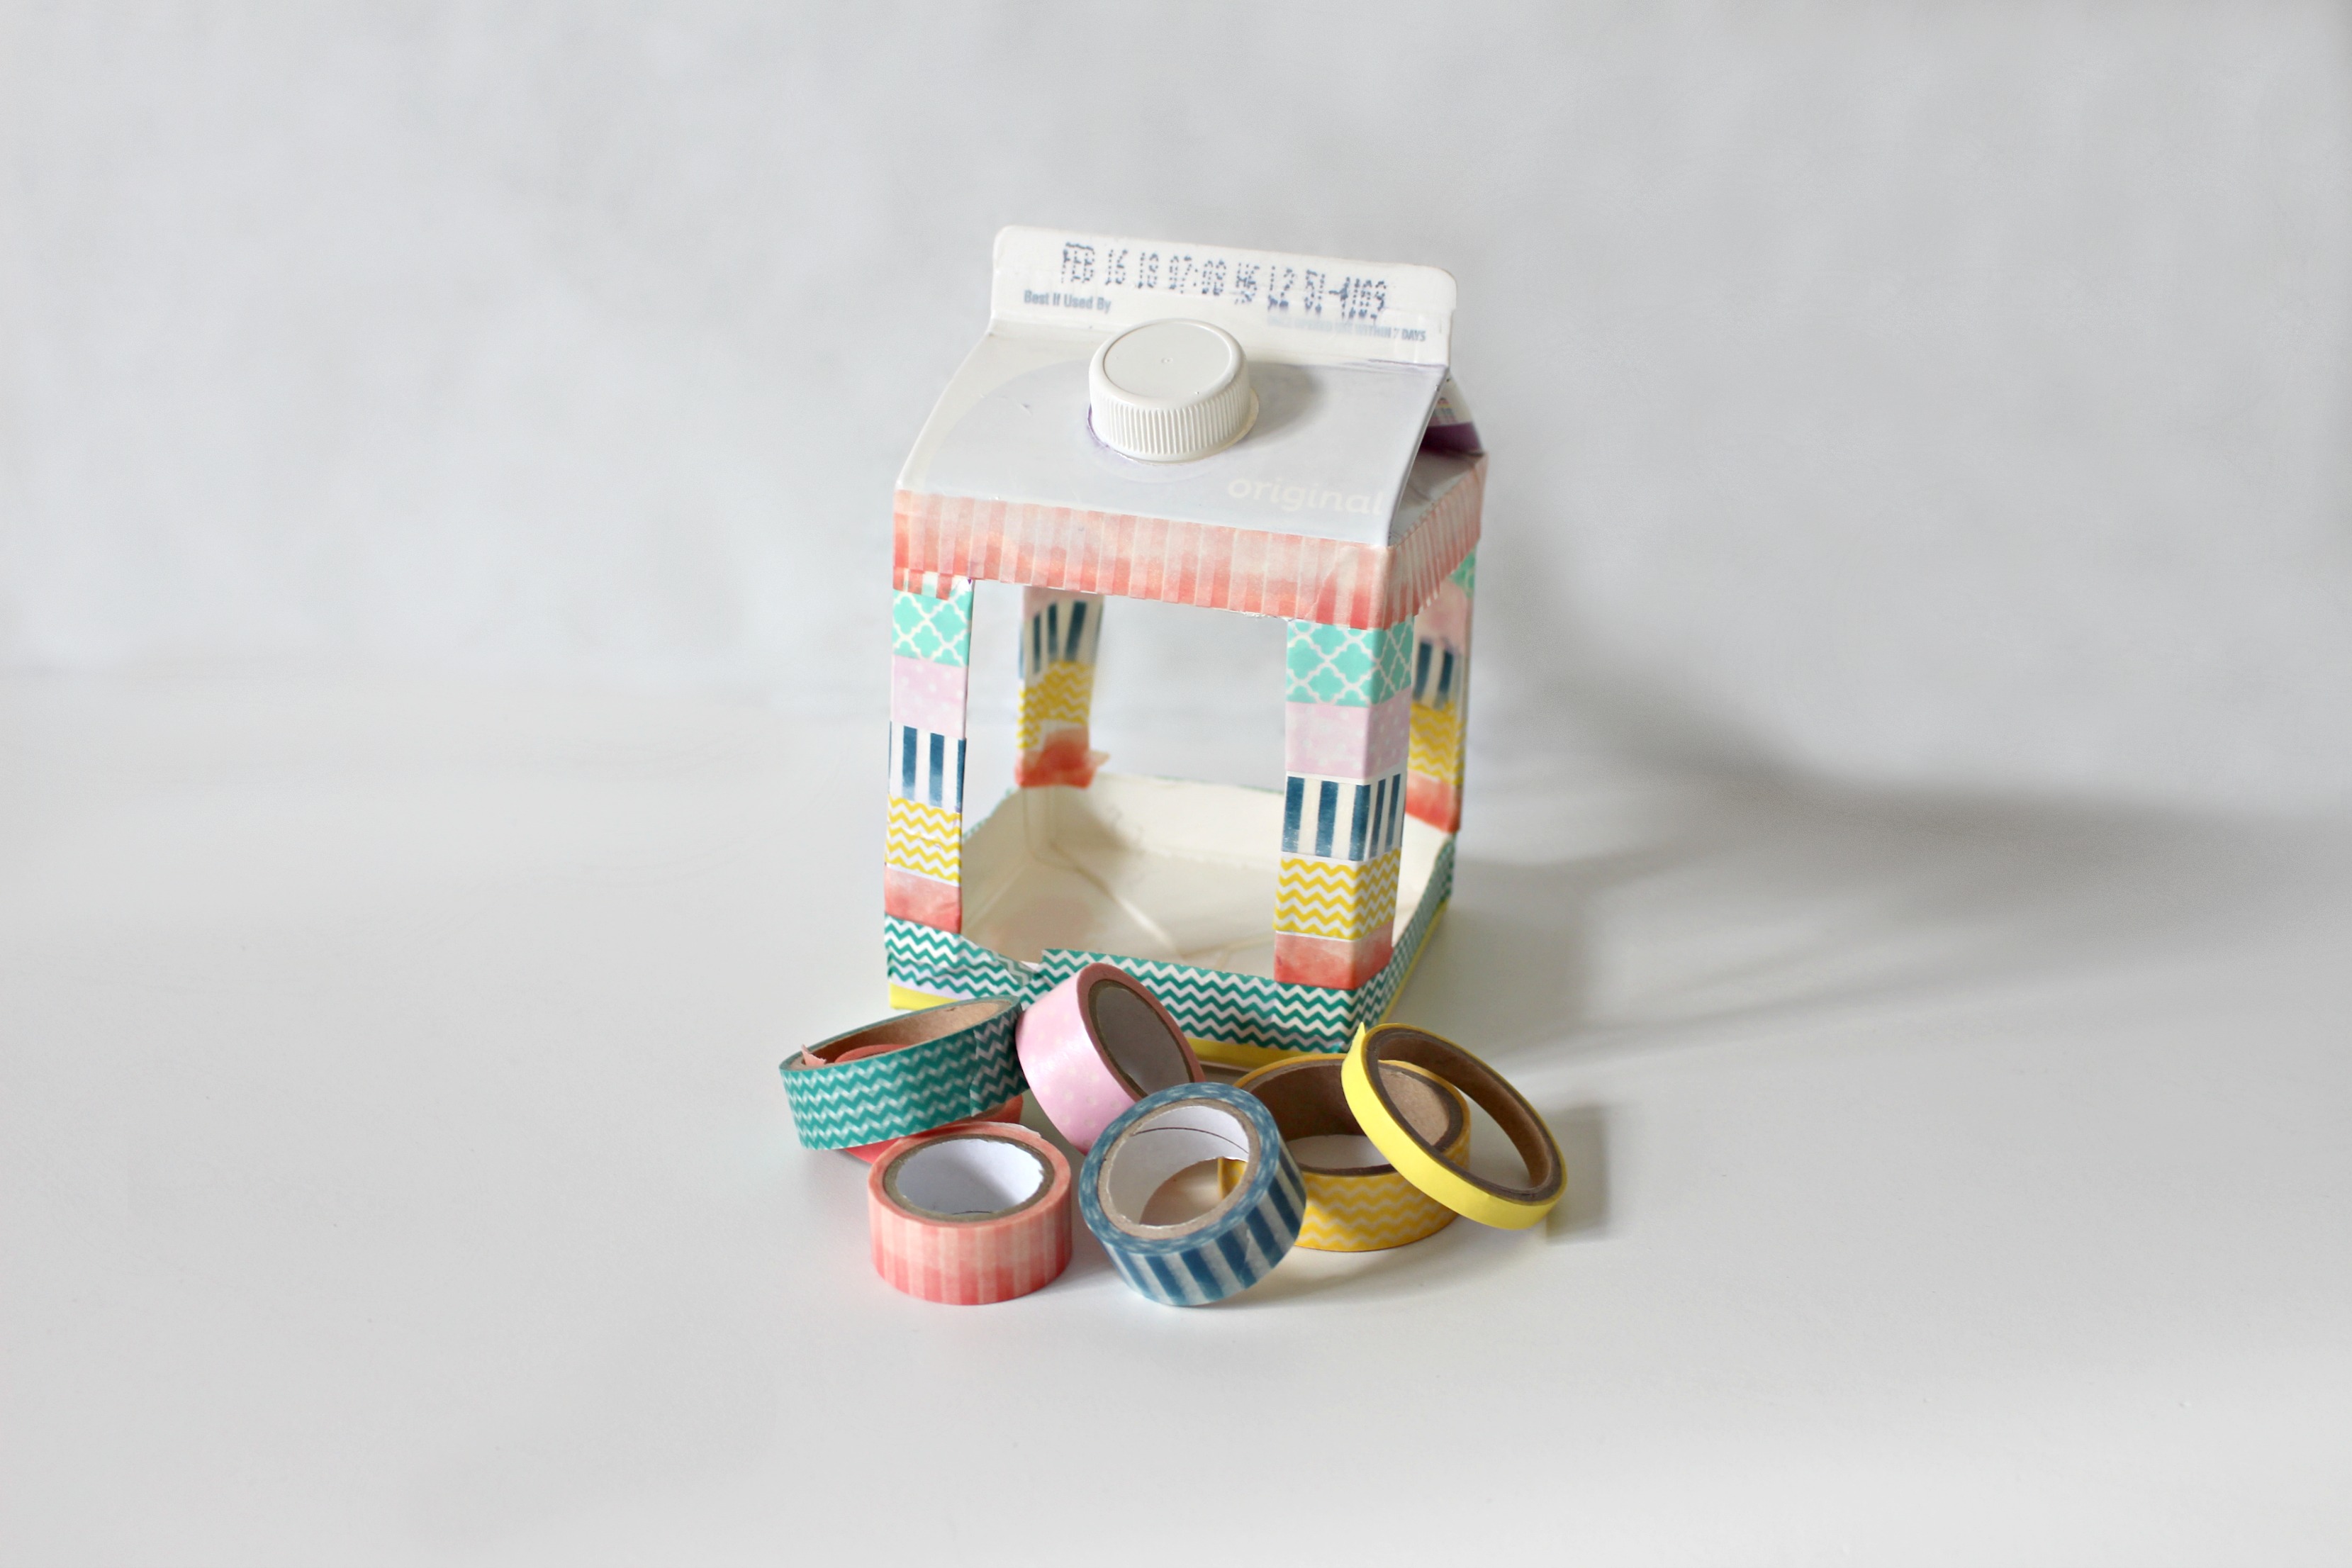
Step 6. Beginning at the bottom of the bird feeder, wrap various colors of washi tape in horizontal stripes. When you get to the corners, wrap each one with the same order of colors and designs.
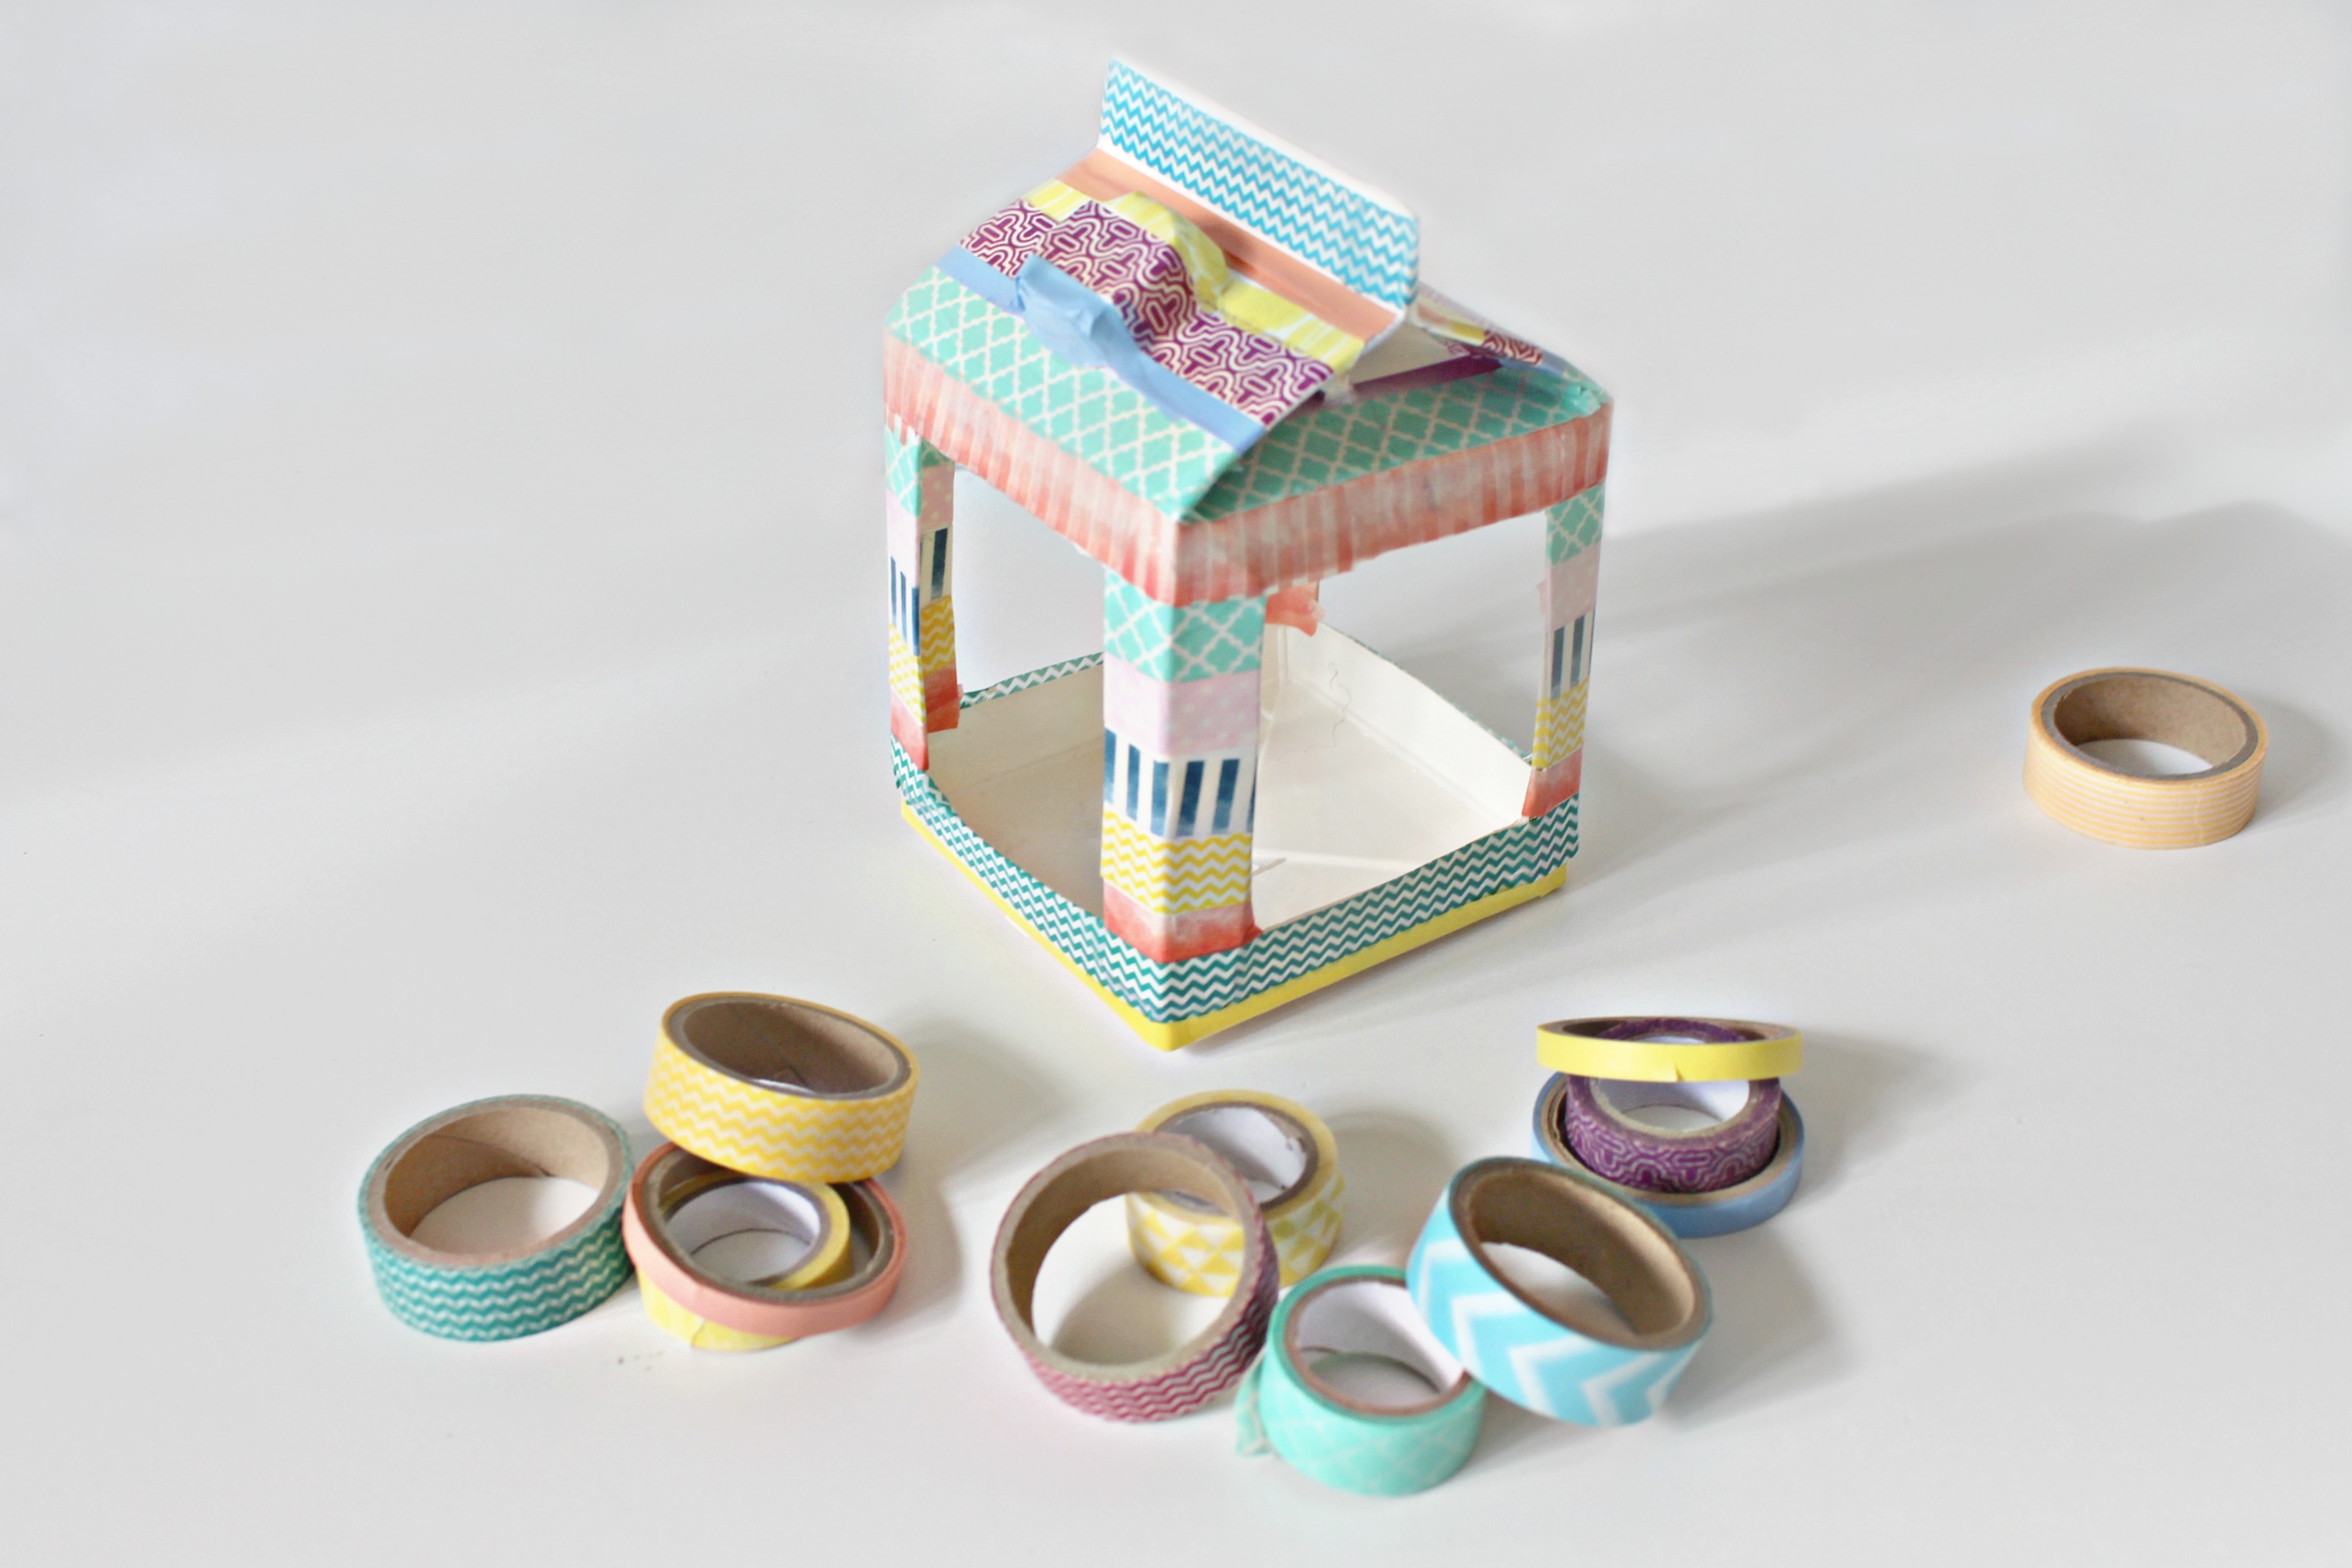
Step 7. Continue wrapping the washi tape around the bird feeder until you get to the top.
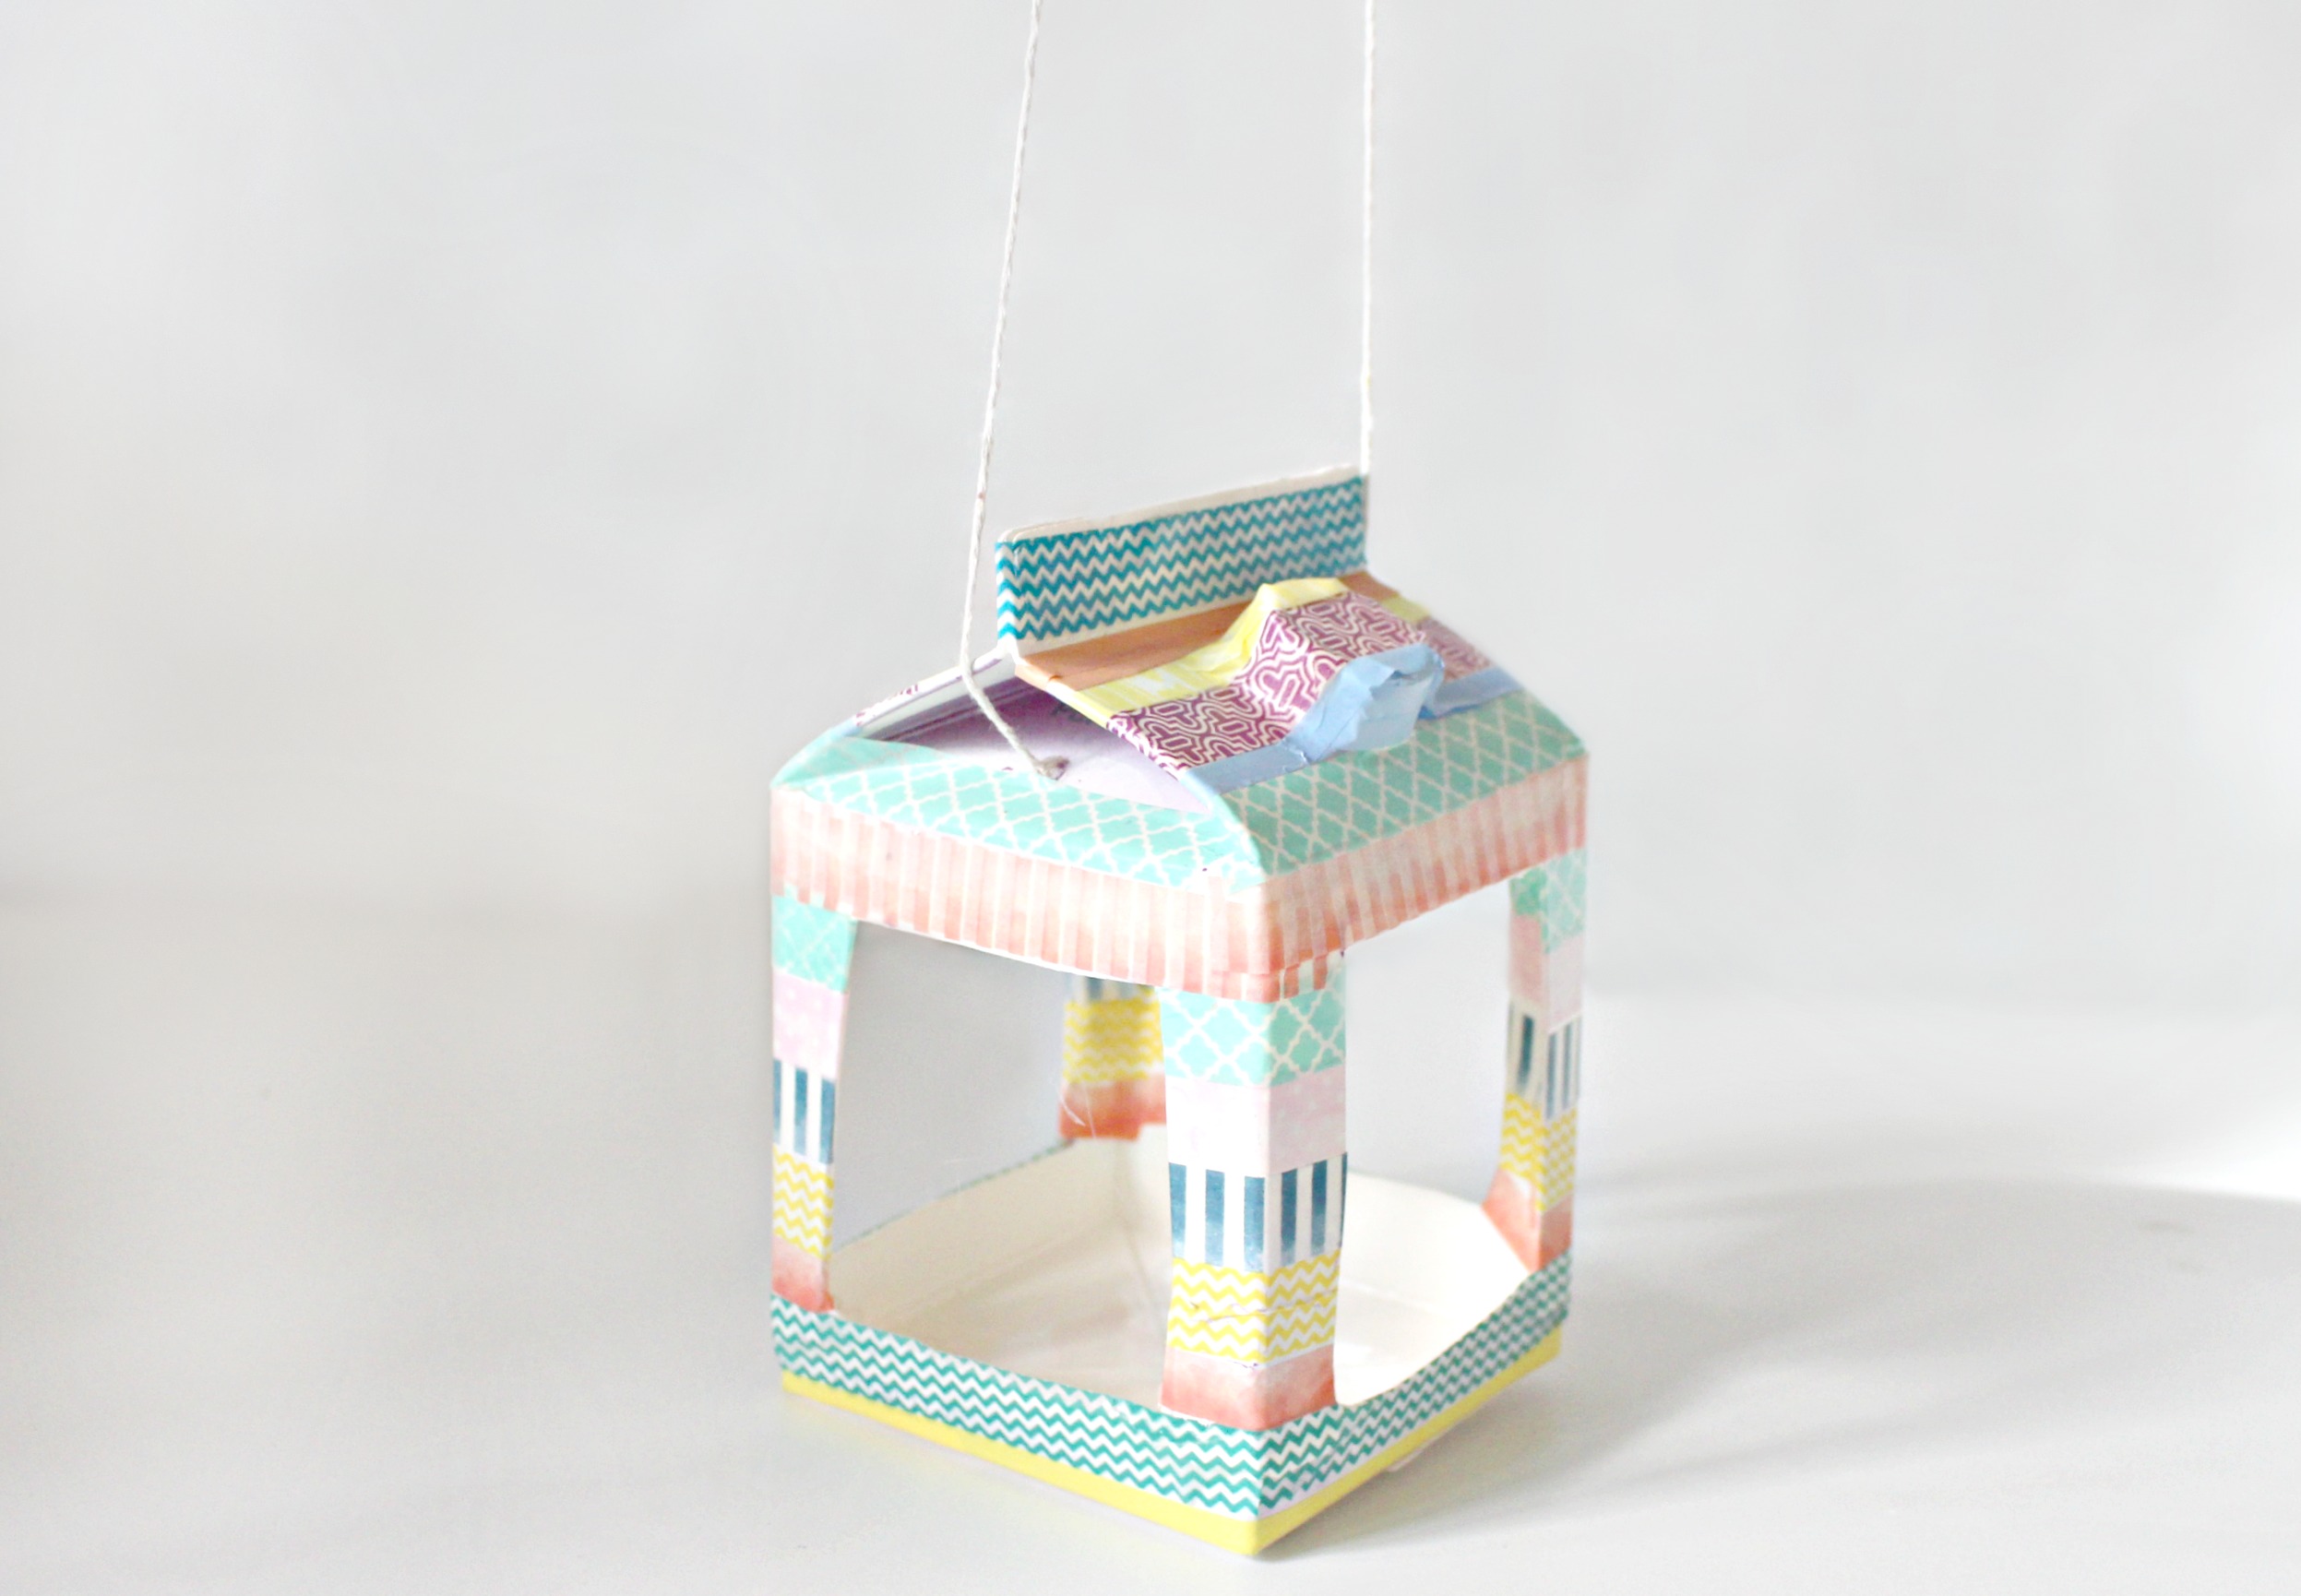
Step 8. Make two holes in either side of the top of the milk carton that will hold the string to hang the bird feeder.
Step 9. Measure where you want to hang the birdhouse so you will know how much string to use. Measure from the branch to the point where you want the bottom of the bird feeder to reach and double this amount to get your length of string.
Step 10. Thread the string through the holes and make sure that the ends of the string are the same length at the top.
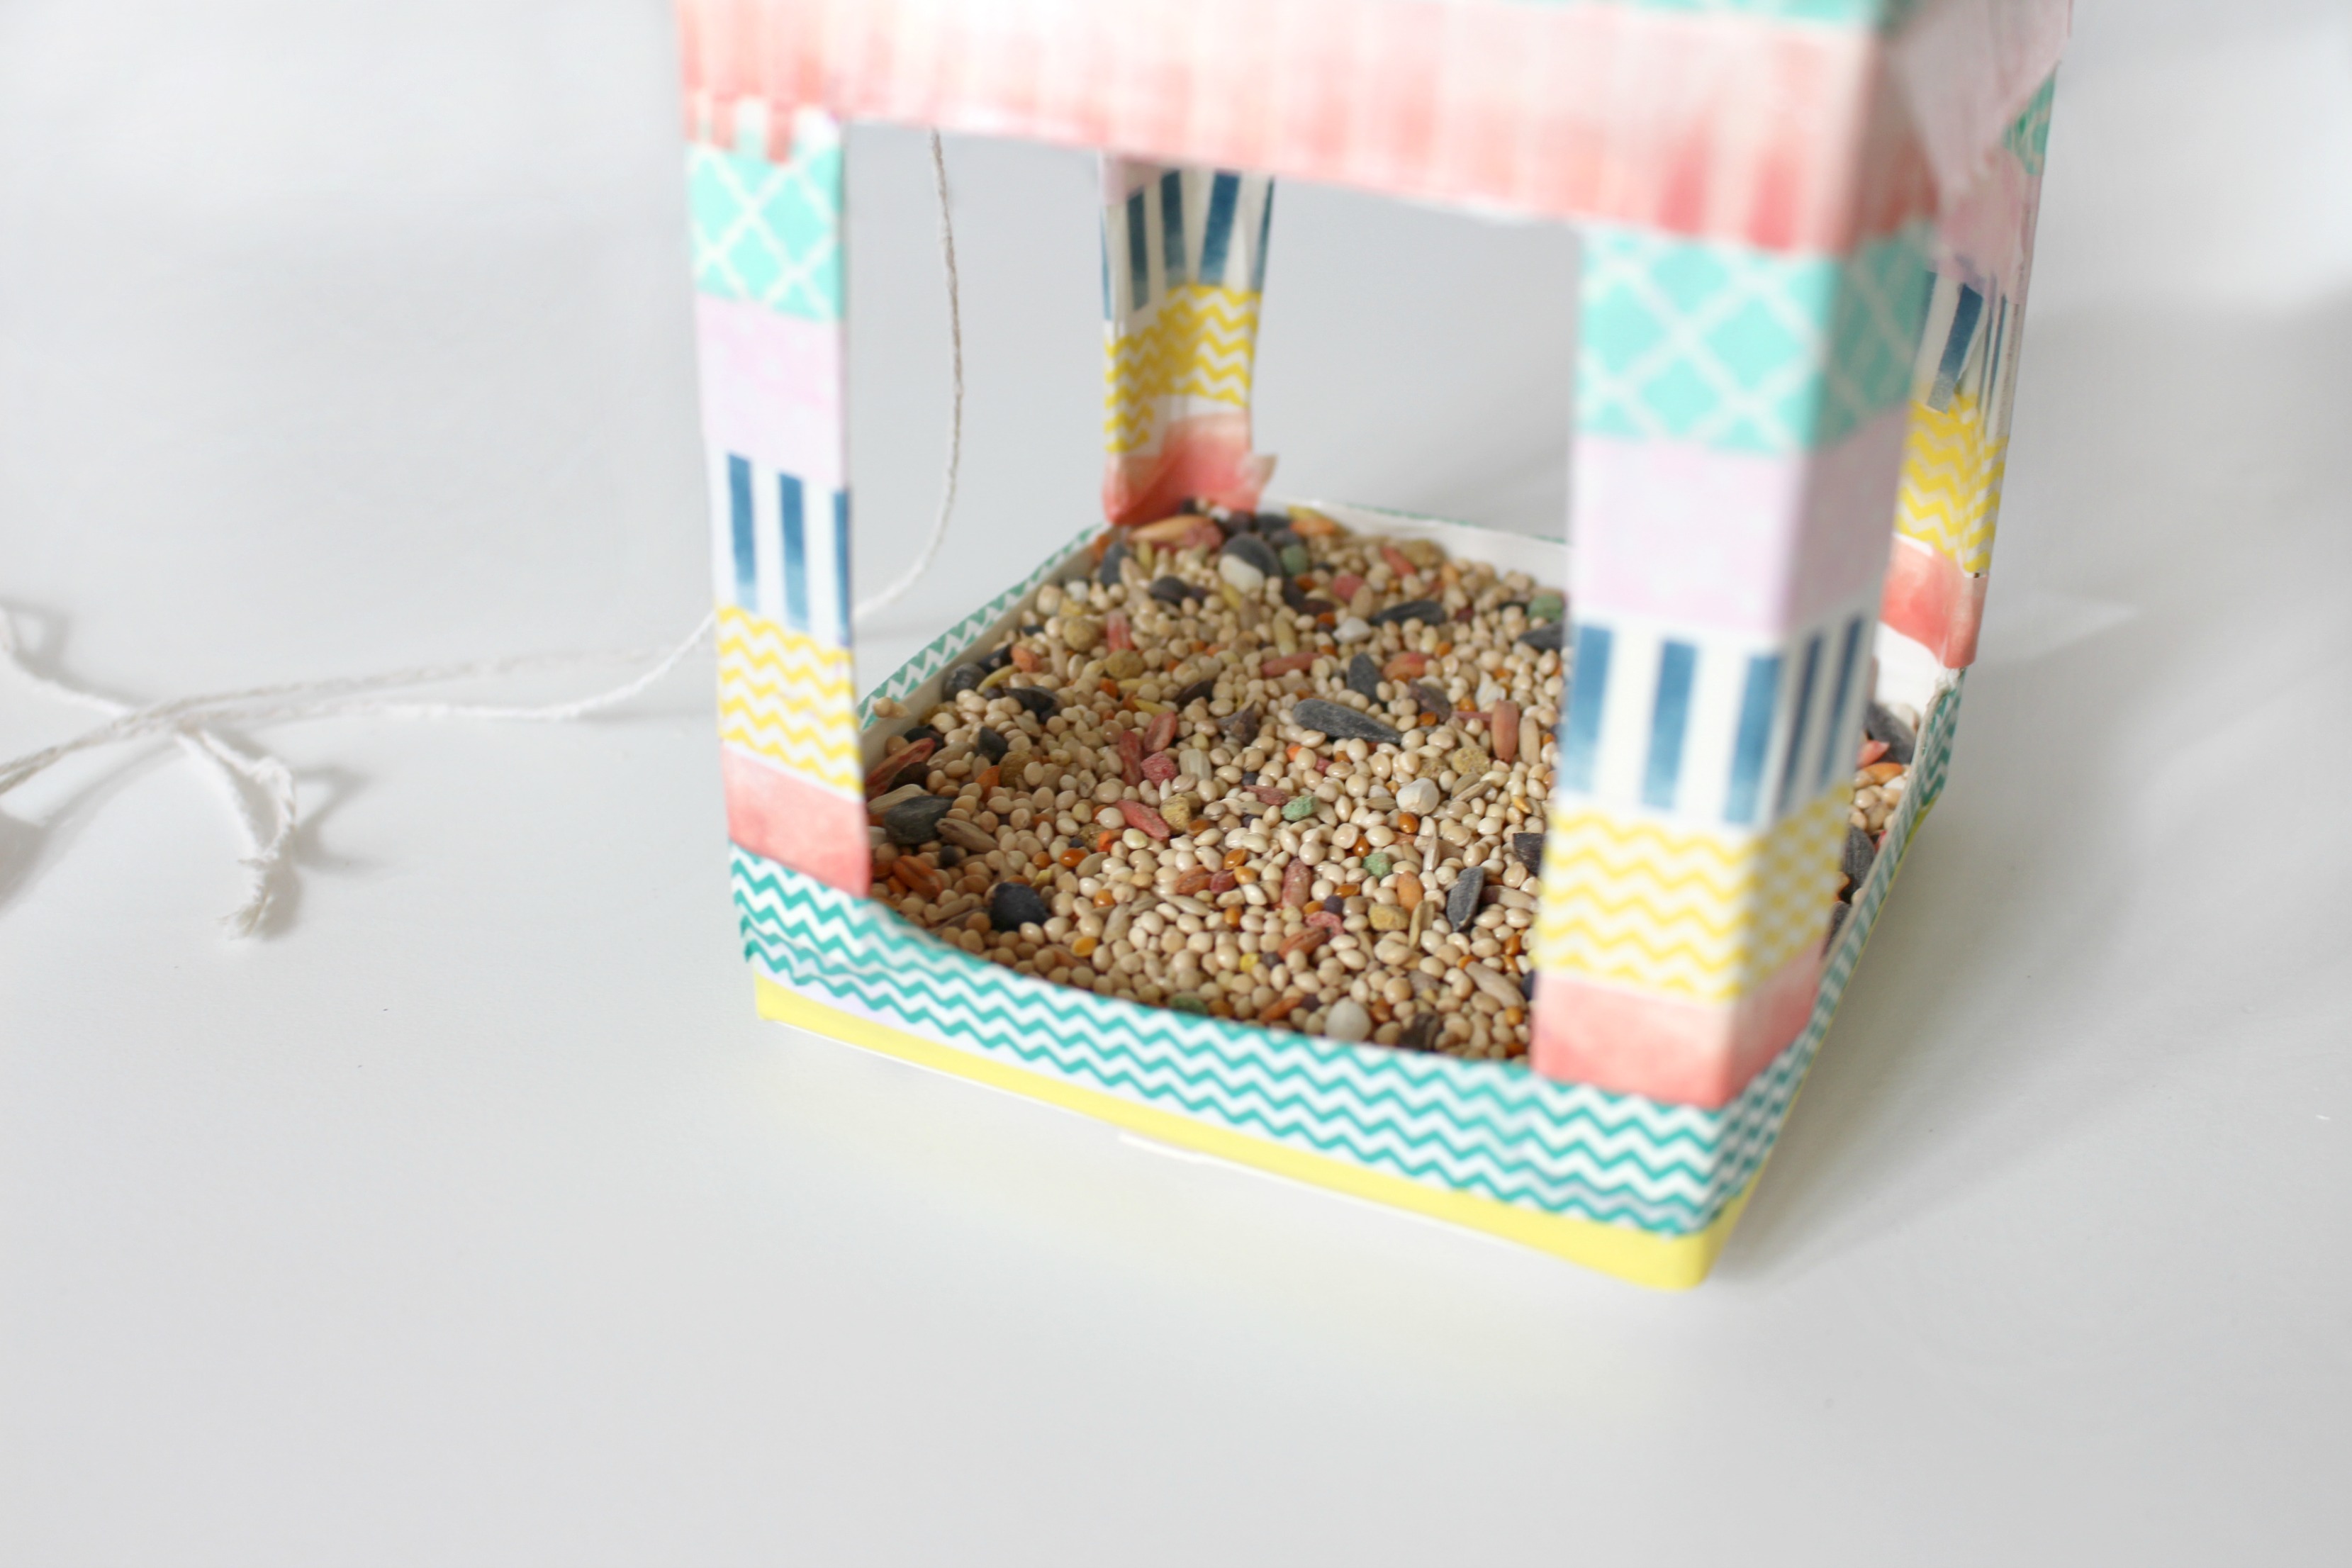
Step 11. Fill the bottom of the bird feeder with bird seed.
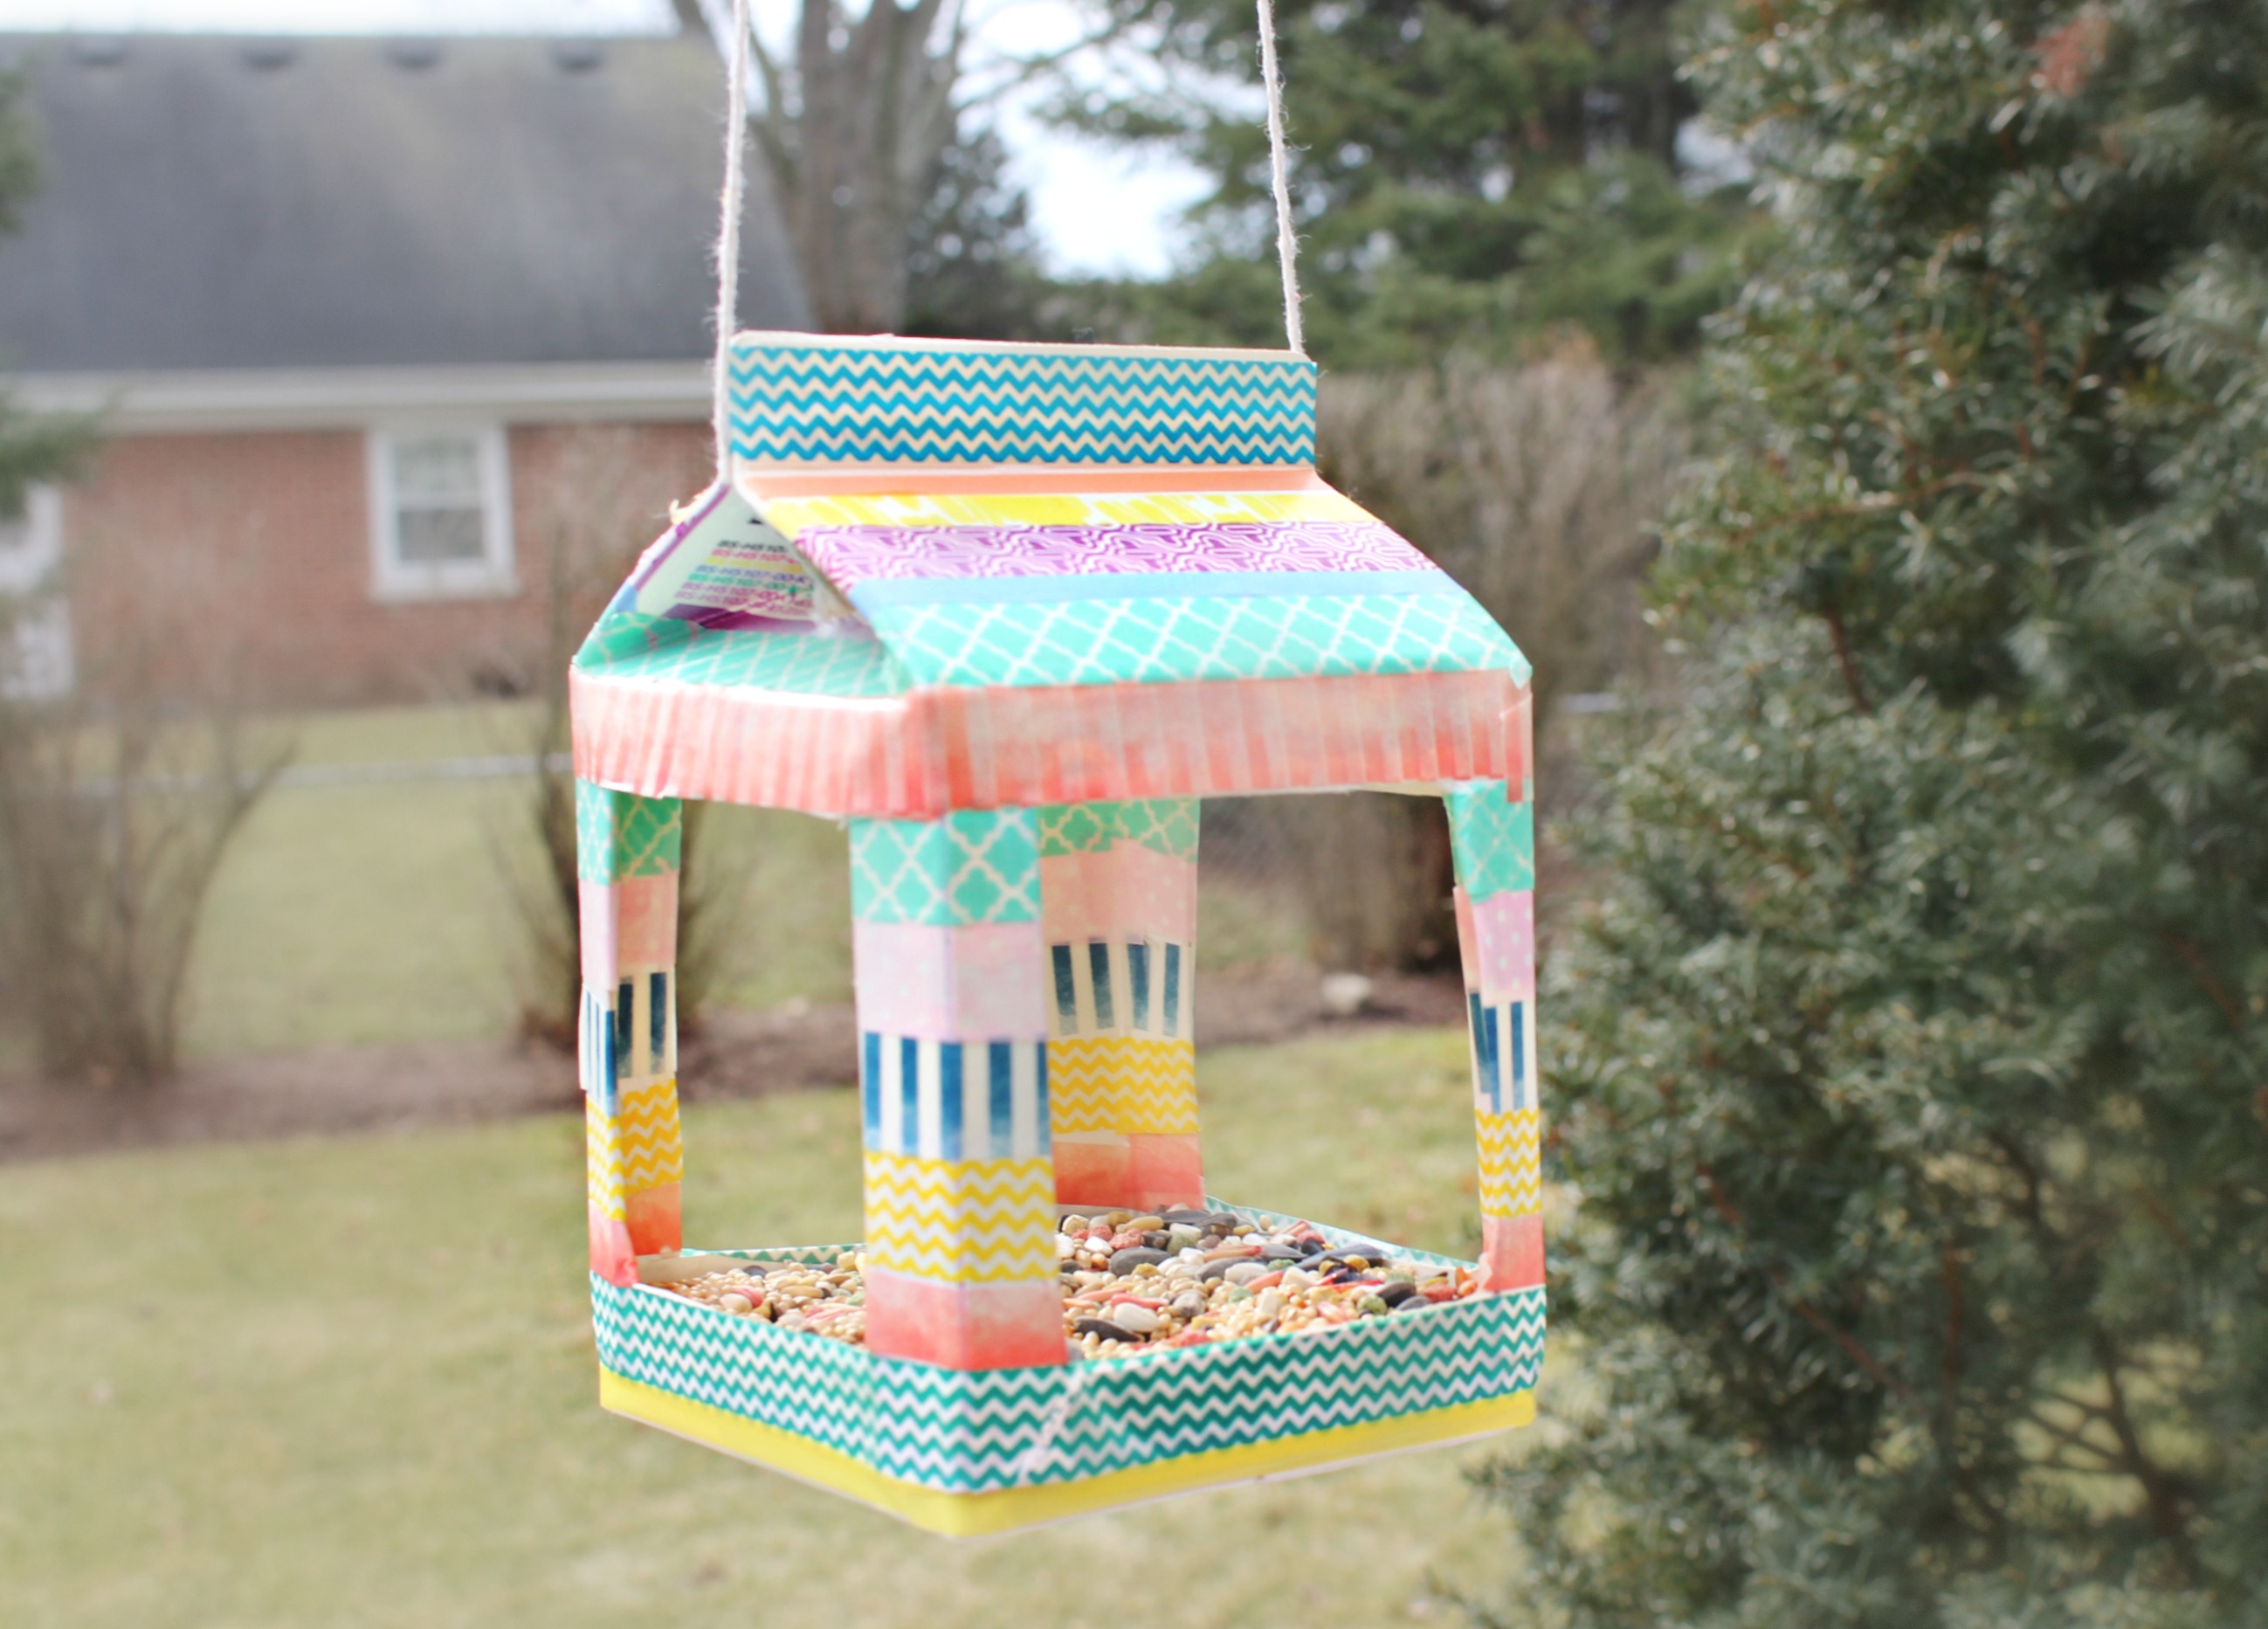
Step 12. Hang the bird feeder up outside. Don’t forget to keep refilling it as needed. Once the birds discover it, they will come to rely on it as a source of their food.
Leave a Reply