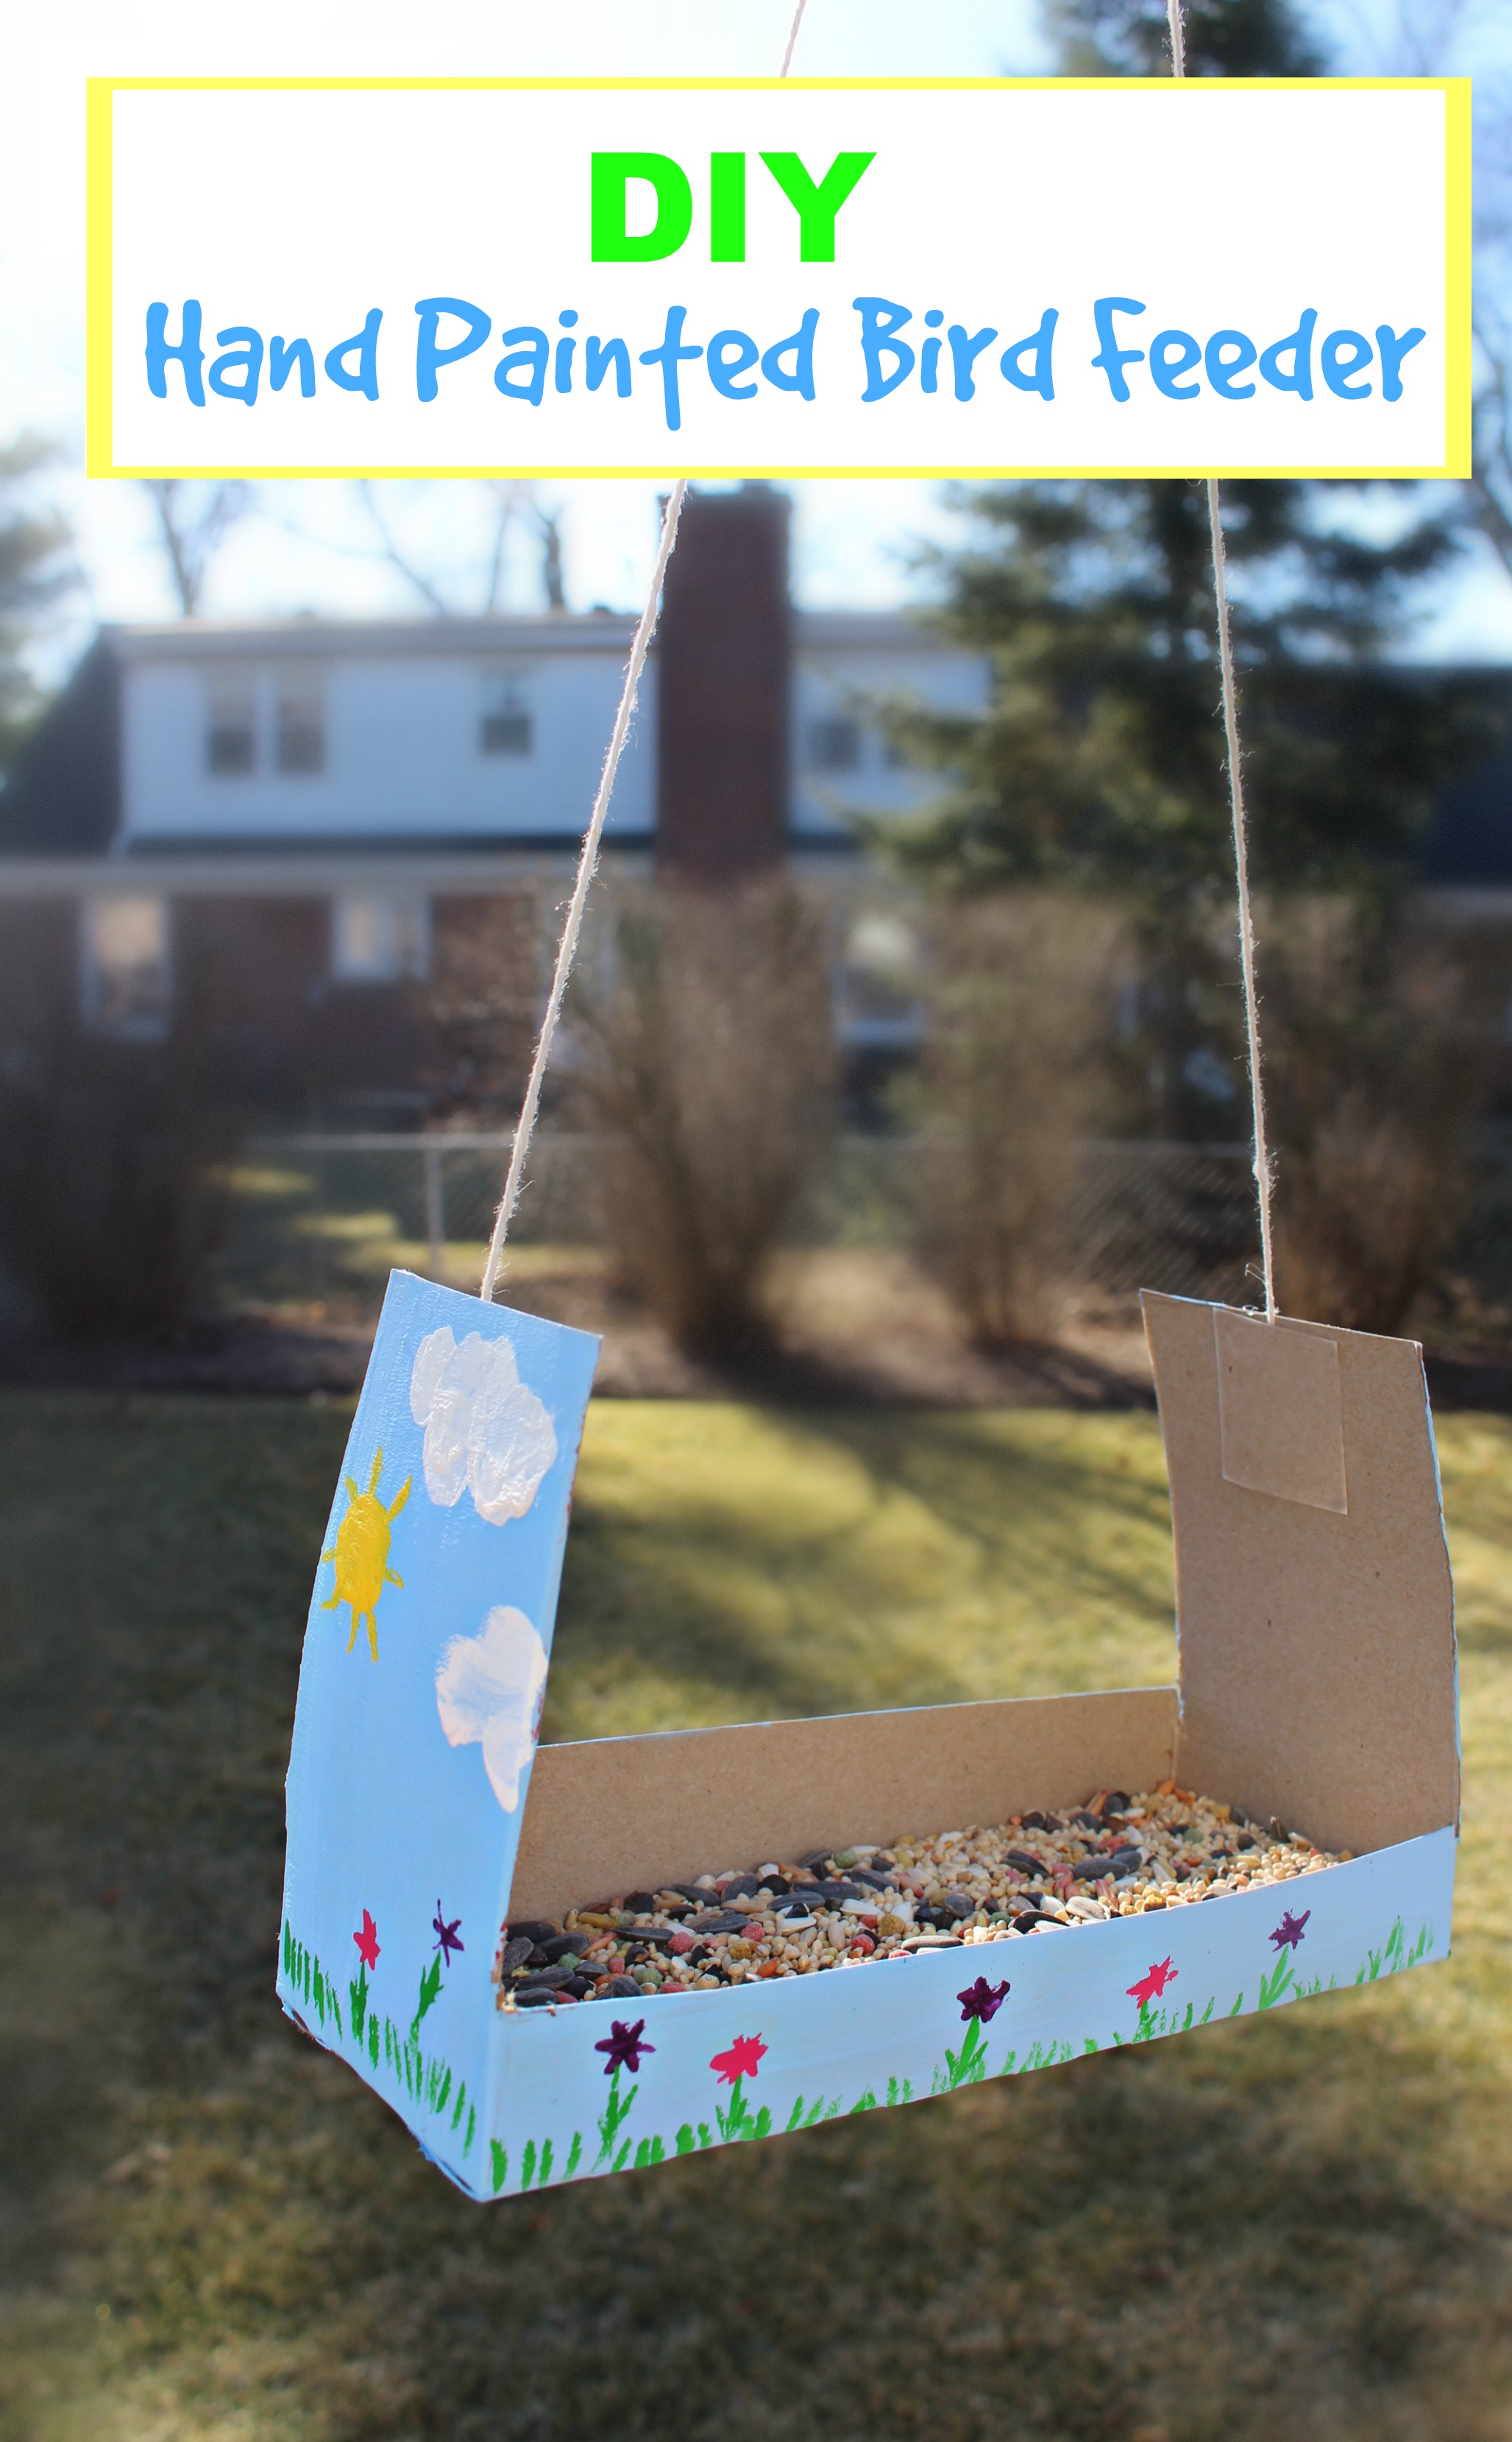
Welcome to Summer Fun Fridays! Each Friday this summer you will find some fun family friendly ideas for you and your kids. I know how quickly the joy of “we’re on summer break!” can turn into “Mooooooooooooooooooom, I’m bored!”. That’s exactly what these posts are for. Whenever you see your family headed down that boredom road, just pop on over here and look for some remedies. Each week there will be one or more posts which include activities for you to do with your kids or for some independent kid fun. Let’s kick things off with this fun hand painted bird feeder.
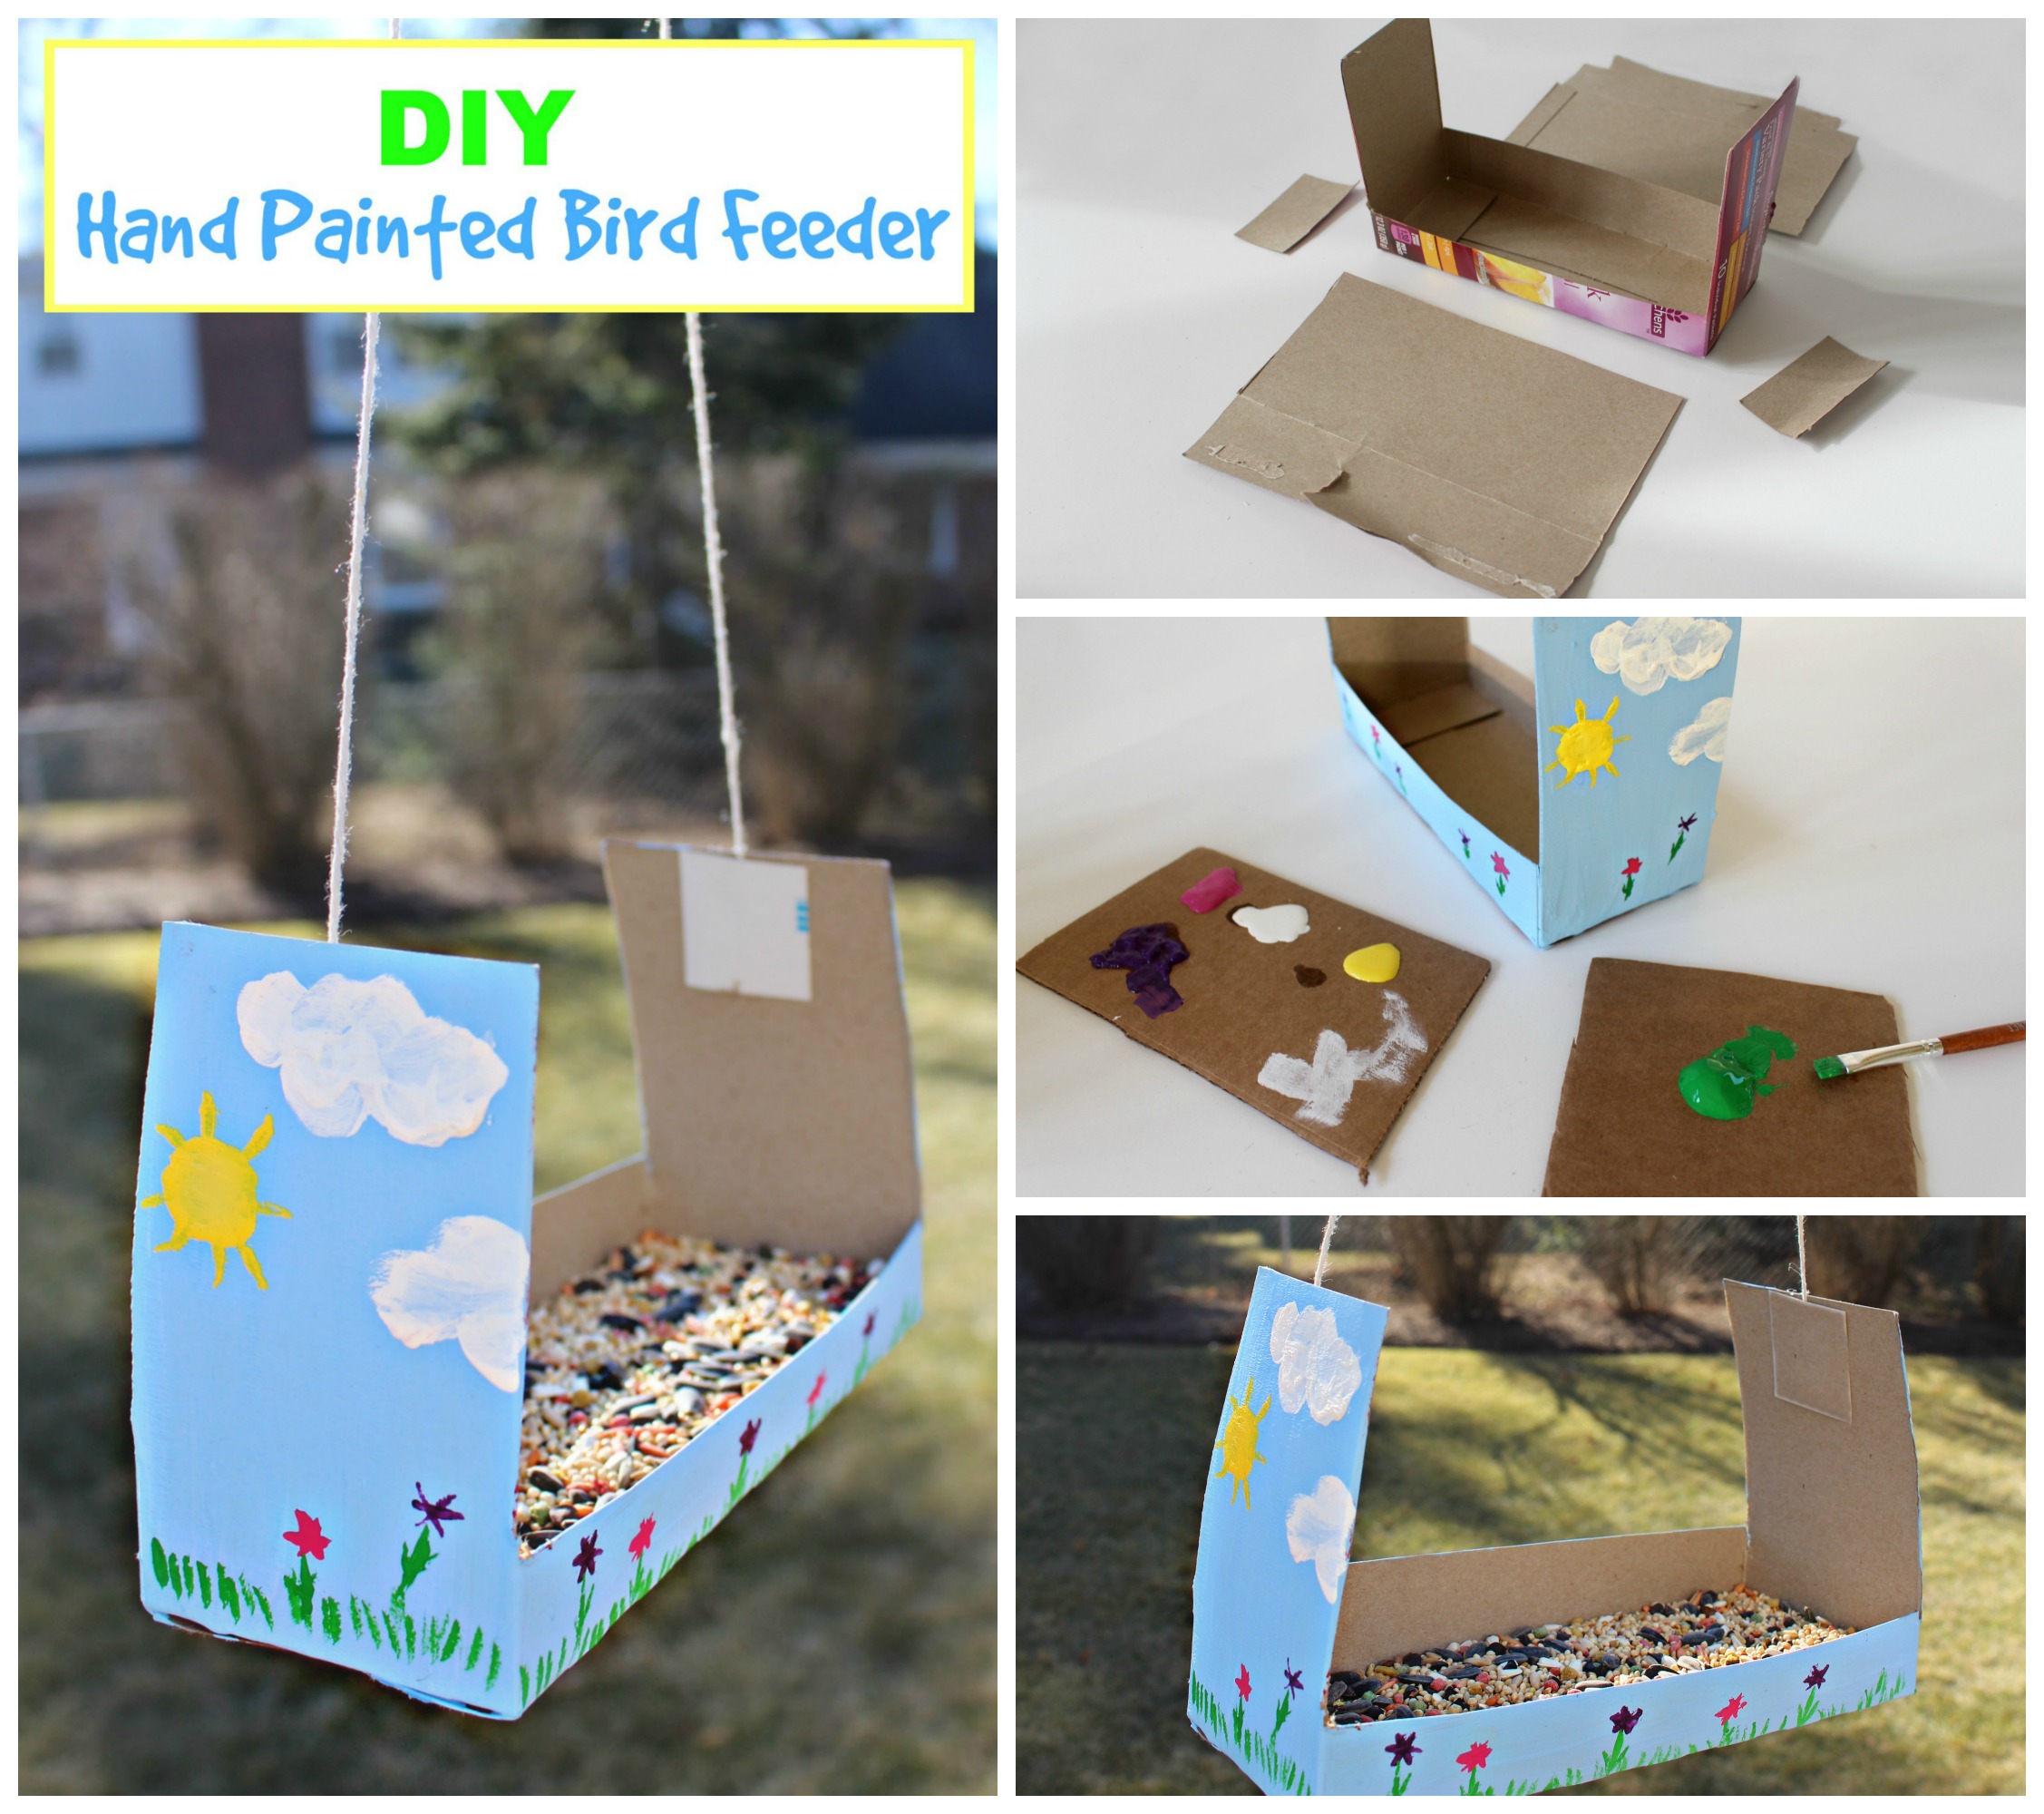
Note: Depending on the age of your child, you might need to do the cutting for them.
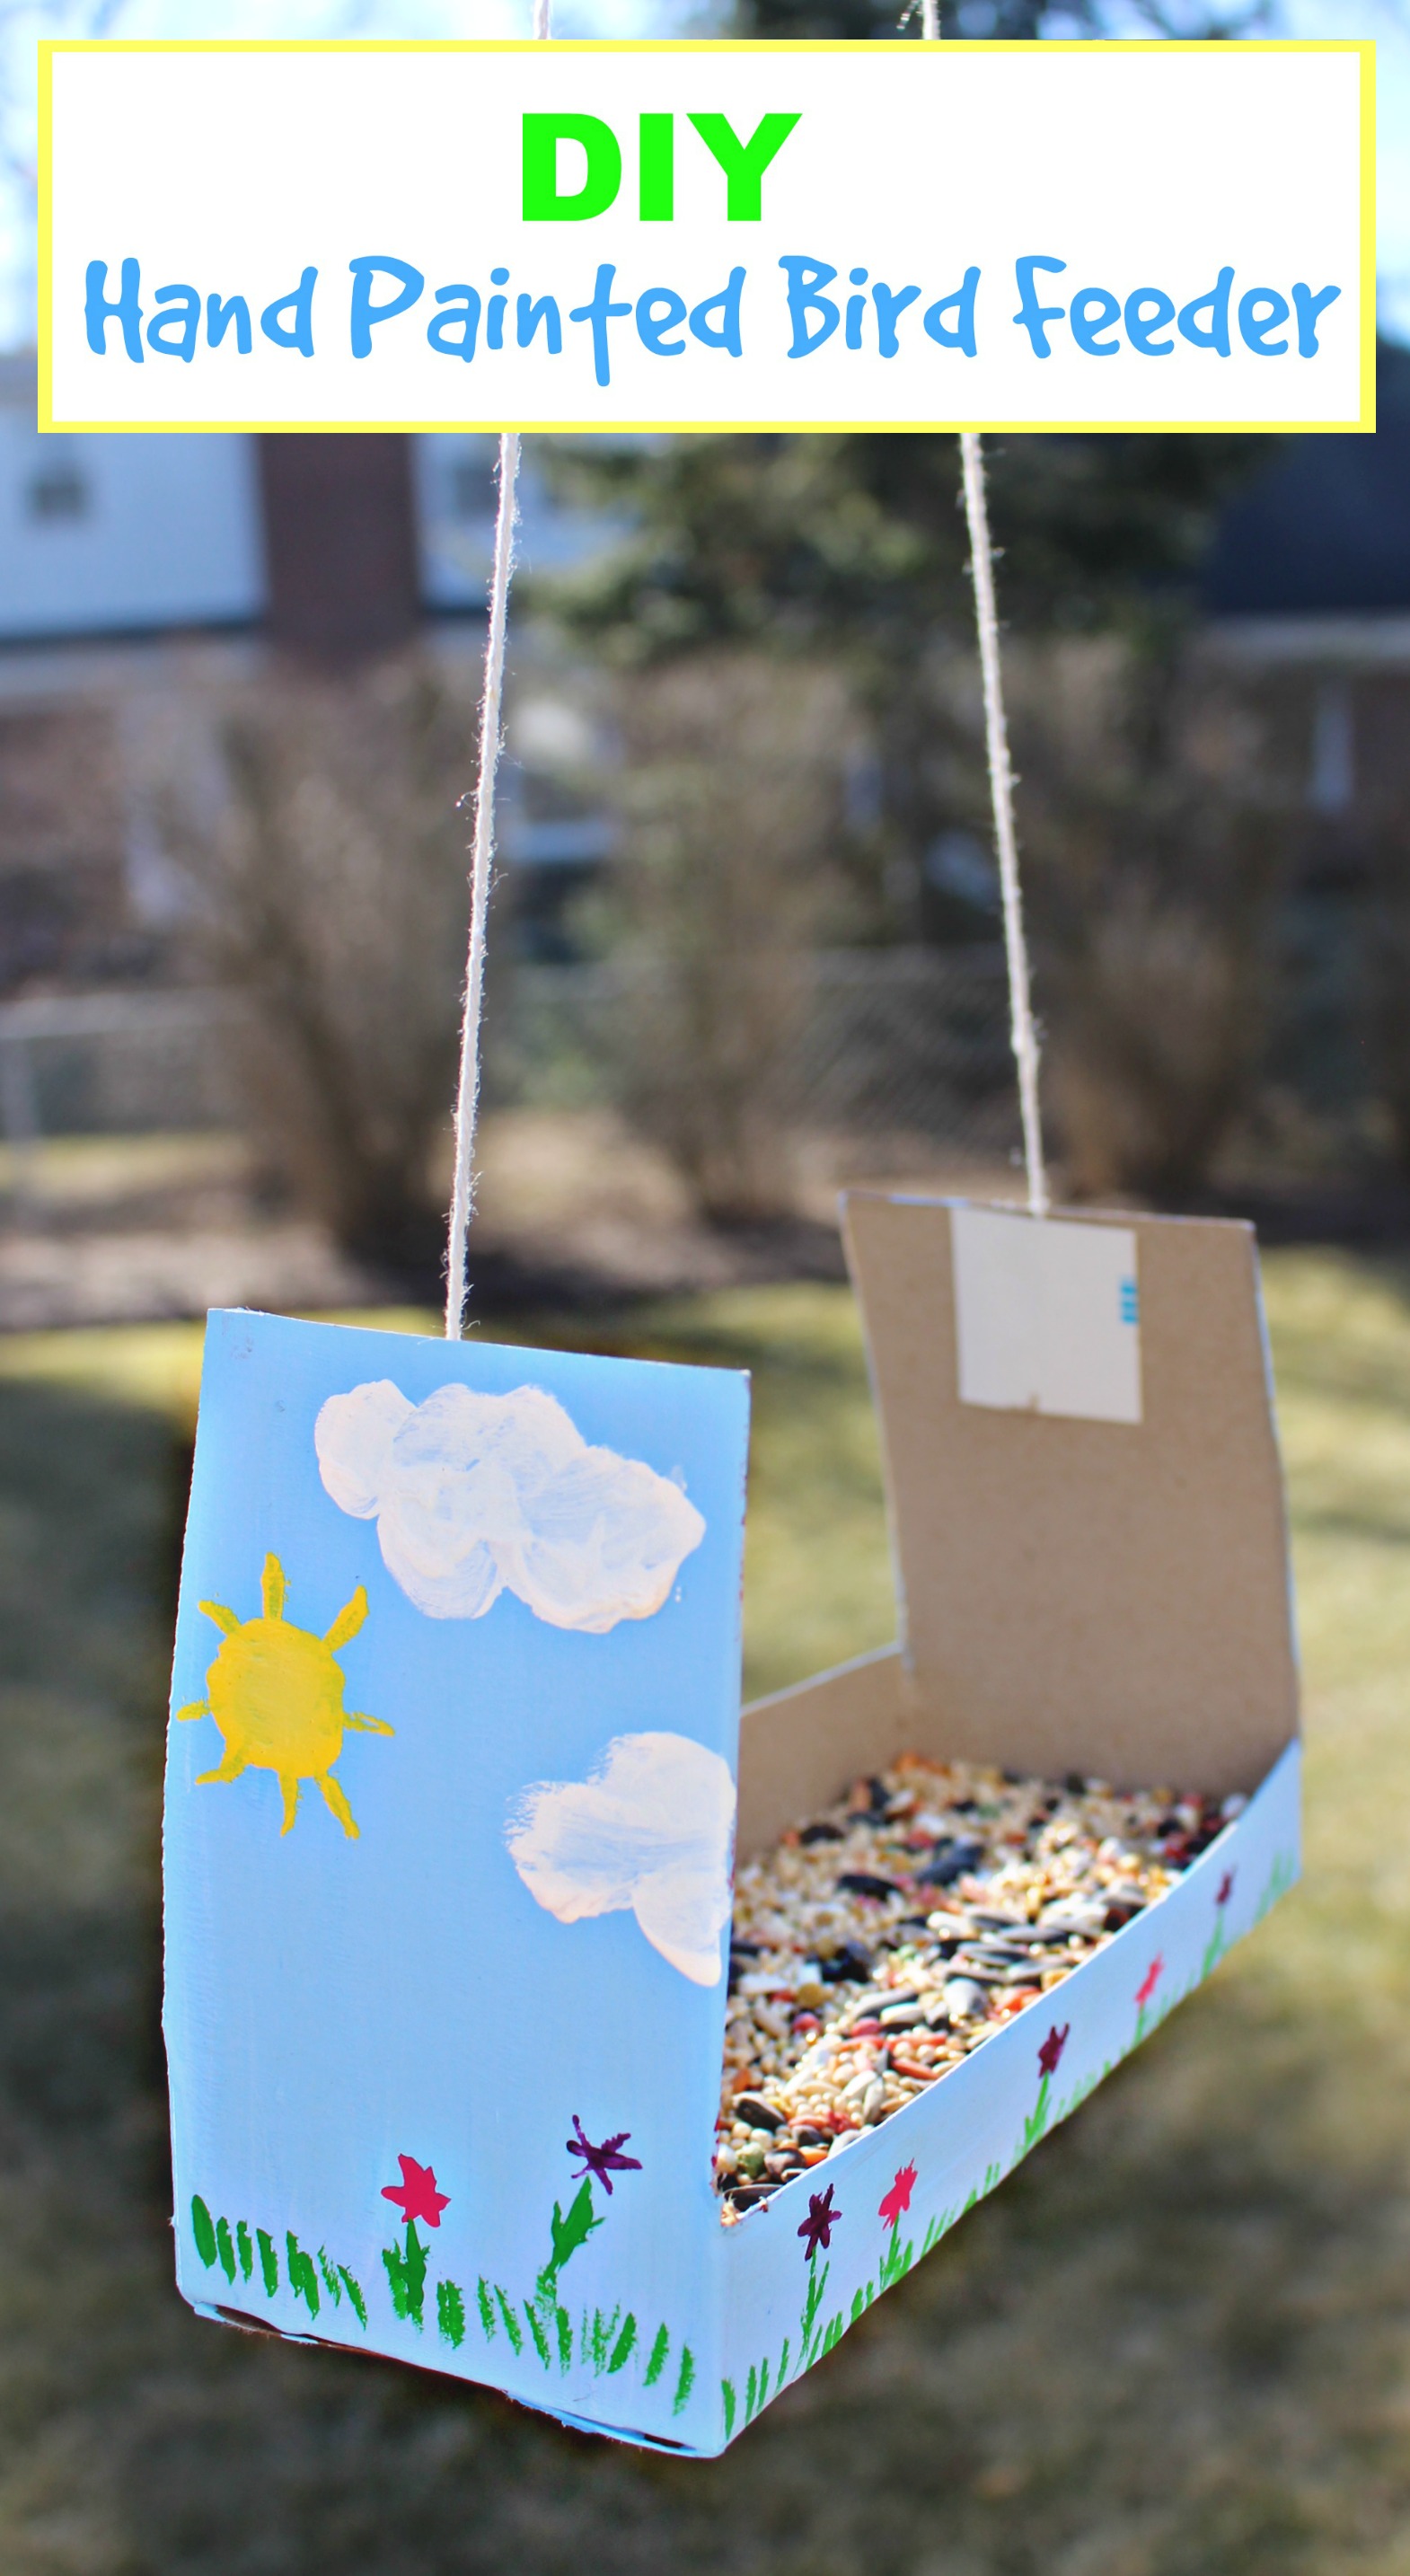
DIY Hand Painted Bird Feeder
Supplies needed:
- Small, empty cardboard box (I used an instant oatmeal box)
- Scissors
- Assorted color craft paints
- Paintbrushes
- Twine or string
- Hot glue gun
Instructions:
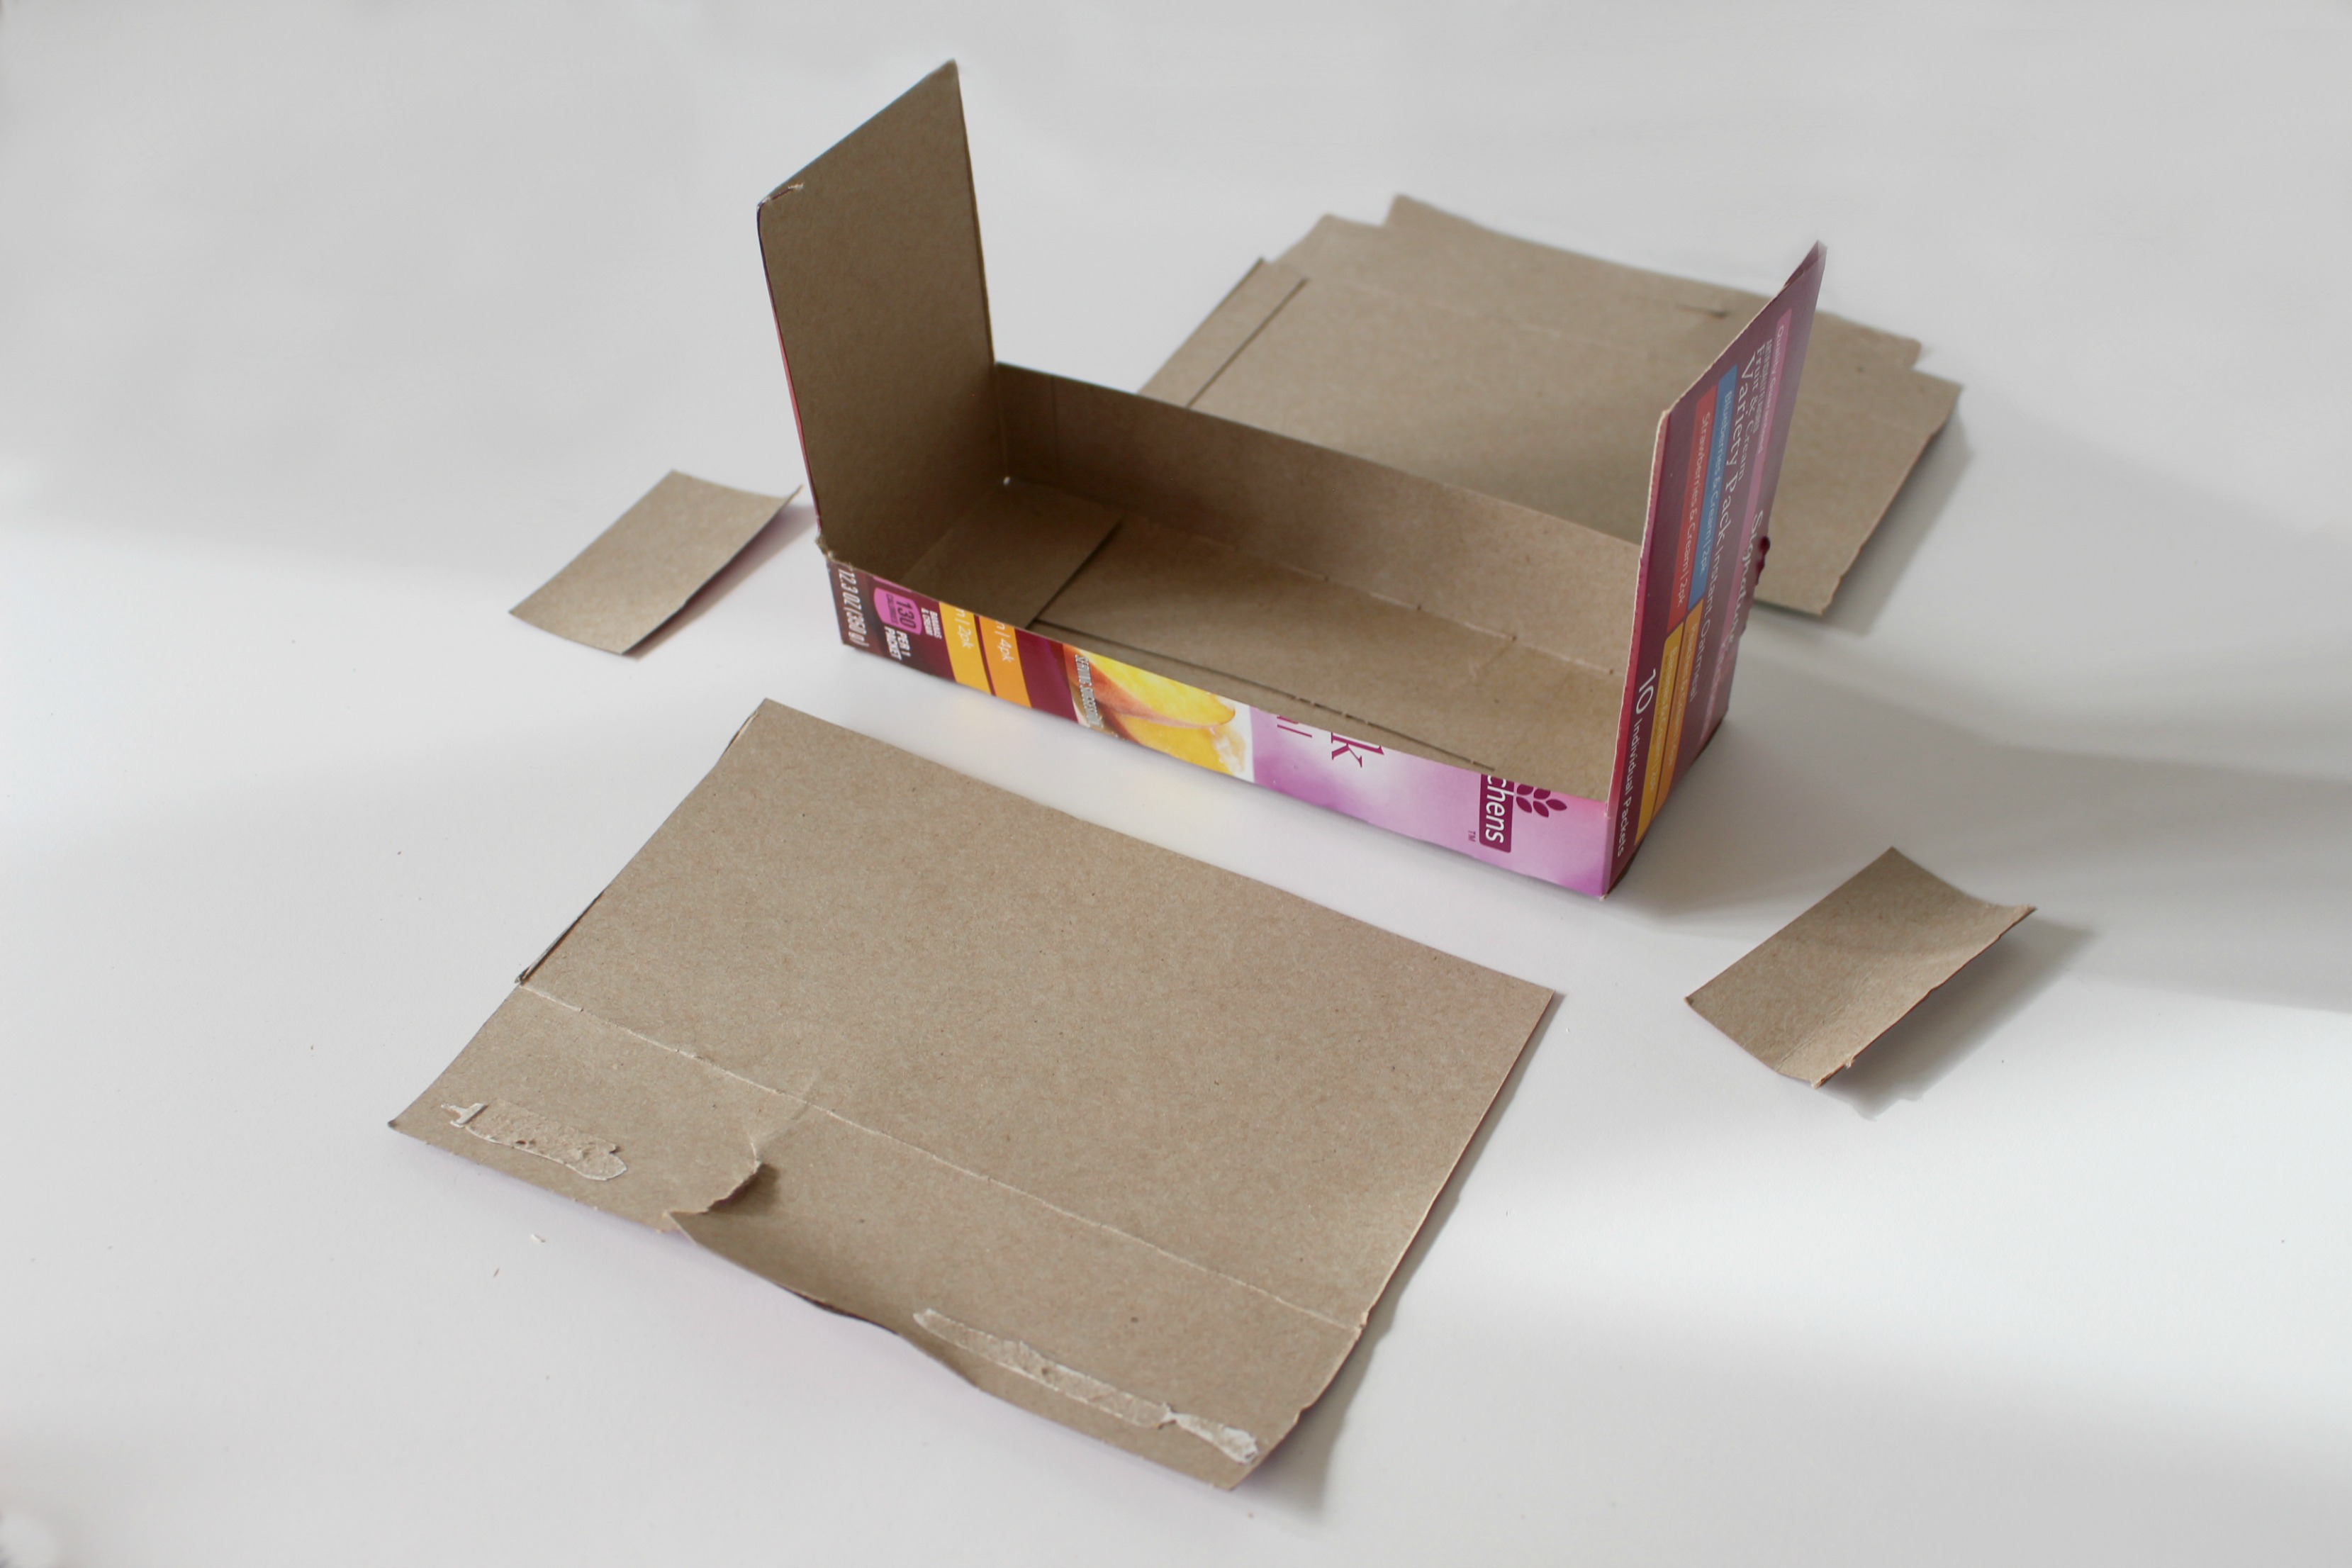
Step 1. Cut the flaps off the top of the box.
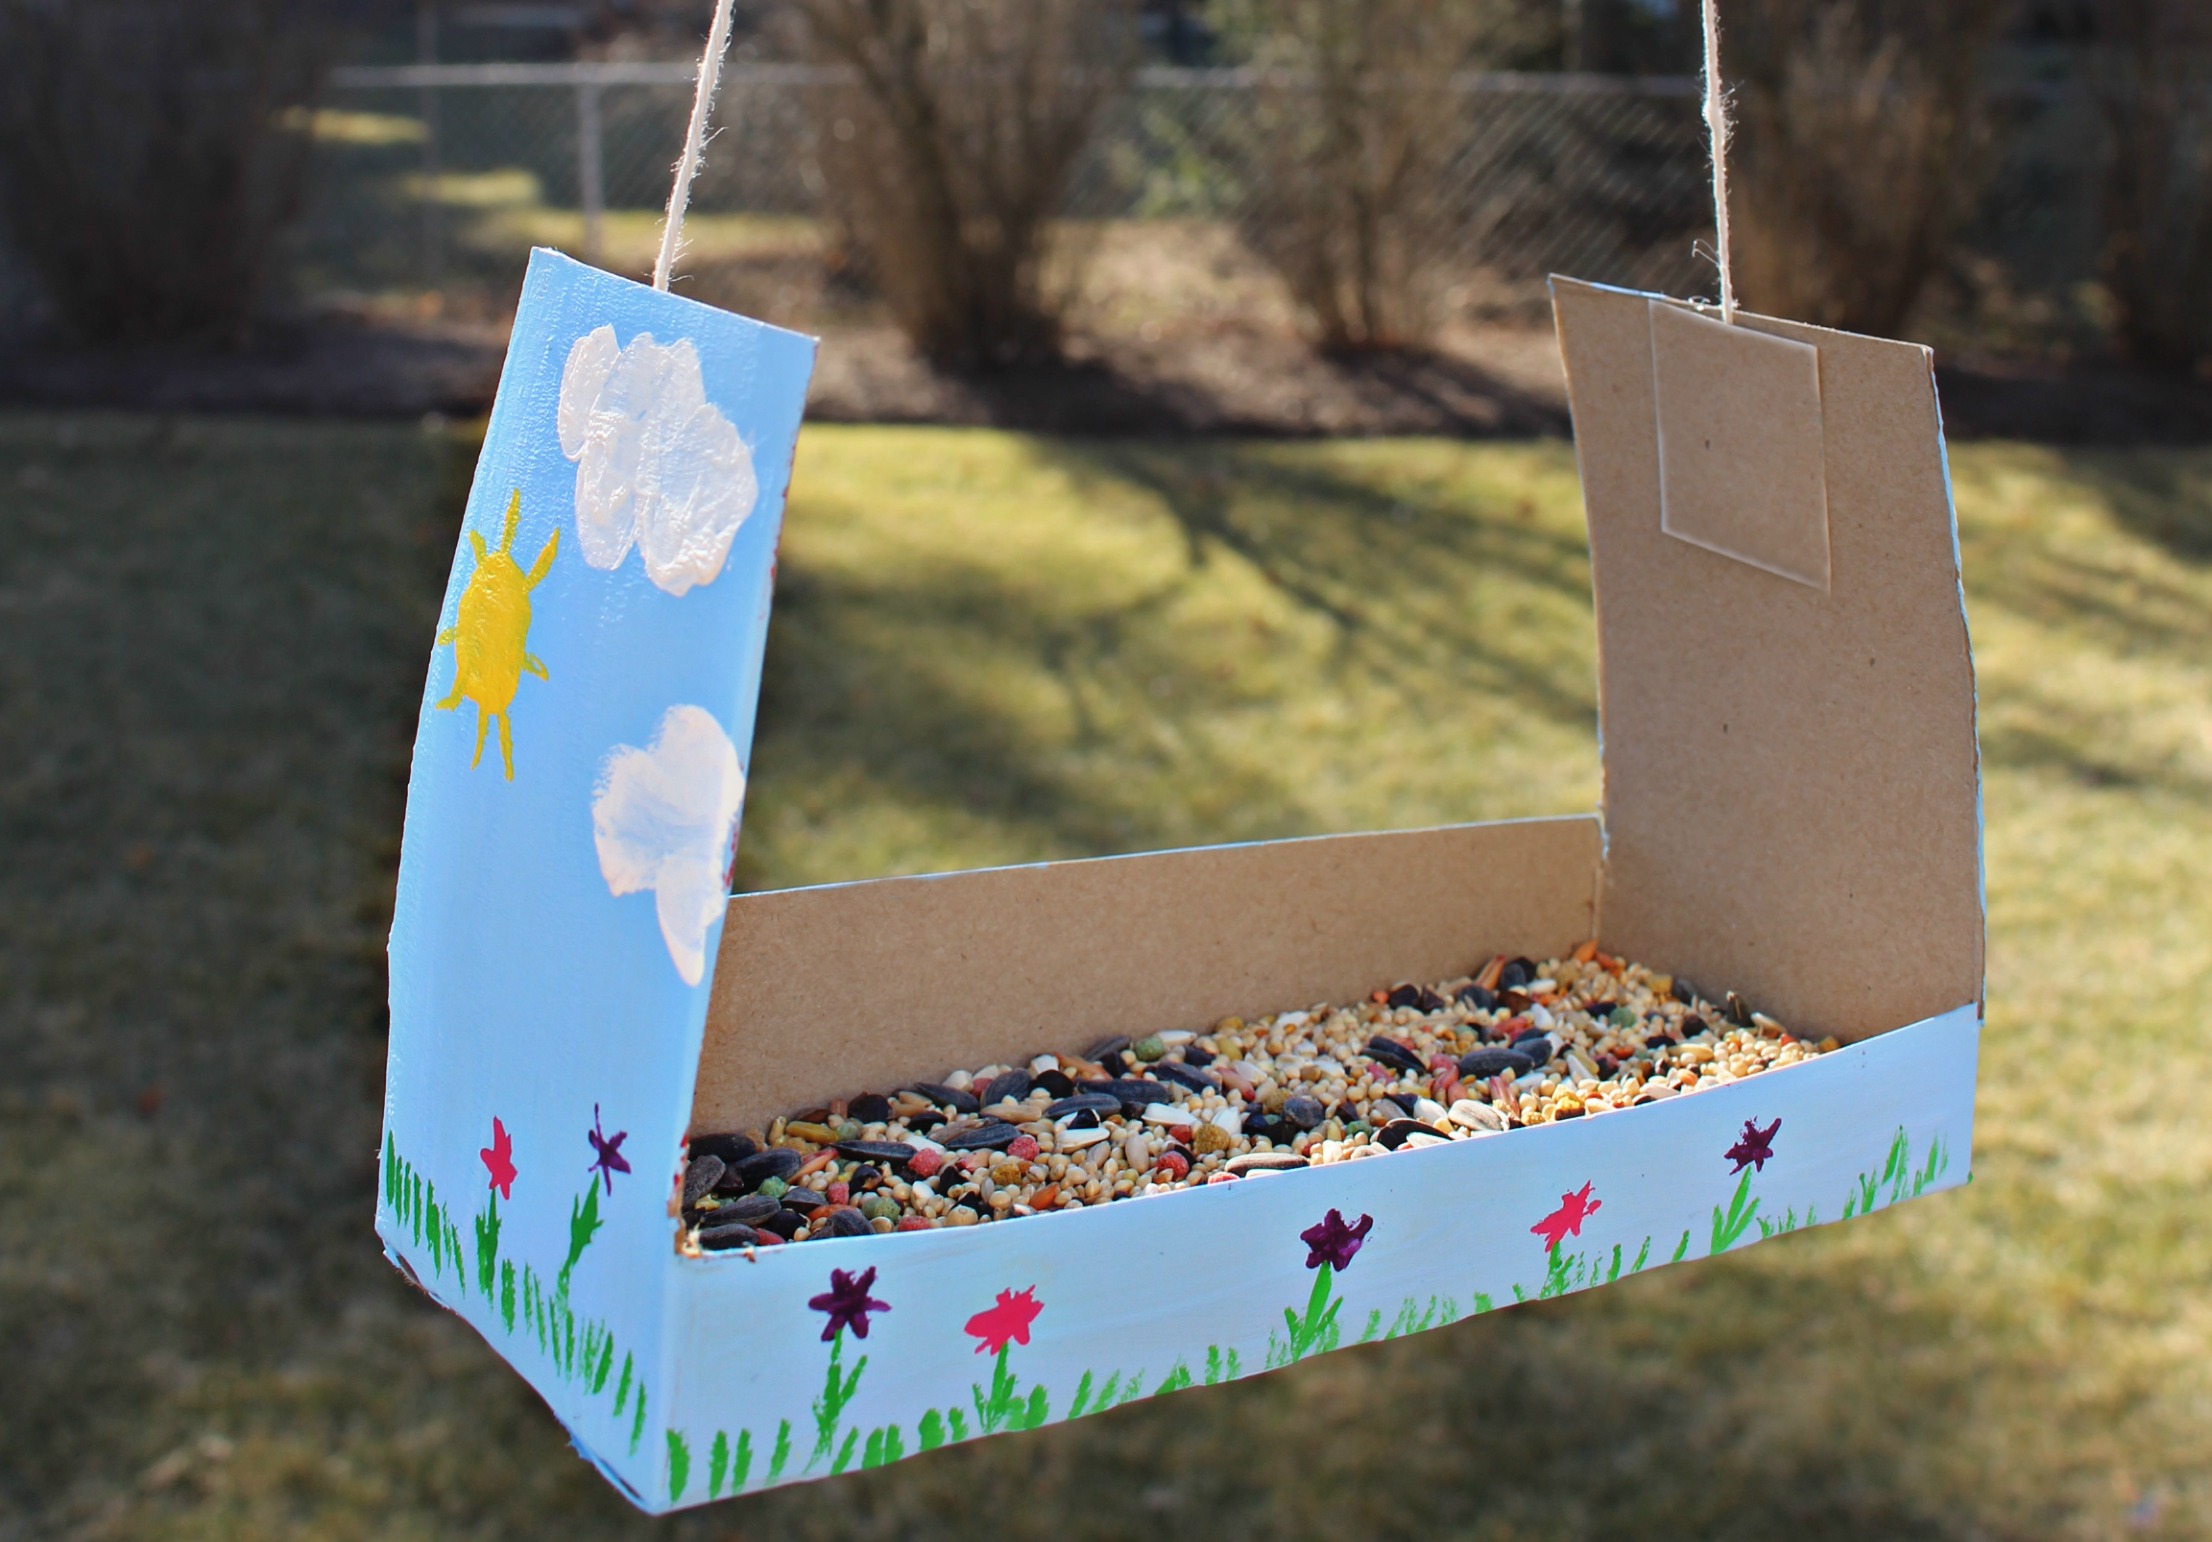
Step 2. Cut the longer length sides off the box leaving an inch of space coming up from the bottom of the box so that it will hold the birdseed in the bottom. (See photo above.)
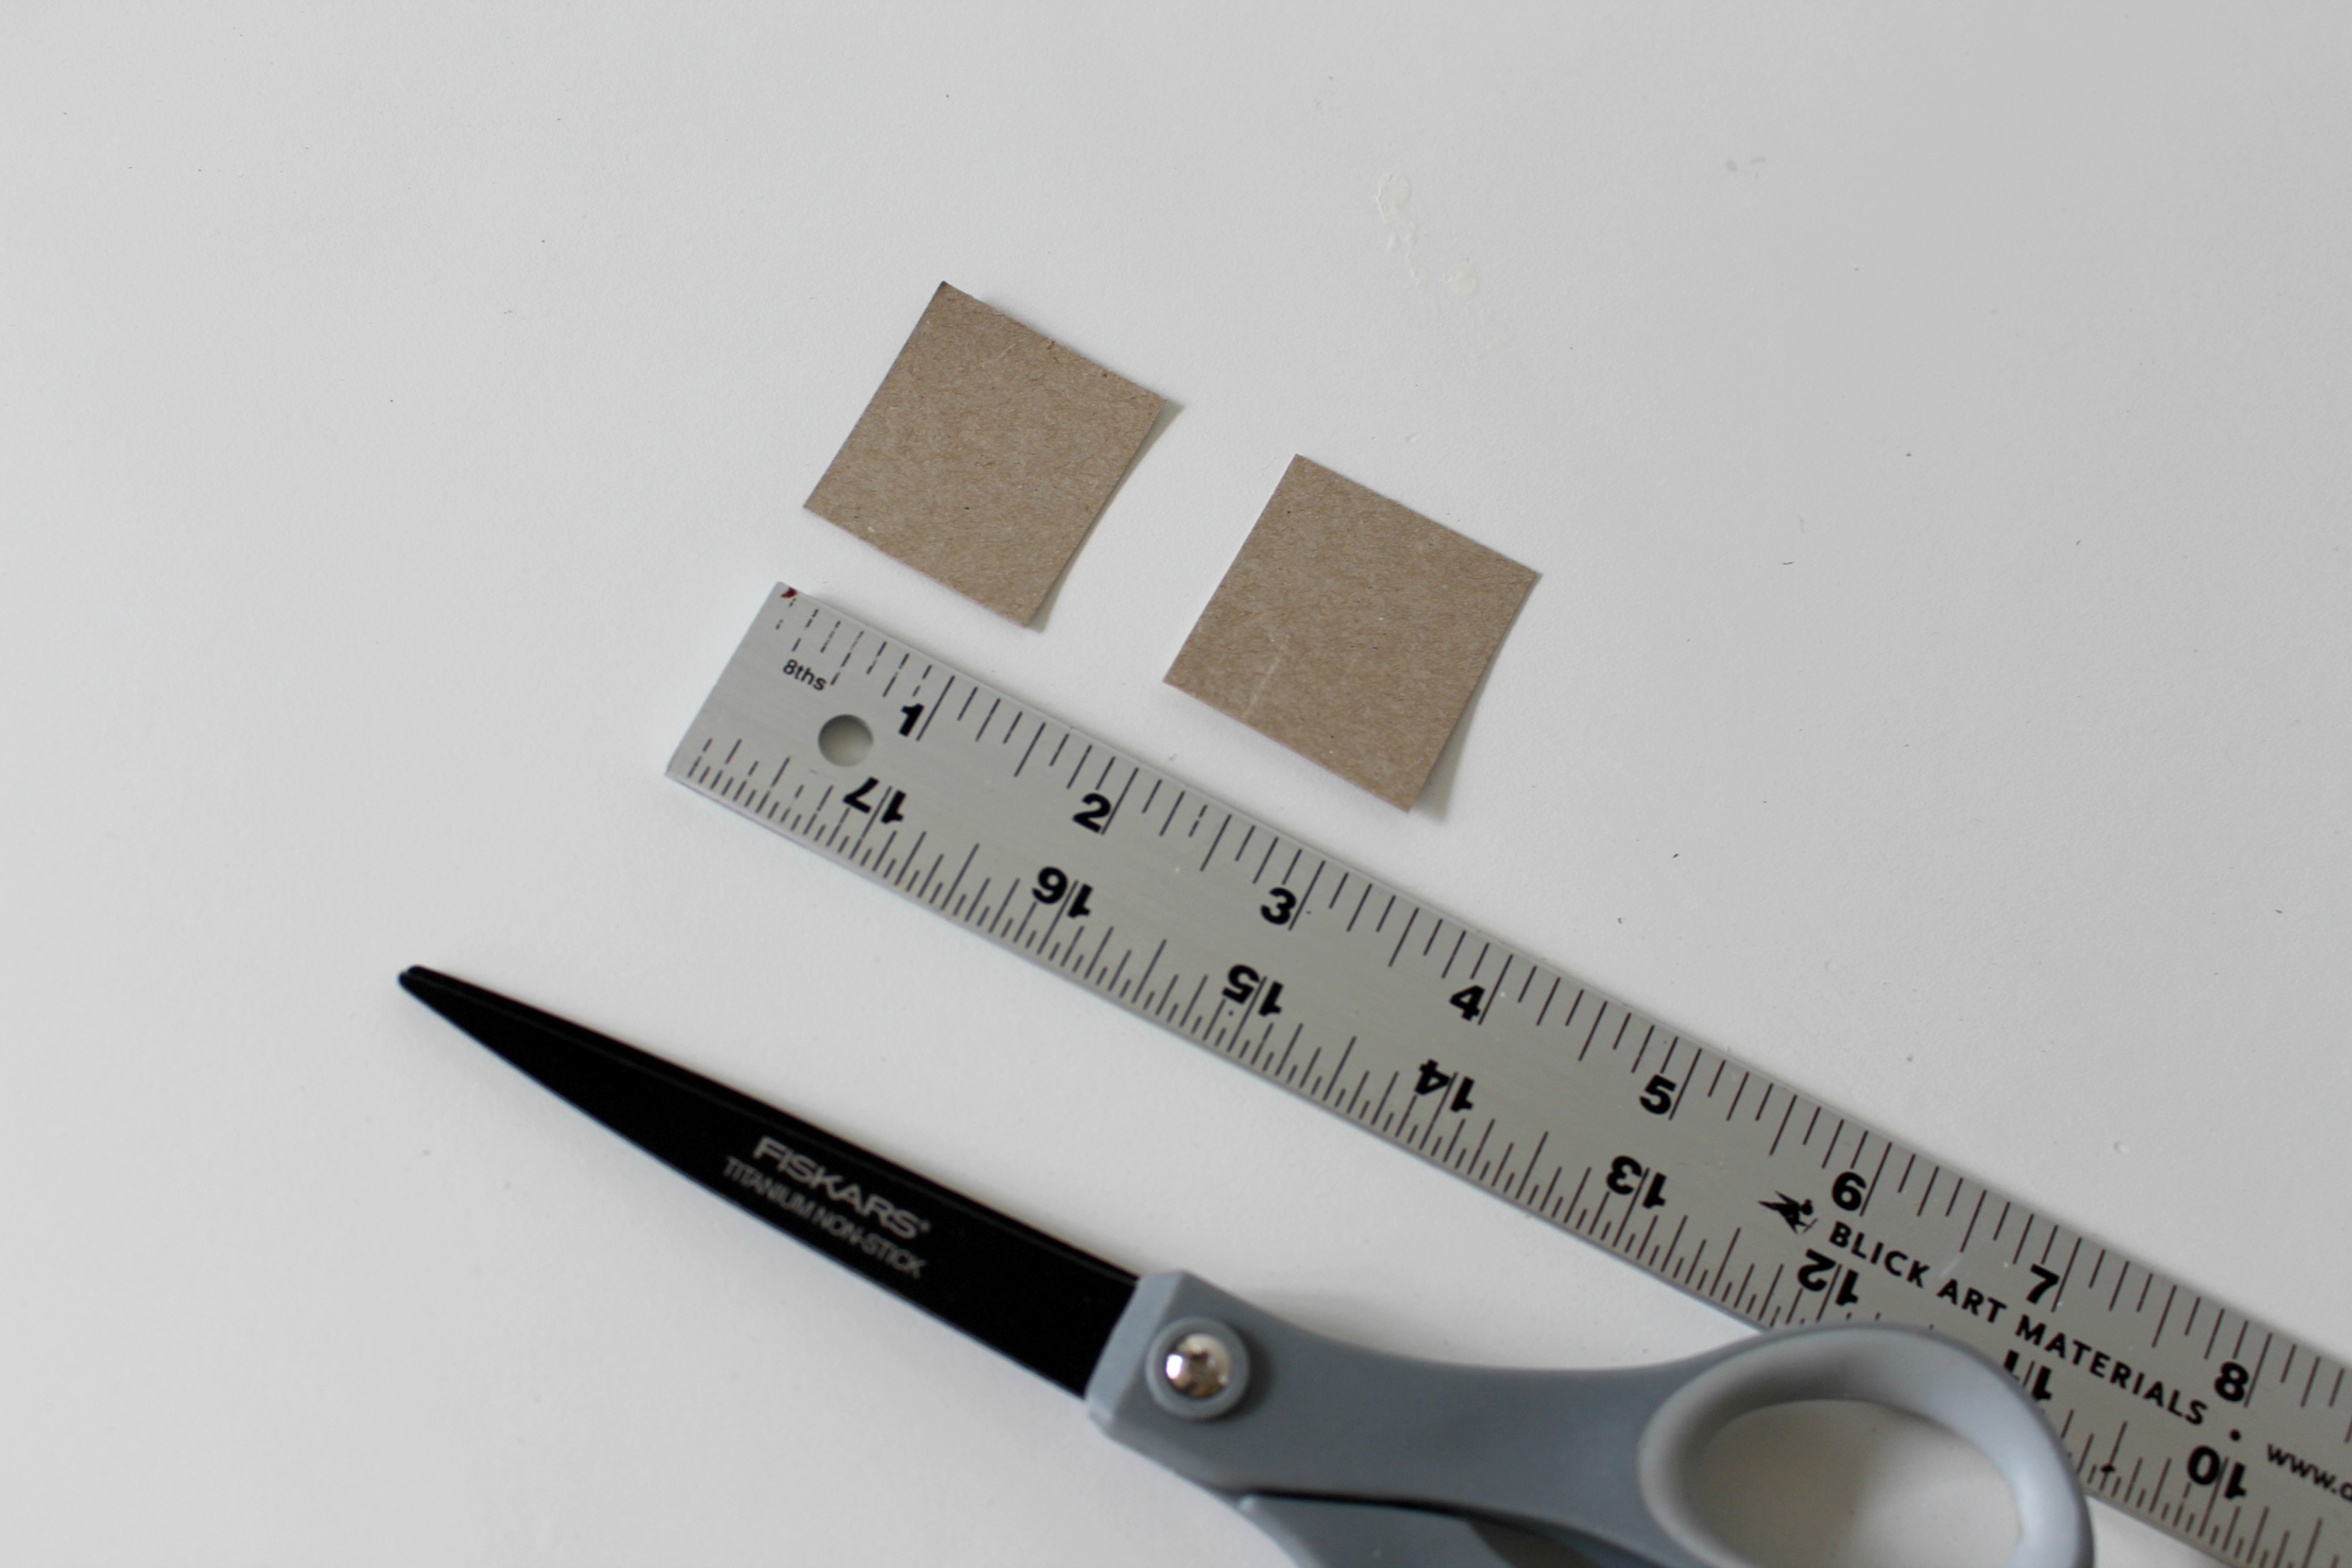
Step 3. Cut two 1” squares out of the leftover cardboard. Set these aside.
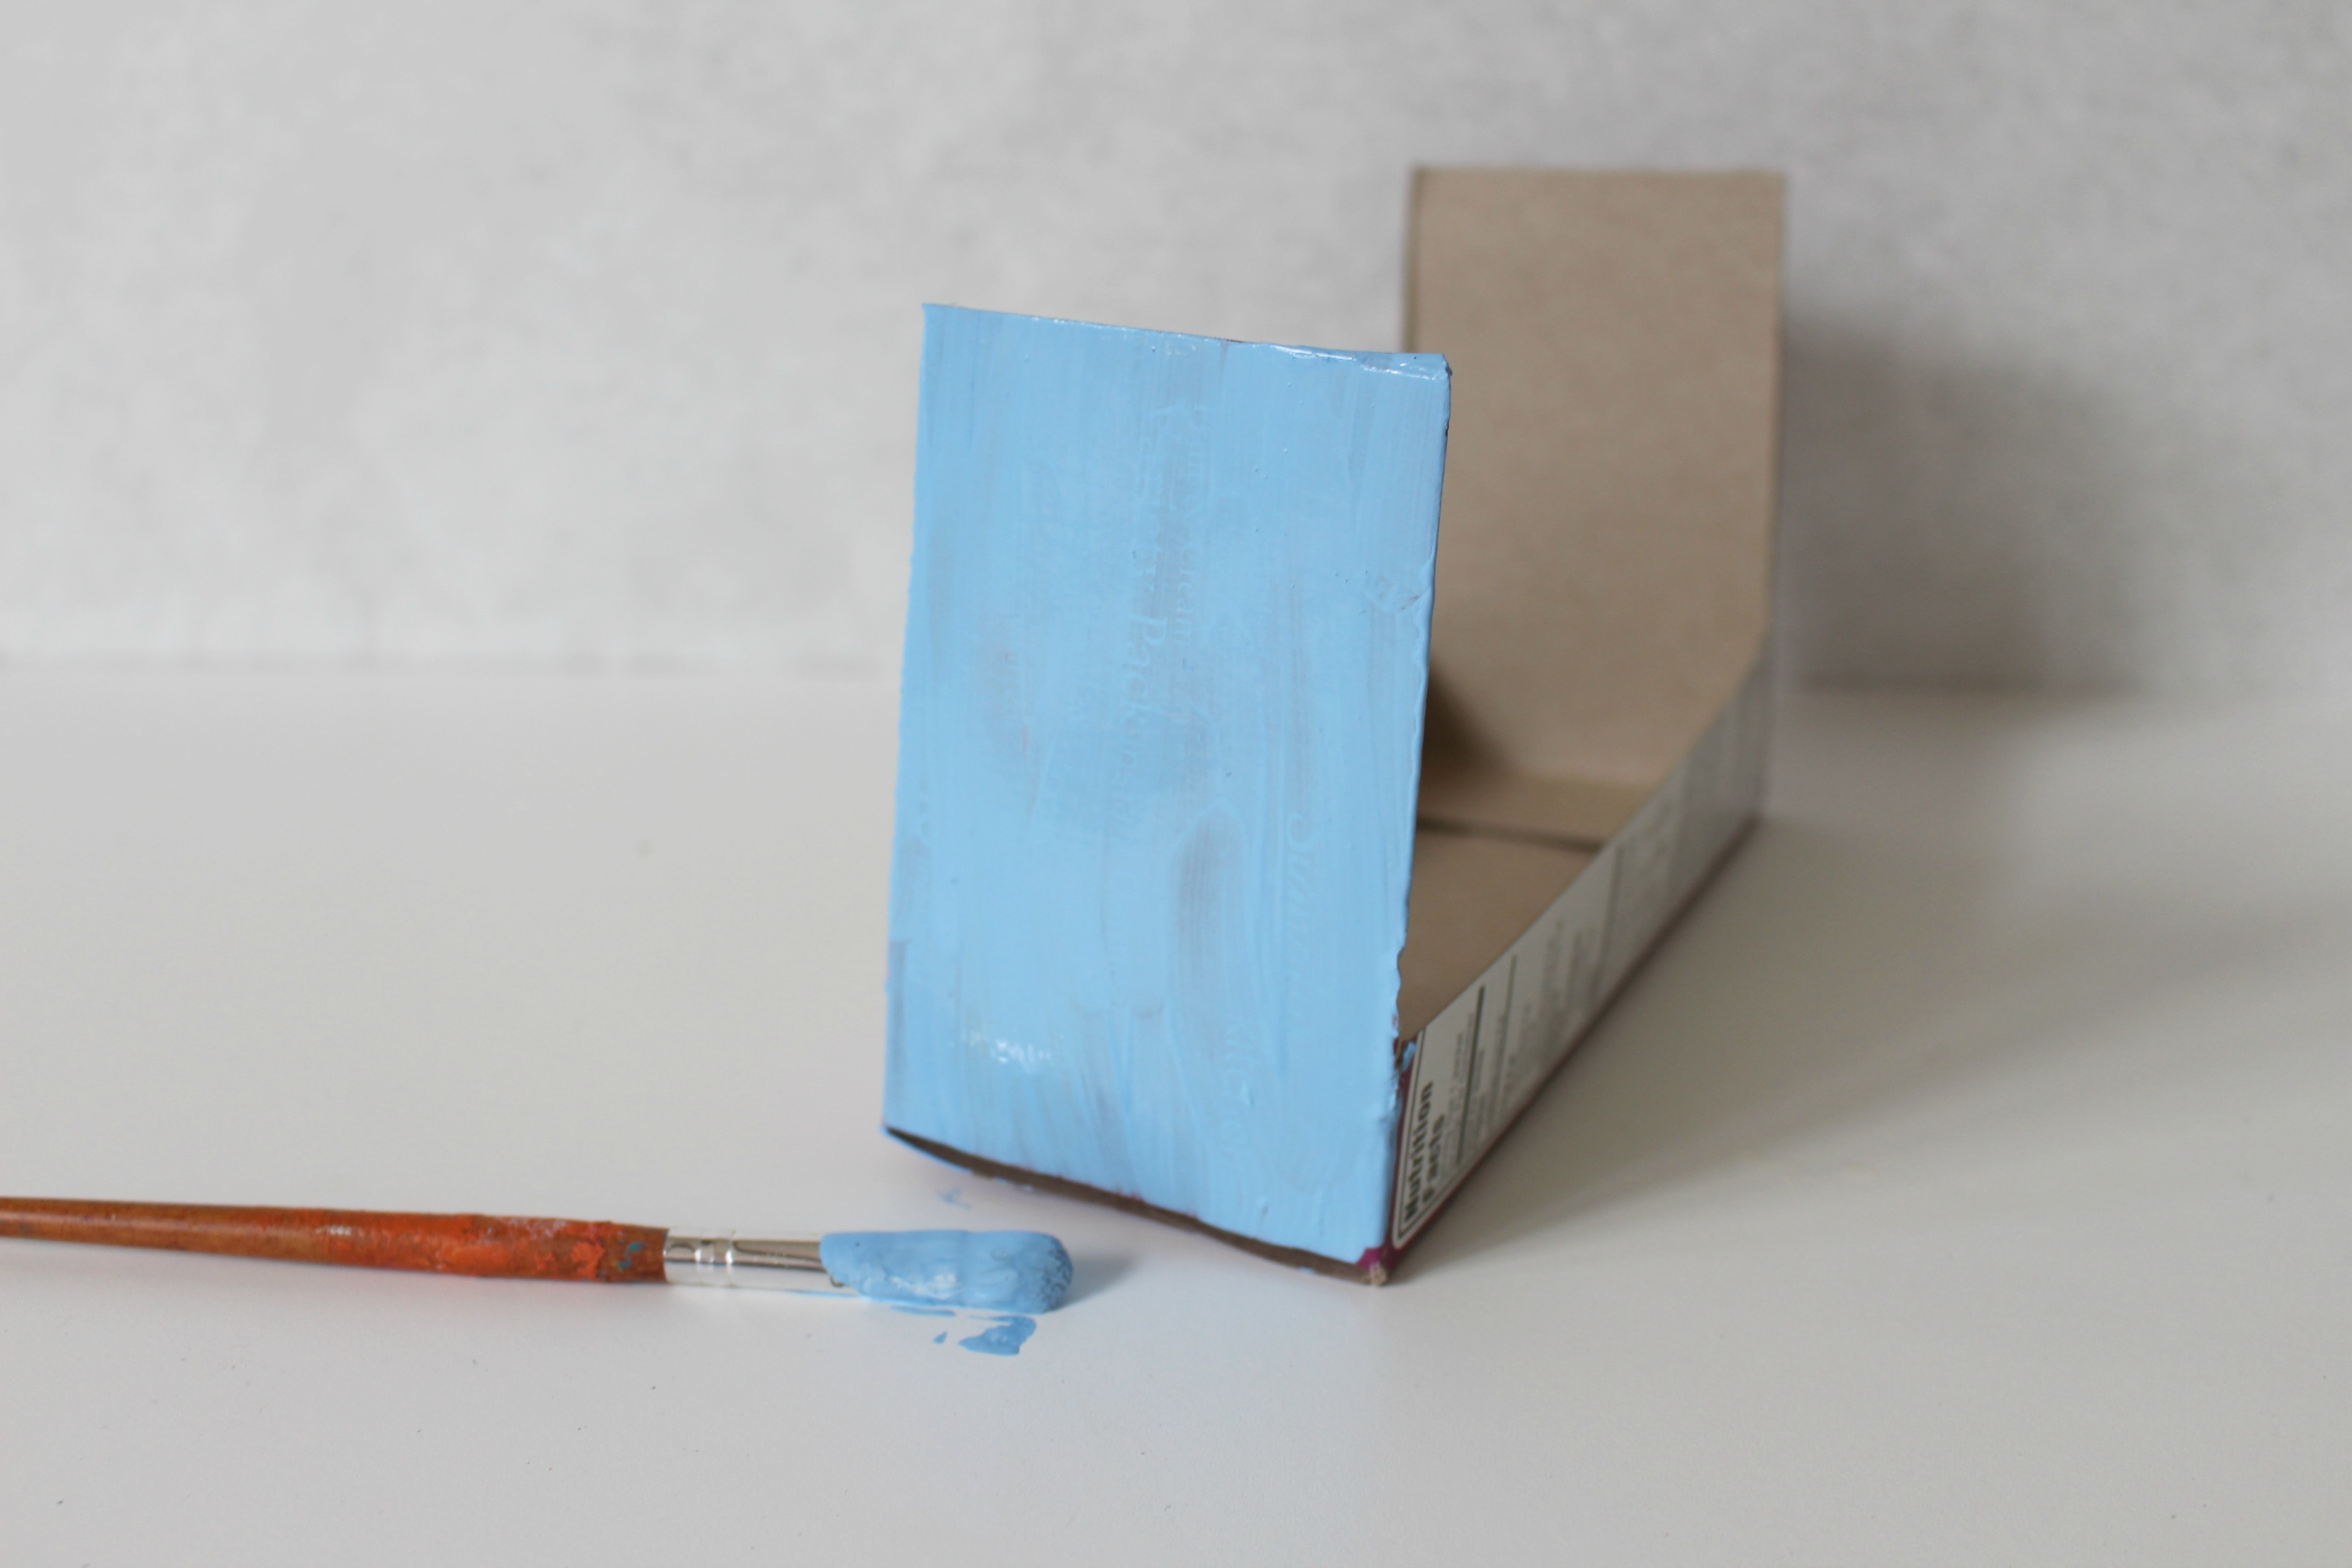
Step 4. Have kids pic a color to paint the entire box. They need to cover the print on the box to give them a fresh “canvas” to paint on.
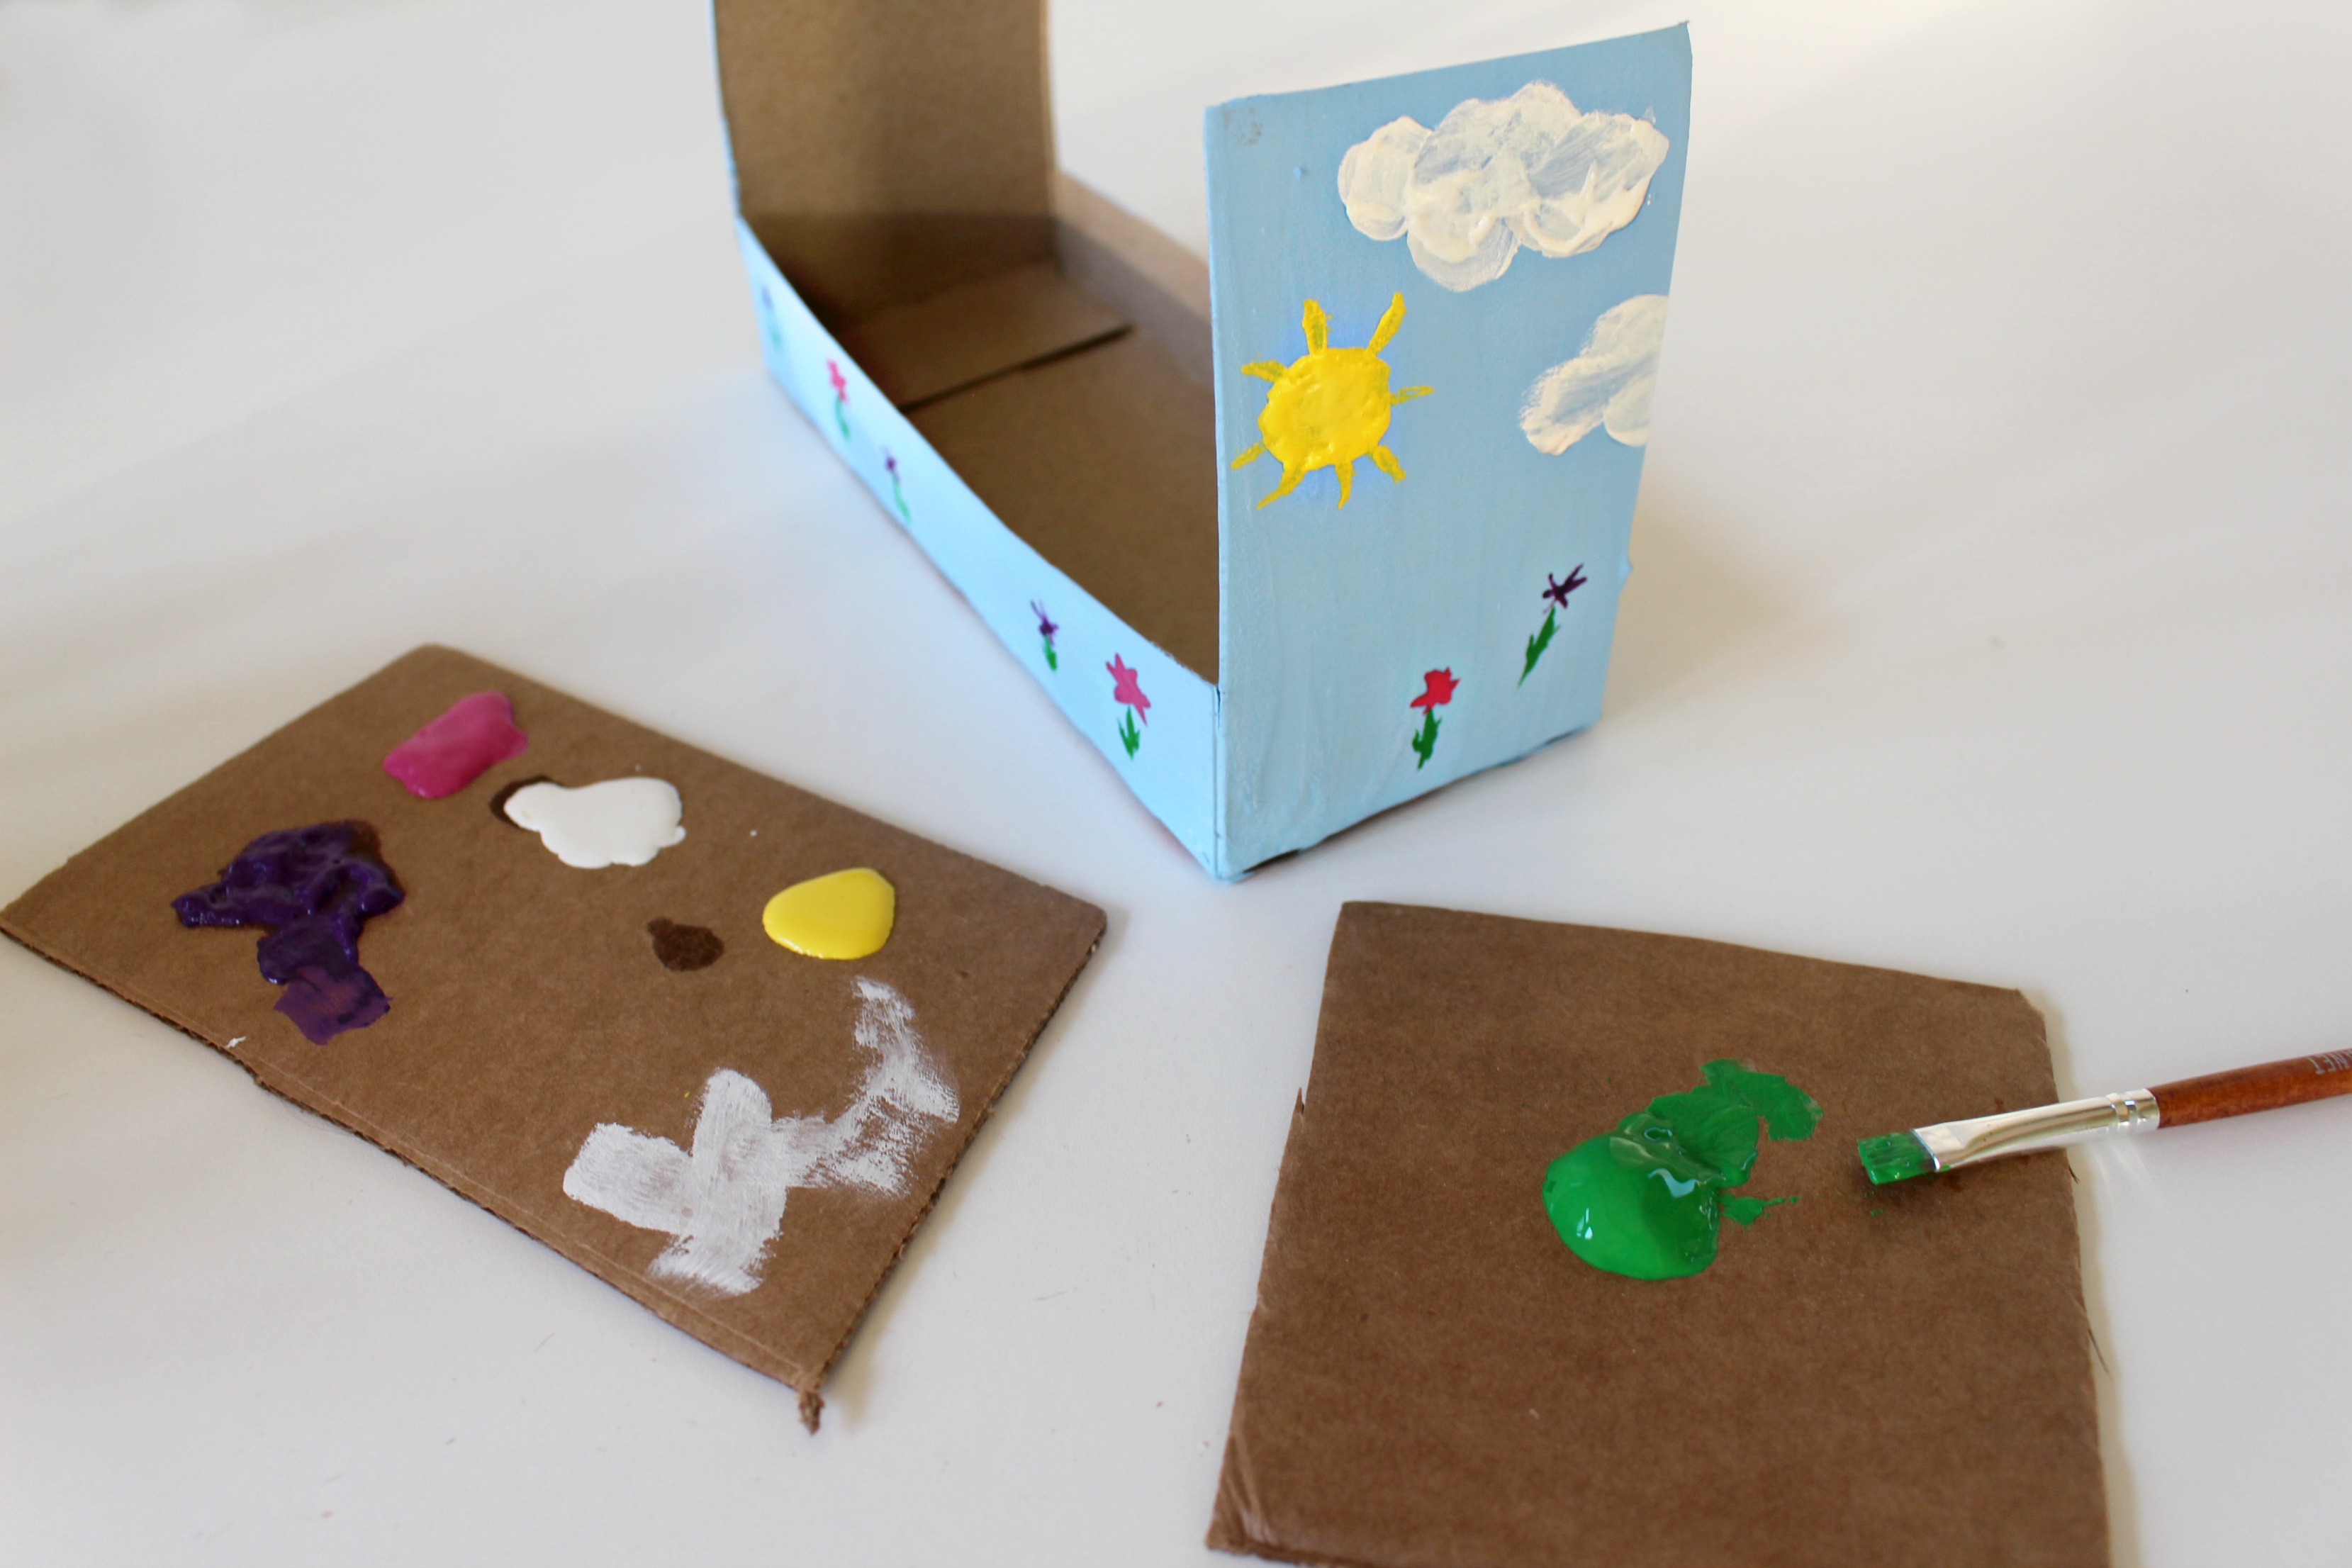
Step 5. Give the kids assorted paints and let them decorate their bird feeders. (Let the paint dry)
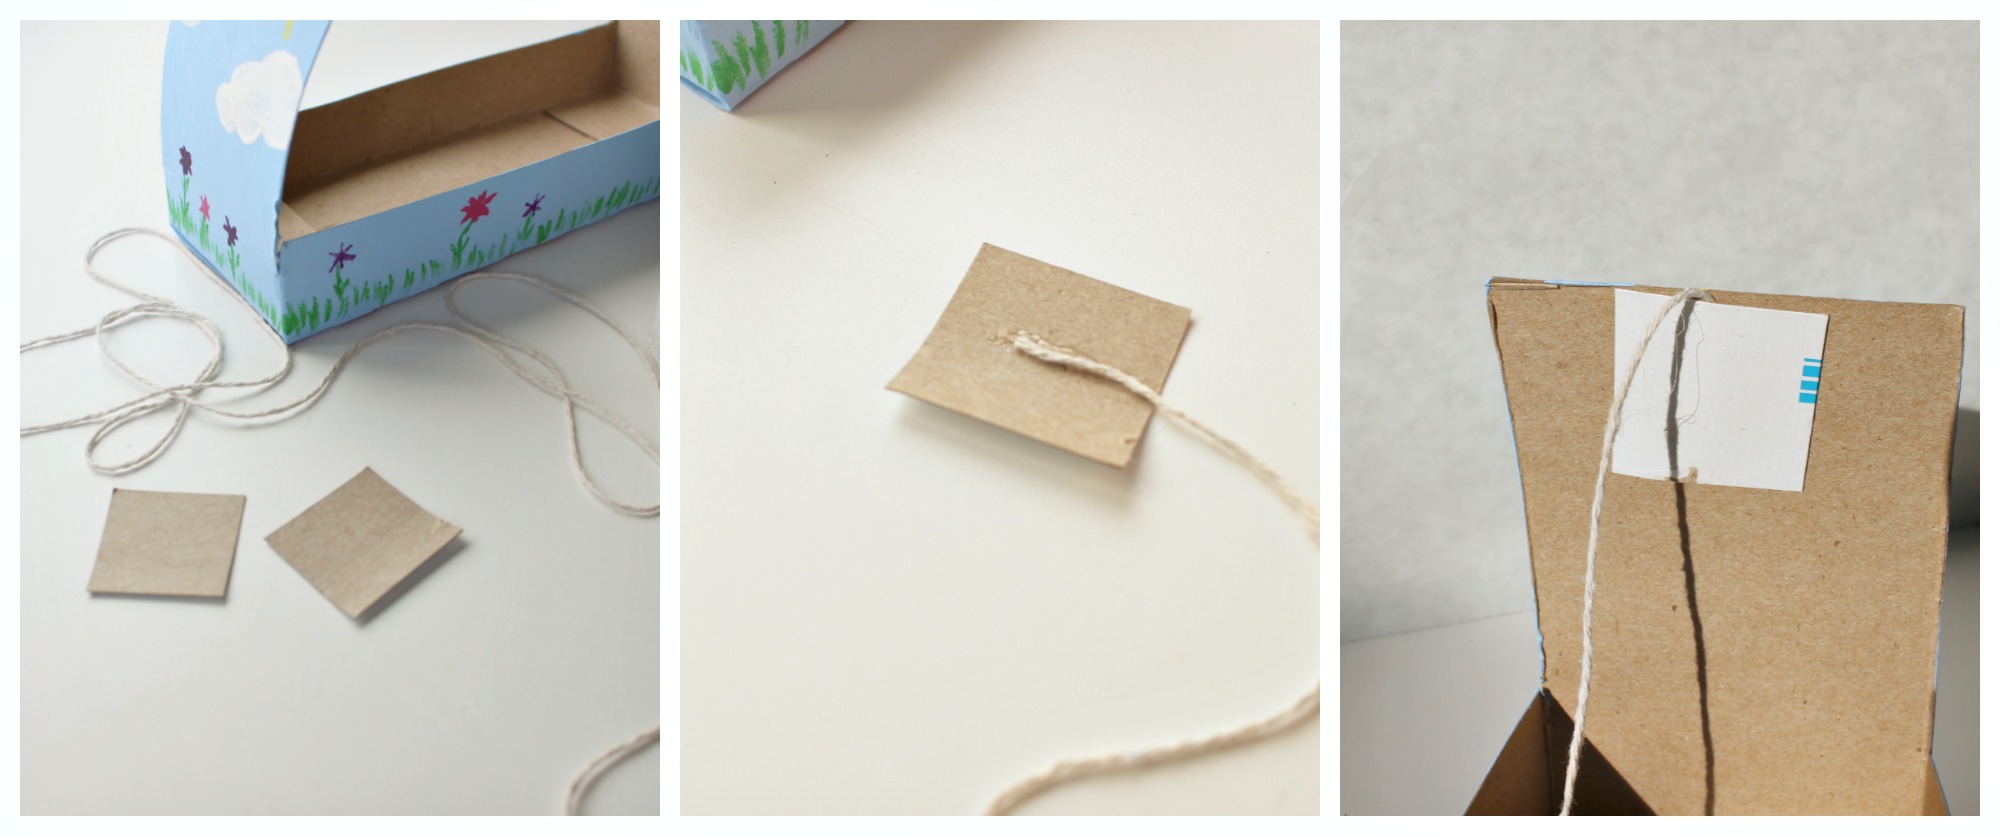
Step 6. Take your two small square pieces of cardboard and add a thick strip of hot glue down the center of each one. Attach the ends of your string to each of these. Add more glue and secure one on each side on the top inside sections of the tall bird feeder ends. (Your string should be measured to the length that you need to hang your bird feeder.)
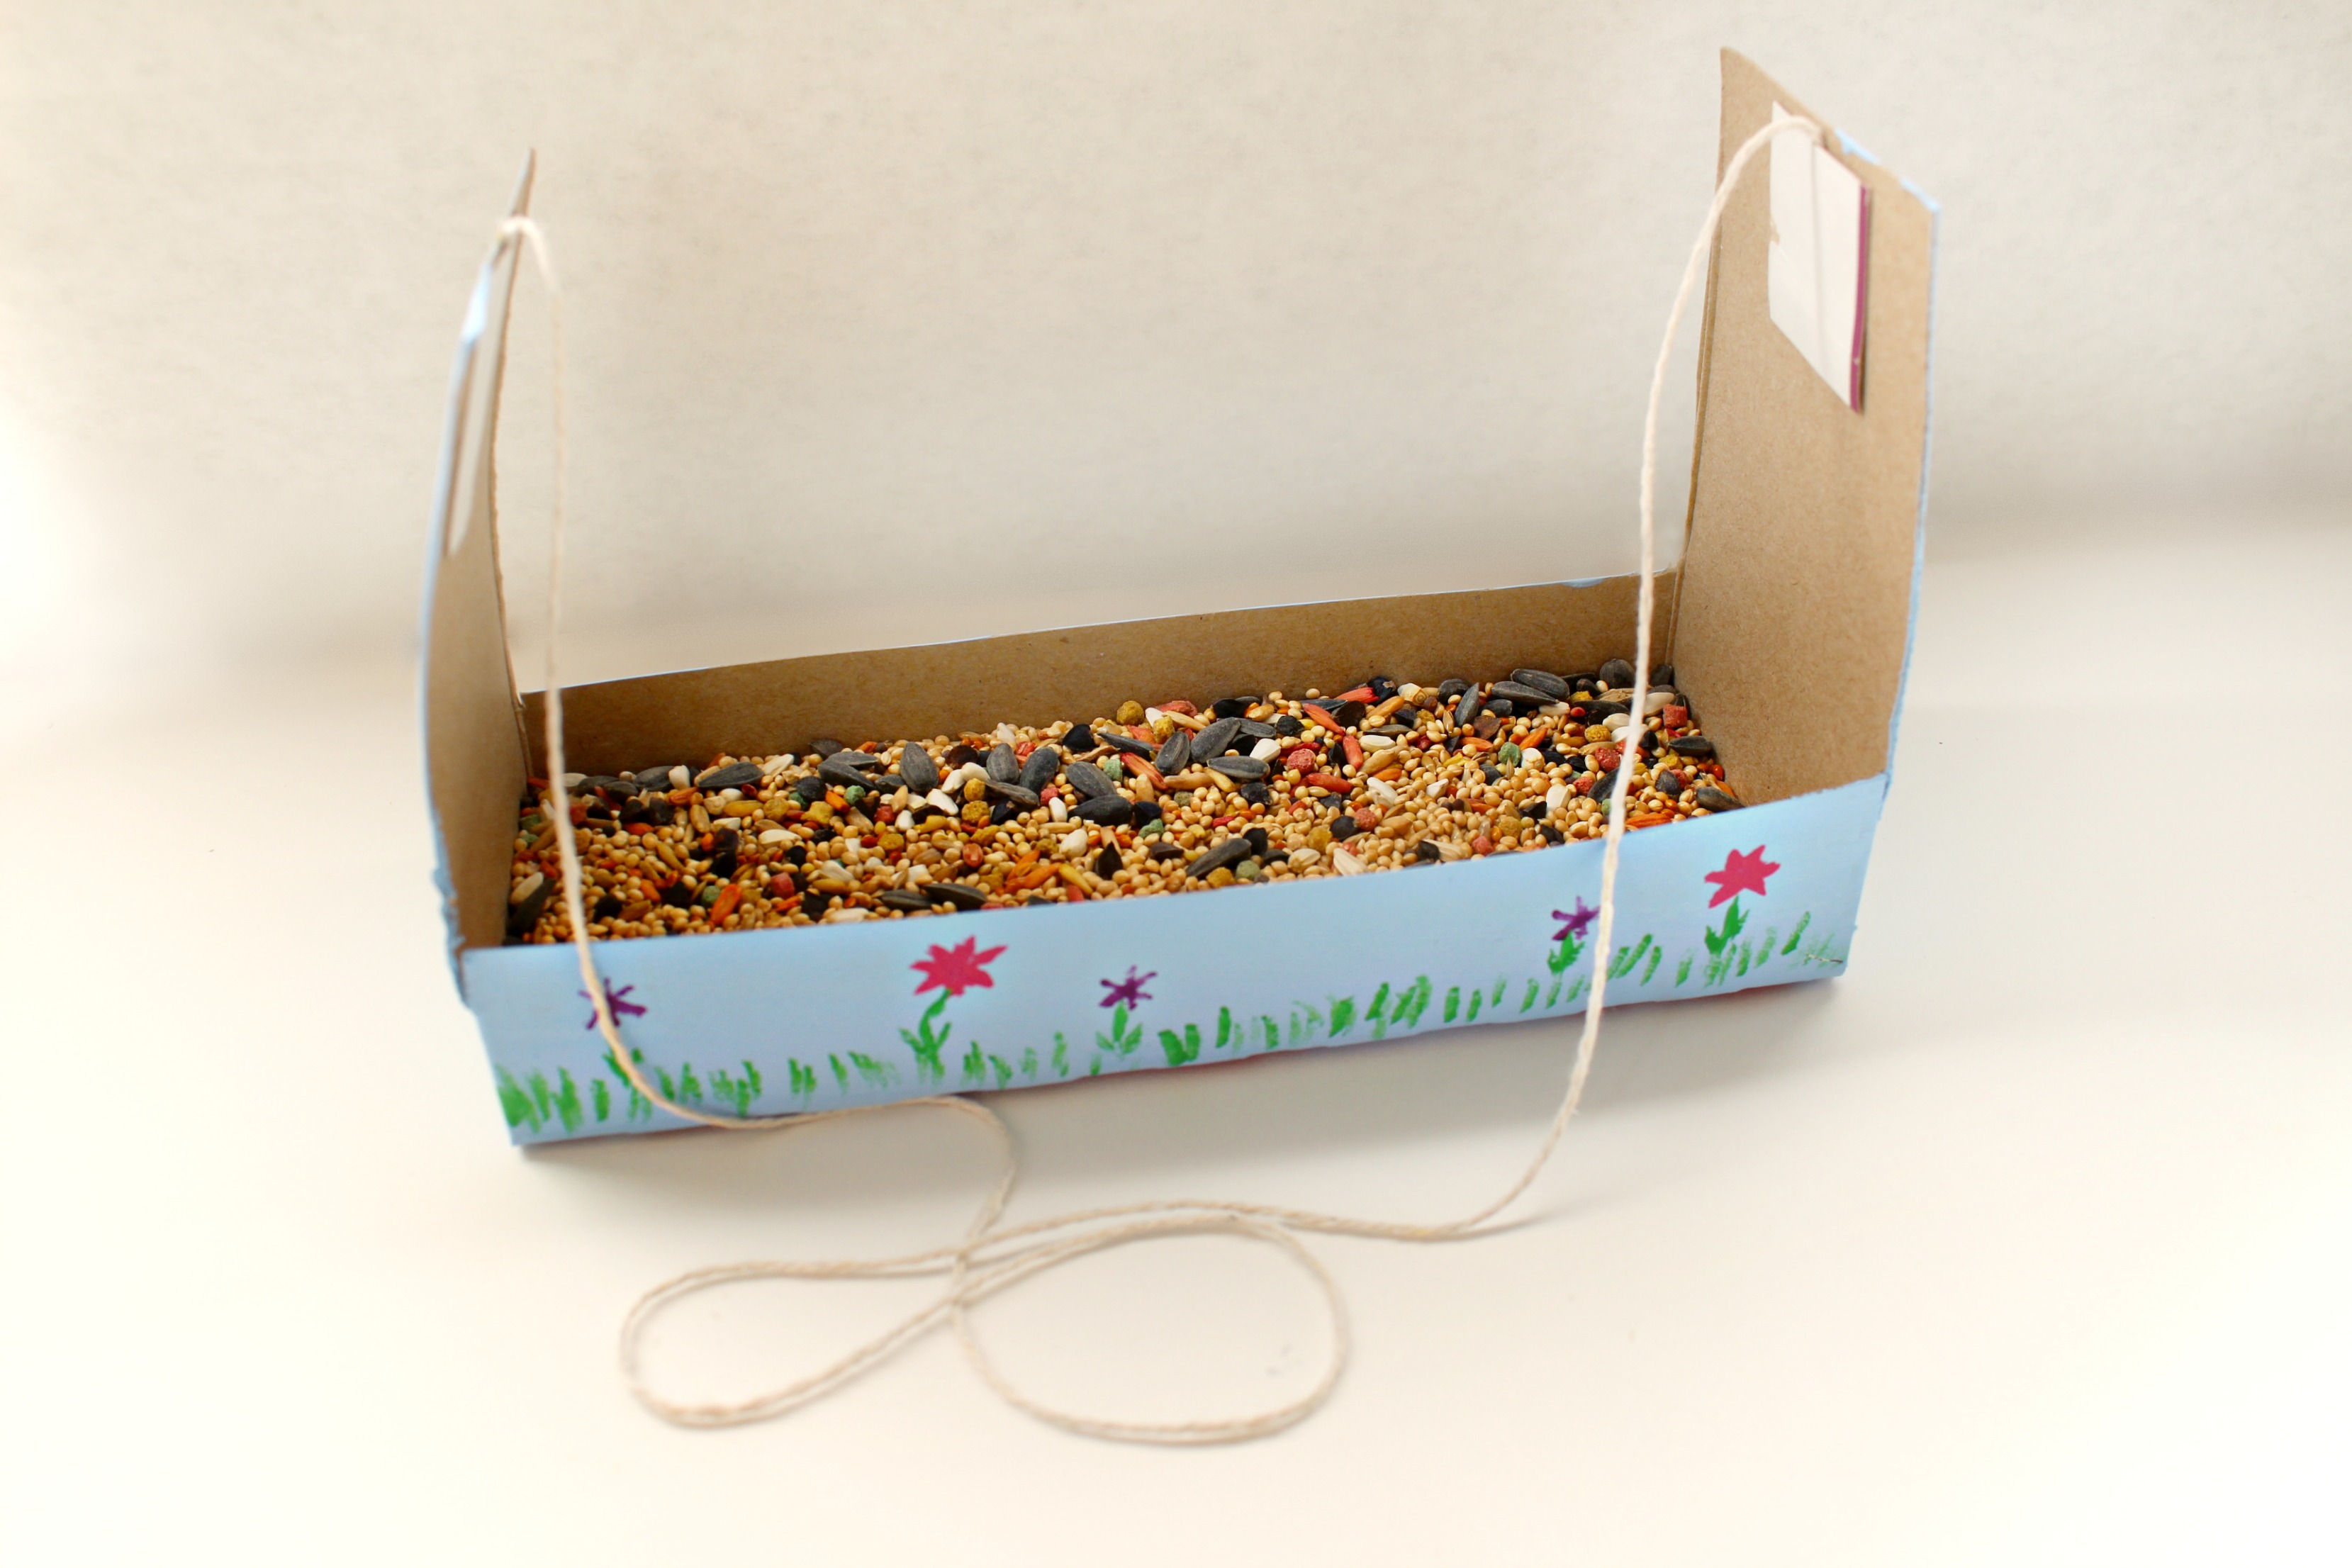
Step 7. Add birdseed to the bottom of the bird feeder and hang.
Cute, right? Obviously, being made of cardboard, this isn’t a bird feeder that’s going to last forever. What can you do to make one that will hold up even longer?
Options:
- Cover it with clear Contact paper to make it a bit more weather resistant.
- Paint or spray it with clear shellac. This needs to be an adult job and done outside. A more kid-friendly option would be to use Mod Podge made for outdoors.
- Instead of using a cardboard box, cut down a gallon milk jug or plastic laundry container. Again, this step will need to be done by an adult as you will need to use an X-acto type knife for it. Also note that you will need to use paints specially made for adhering to plastic OR you will need to sand down the outside of the container to make regular craft paints stick better. The sanding does add in an extra step that the kids could do if you’re trying to keep them busy even longer. 😉
Looking for more summer fun ideas? Click on the image above to be taken to other posts in this series.
Leave a Reply