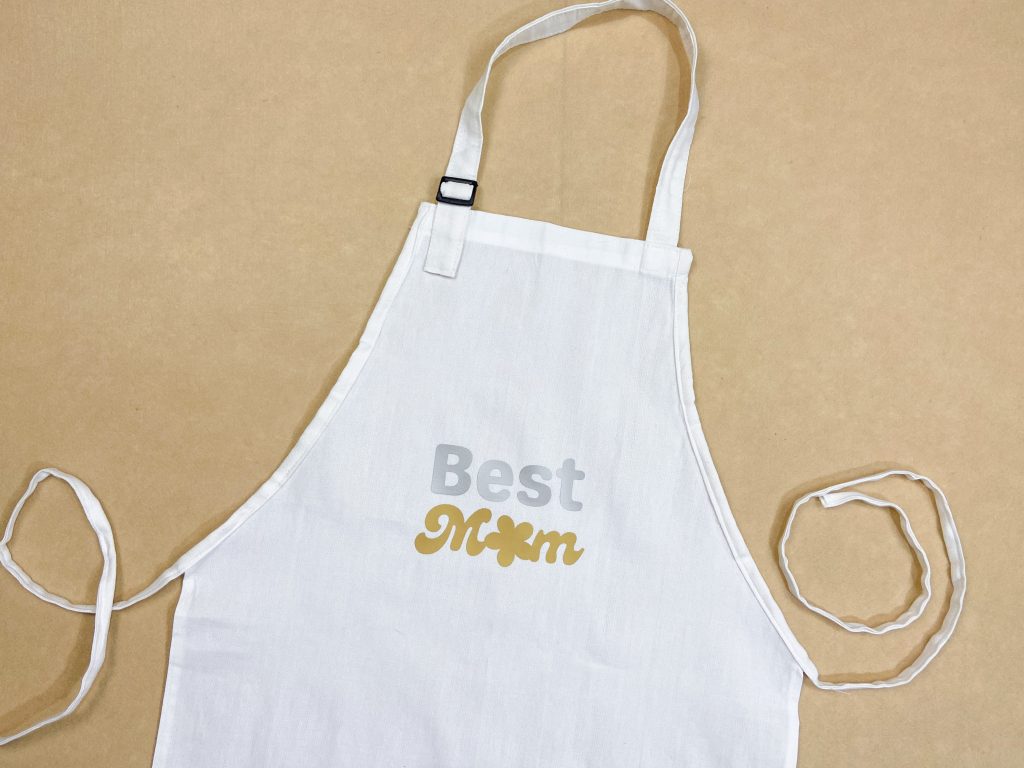
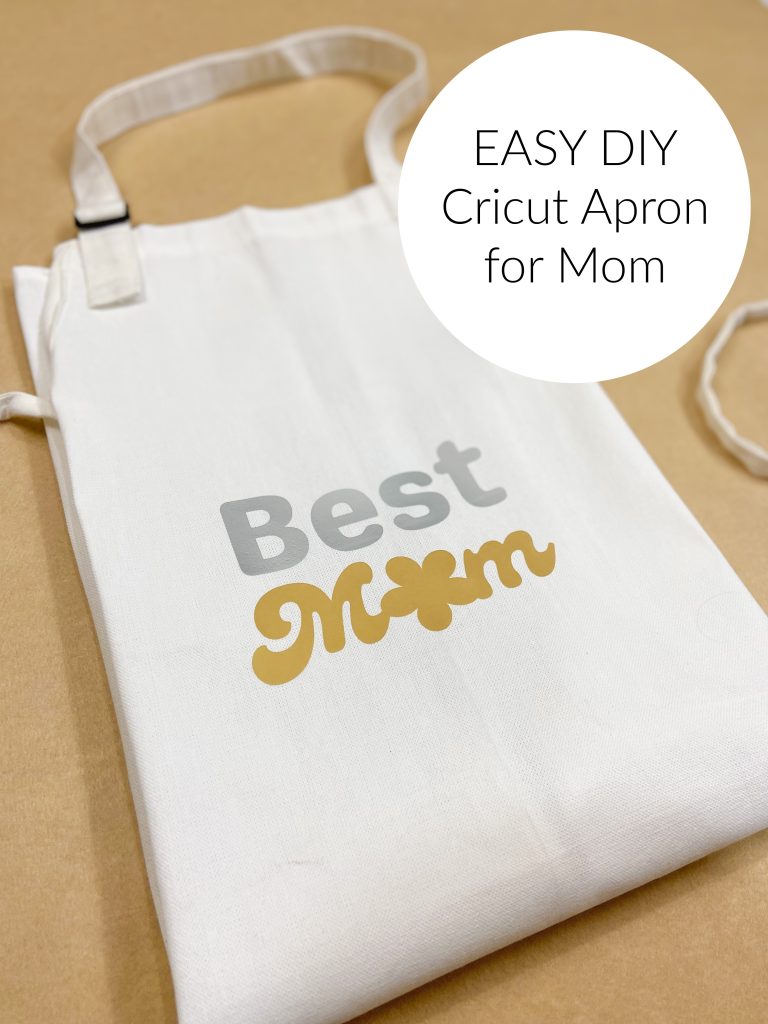
If you’ve got a Cricut machine, the possibilities for gifts you can make are pretty much endless. This super cute DIY Cricut apron for Mom is easy to make with our free SVG cut file.
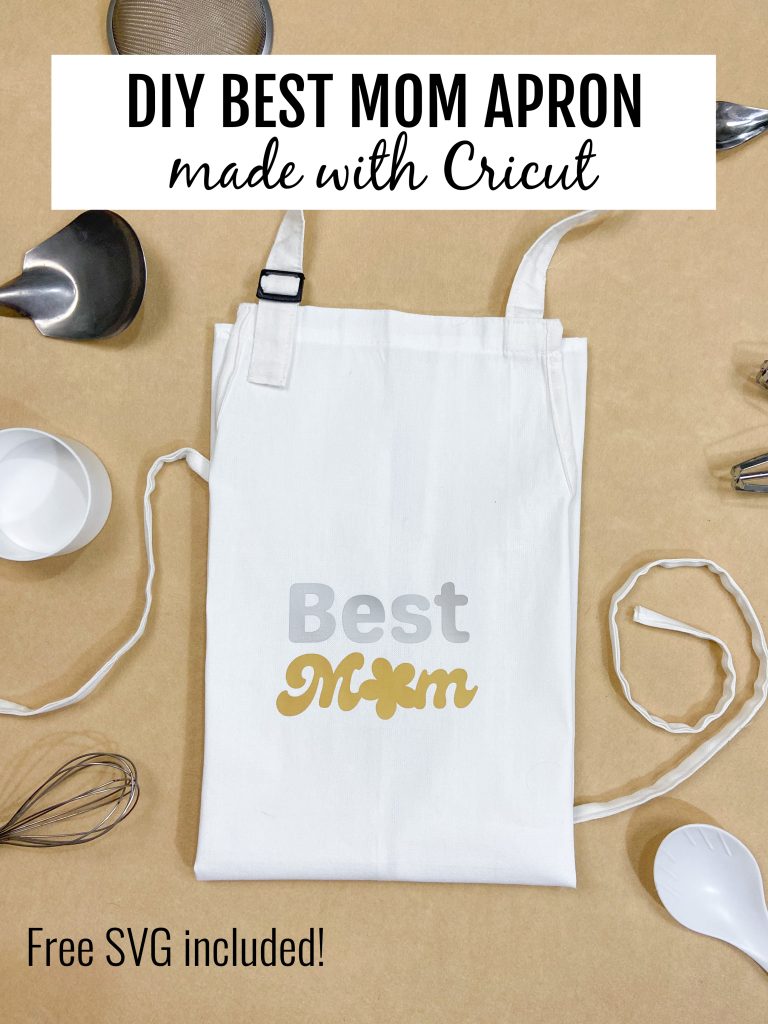
DIY Cricut Apron for Mom
Disclosure: Some of the links in the post below are affiliate links provided for your convenience. This means that if you purchase something through one of these links, I get a small commission at no added cost to you.
Materials Needed:
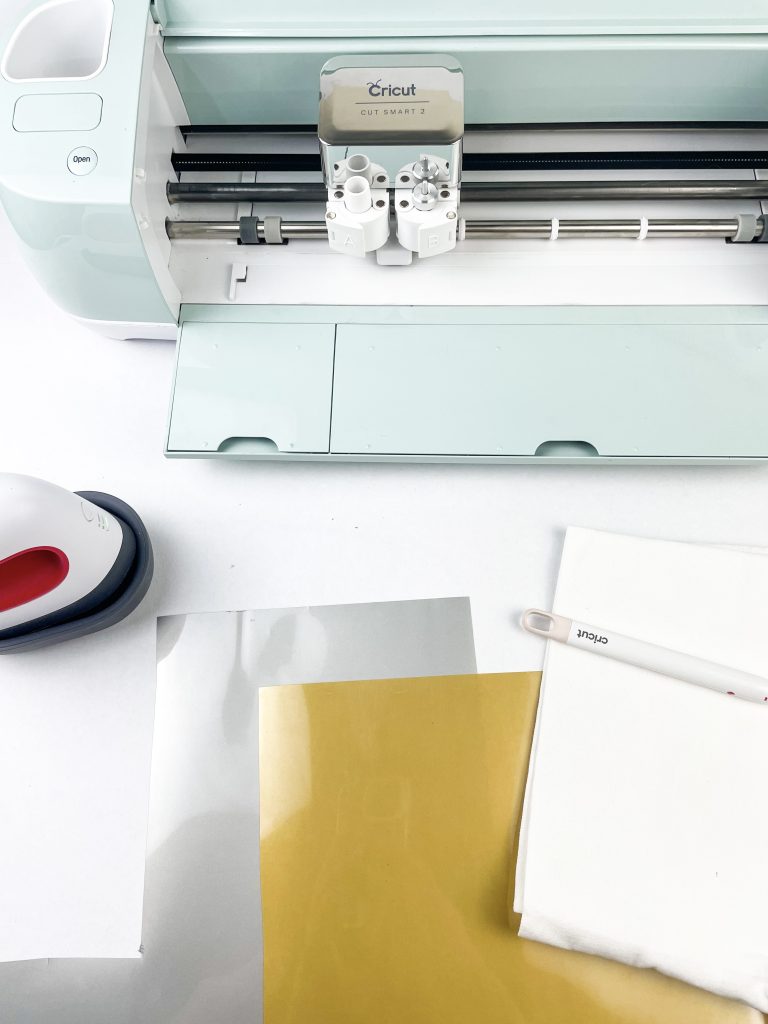


- Cricut machine – any of the machines will work for this project, although you may be limited by the size available with a Cricut Joy (which you might be able to overcome this by cutting your design in more than one part)
- Cutting mat for your machine – StandardGrip
- FinePoint Blade
- Heat Transfer Vinyl – I use Siser EasyWeed – use your choice of colors
- Cricut Heat Press – I use the Mini
- Cricut EasyPress Mat – this isn’t essential but it does help ensure even heating for the best results
- Weeding tool
- Brayer and/or Squeegee/Scraper Tool
- Plain apron – whatever color you’d like
- Best Mom SVG cut file
Instructions
Working in Design Space
1 – Download the SVG cut file and upload it to Cricut Design Space. Add to your canvas.
2 – Customize the design colors as you’d like (or leave them all one color if you prefer). You could make each word a different color as we did or you could even just make the flower stand out by changing its color.
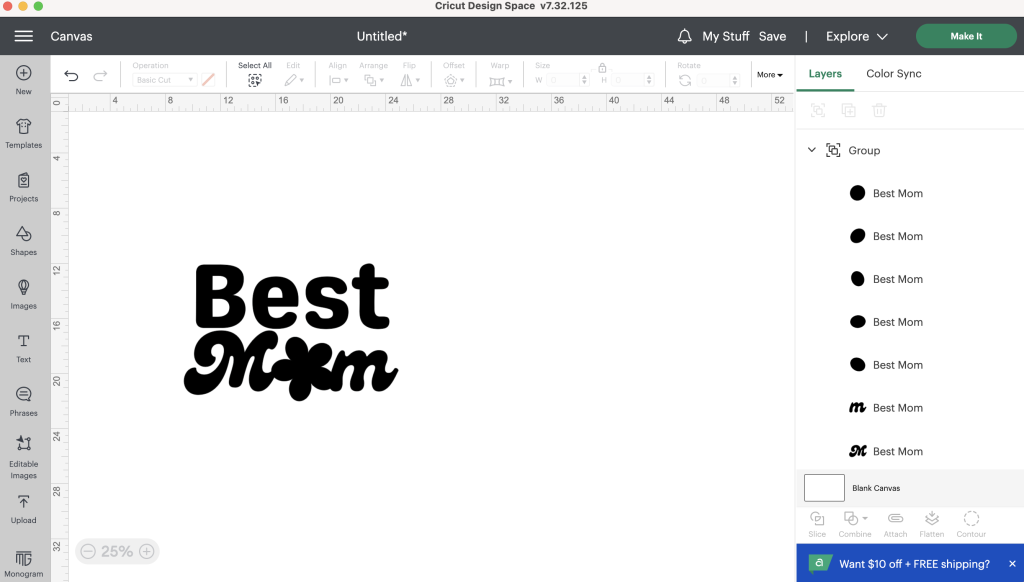
To start, select the entire design and Ungroup. Then, I selected the first word and chose Attach. I repeated that with the second word.
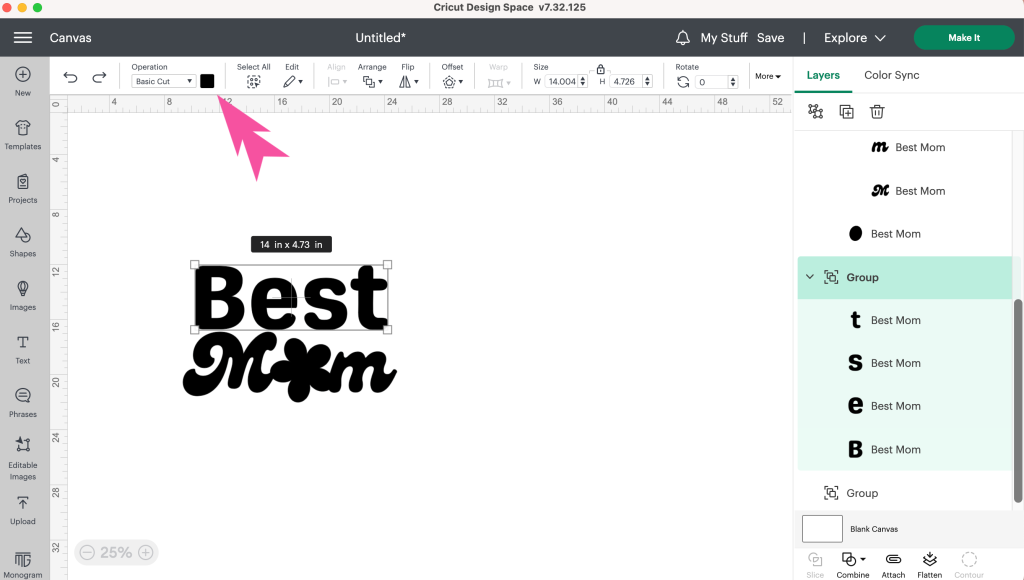
With the word selected, to change the color, simply click the black square as indicated in the screenshot above. Choose whatever color you’d like.
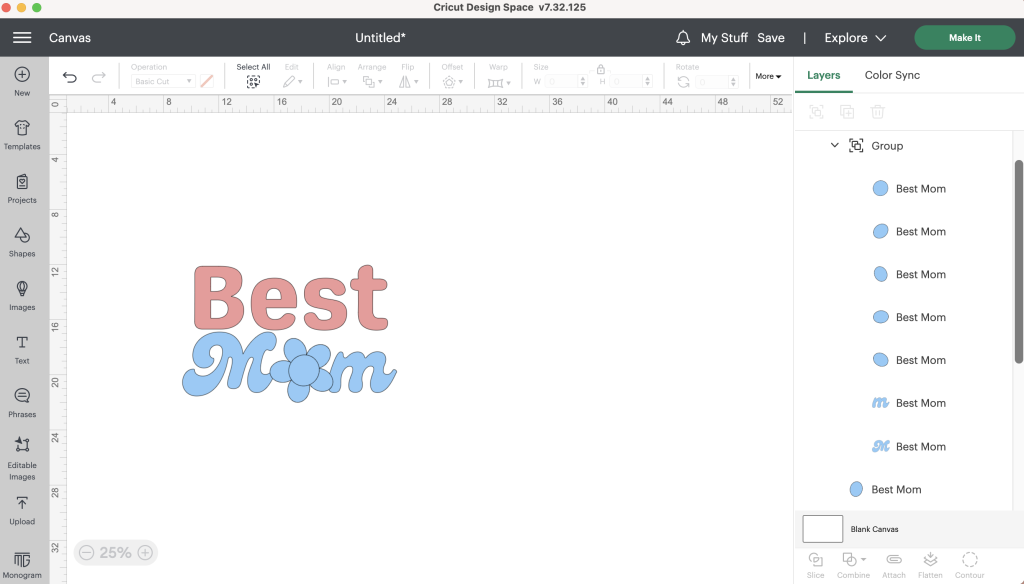
PRO TIP: Each color will automatically be put onto a separate mat in Design Space.
3 – Measure the available space on the bib of the apron for your design. Select your entire design and size it accordingly.
Cutting Out Your Design
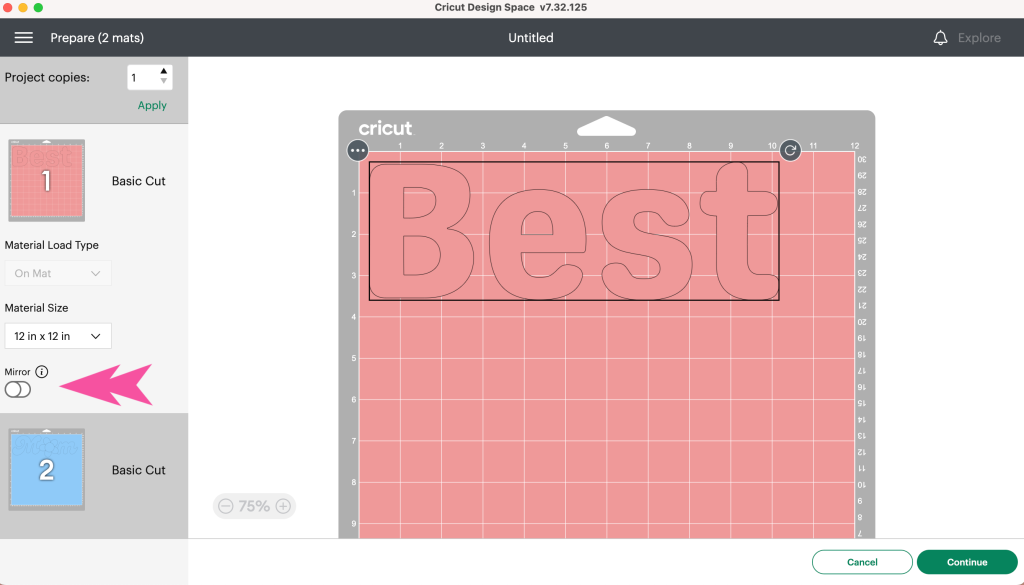
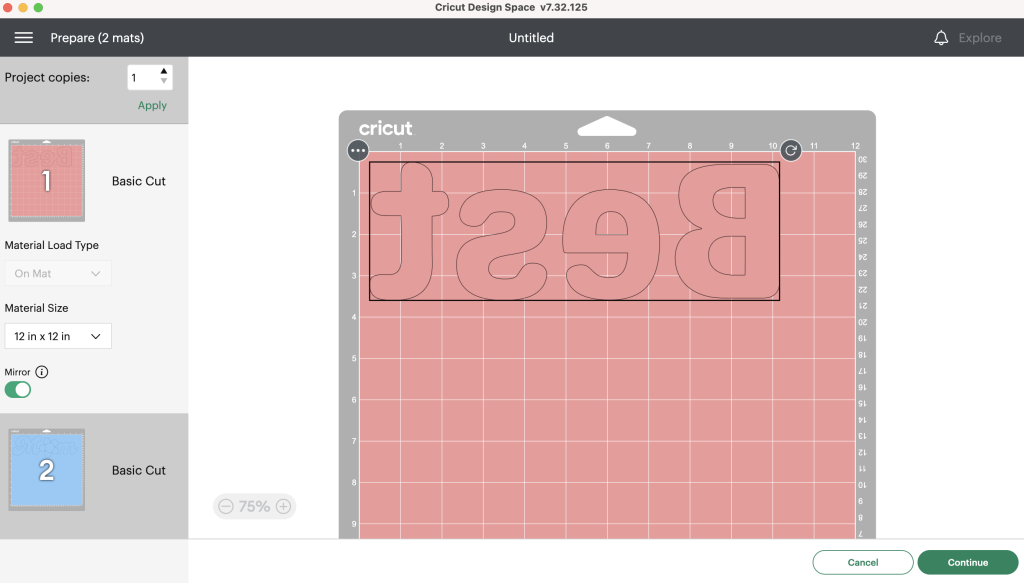
4 – Press Make It. Because we are working with HTV, we need to mirror the design. Remember to do this for all parts of your design.
5 – Press Continue and select your material.
PRO TIP – Iron on vinyl is the same thing as heat transfer vinyl.
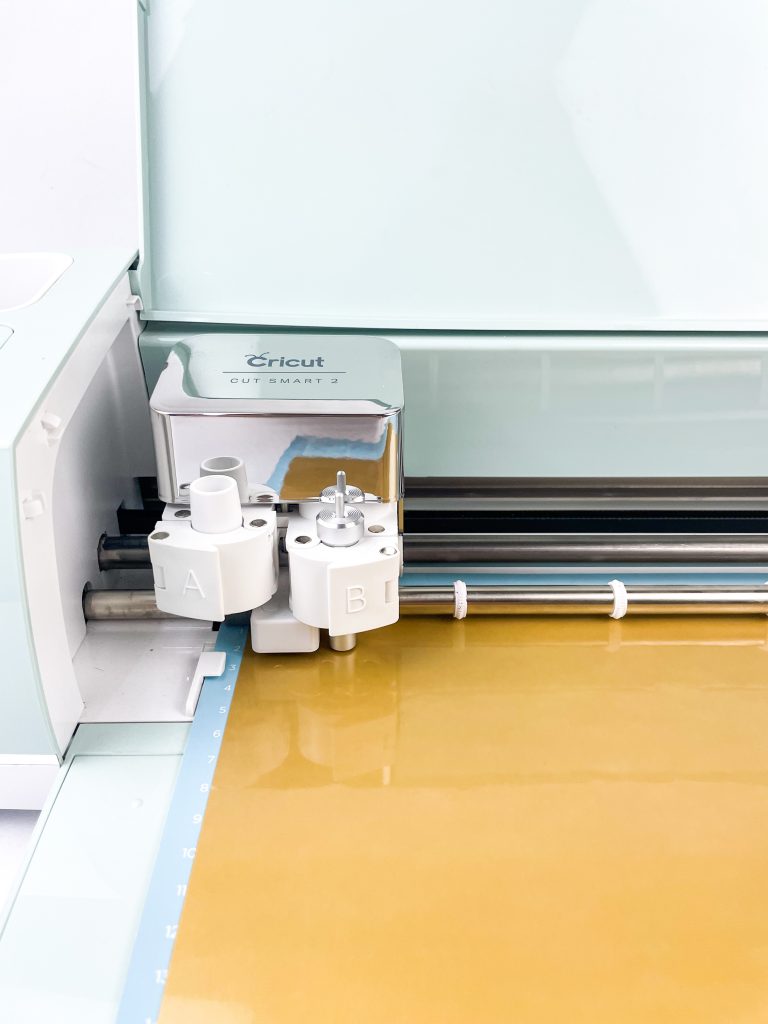
6 – Place your vinyl on the cutting mat. Press it down (you might even want to use a brayer) so that it is well-adhered. Load your mat into the machine.
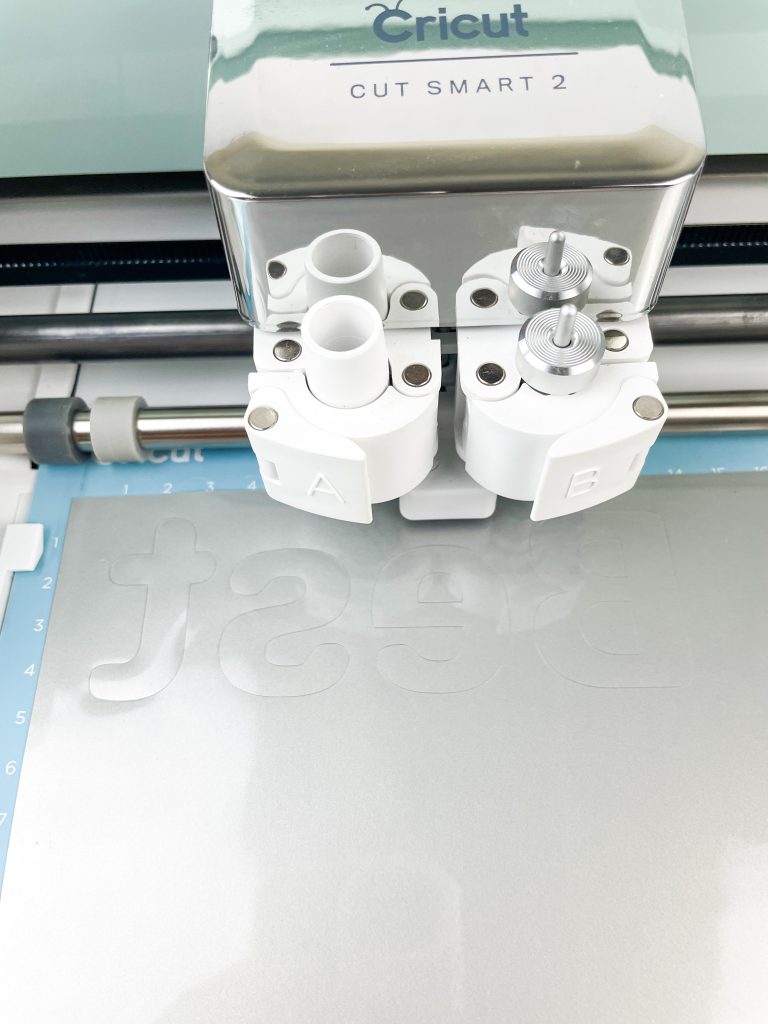
7 – Cut out your design.
Weeding and Placing Your Design
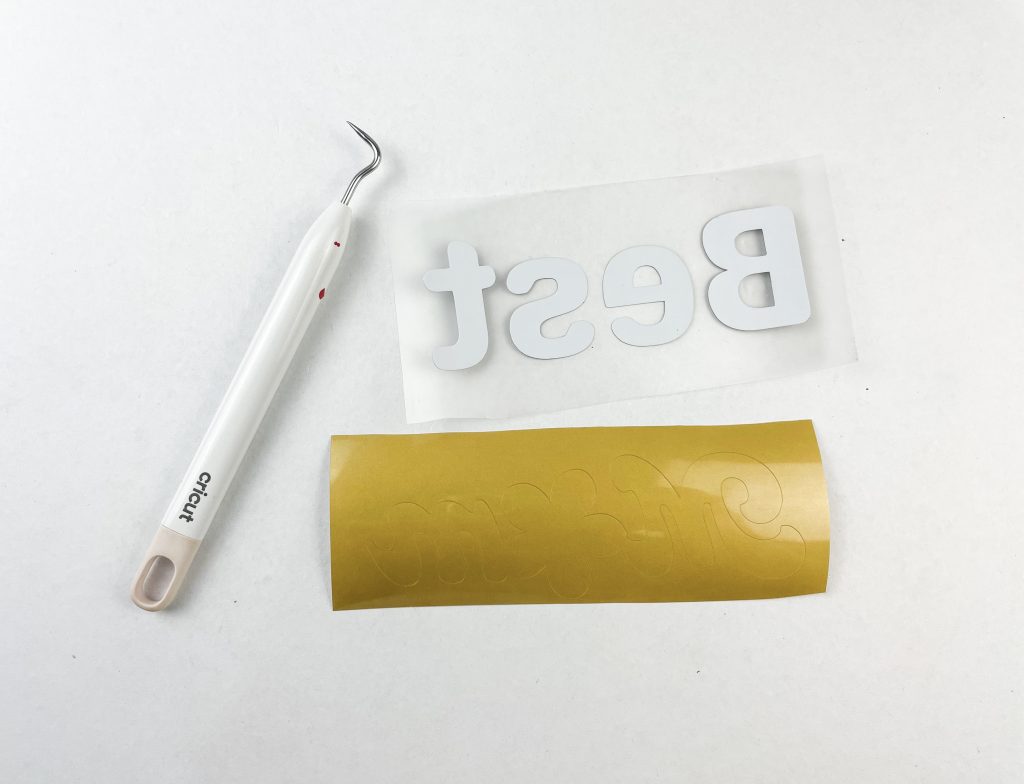
8 – Weed your design.
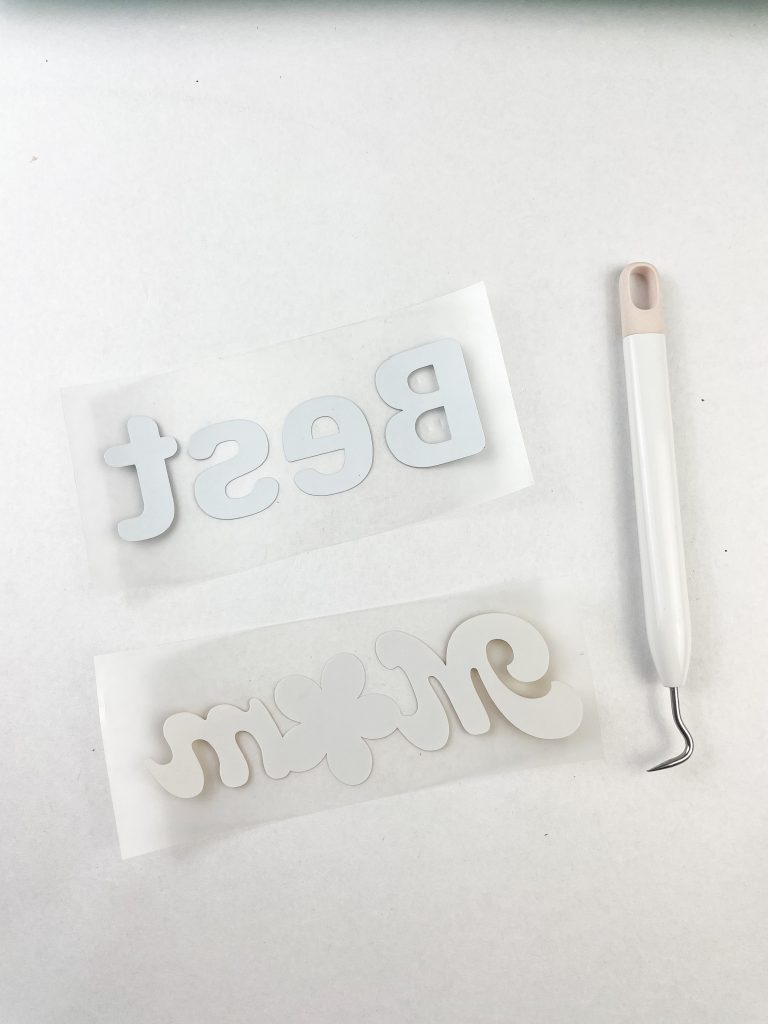
PRO TIP – Most HTV has built-in transfer tape so you don’t need to add any to it.
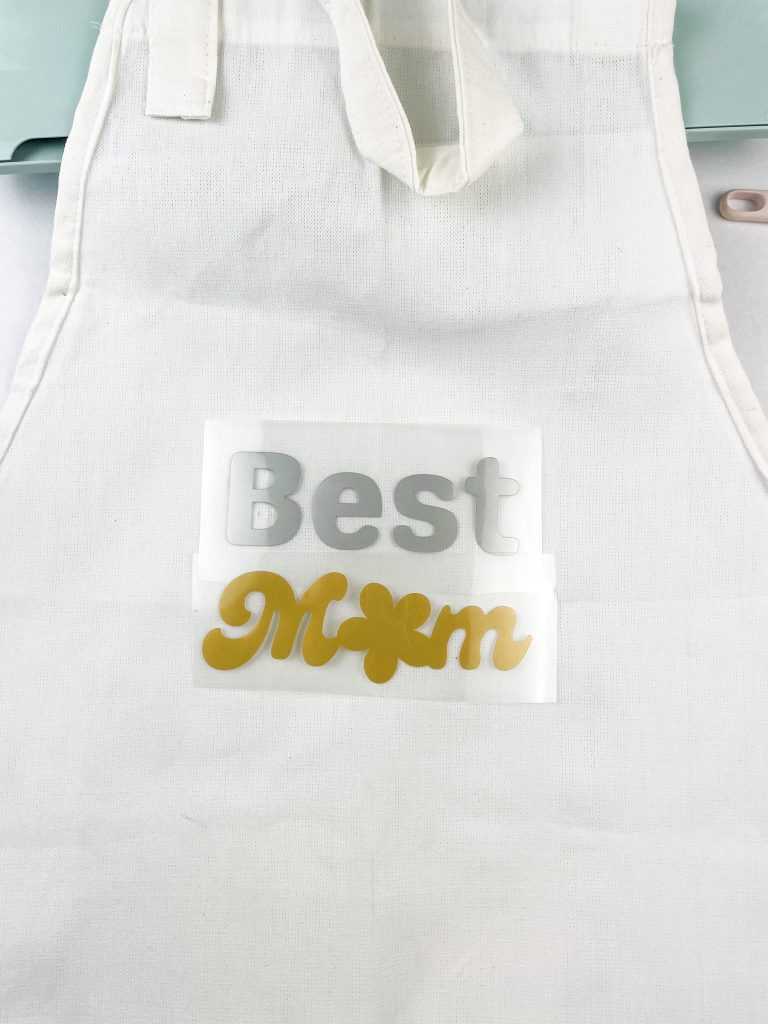
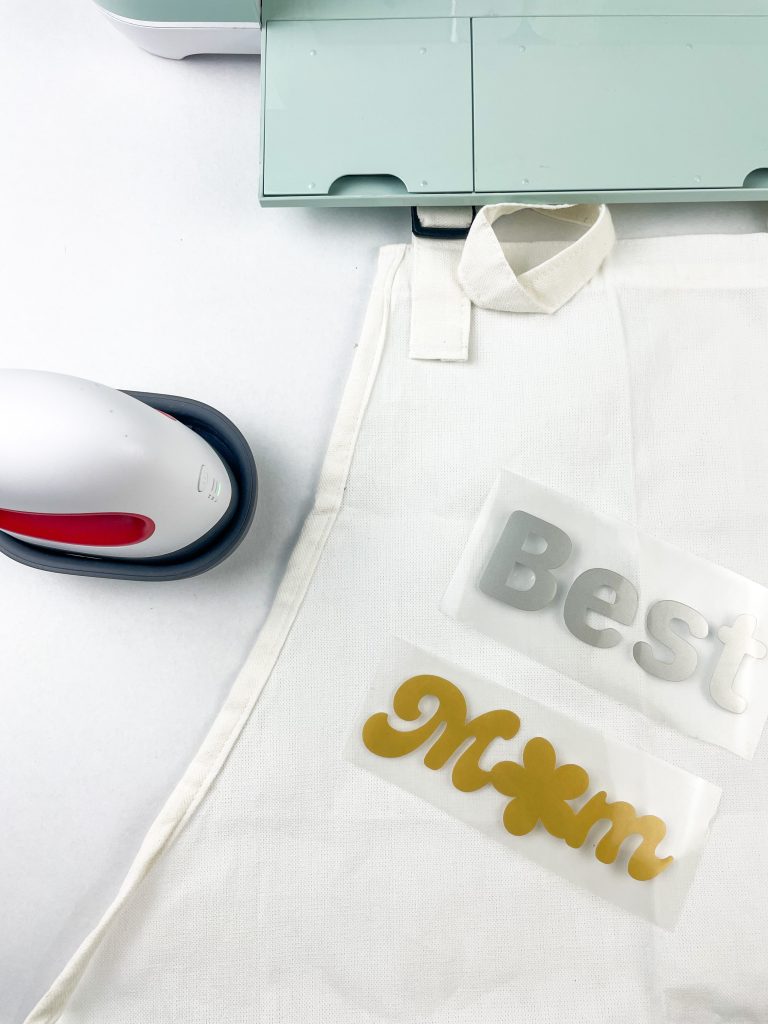
9 – Place the design on your apron. Use the EasyPress to heat and adhere the design to the apron.
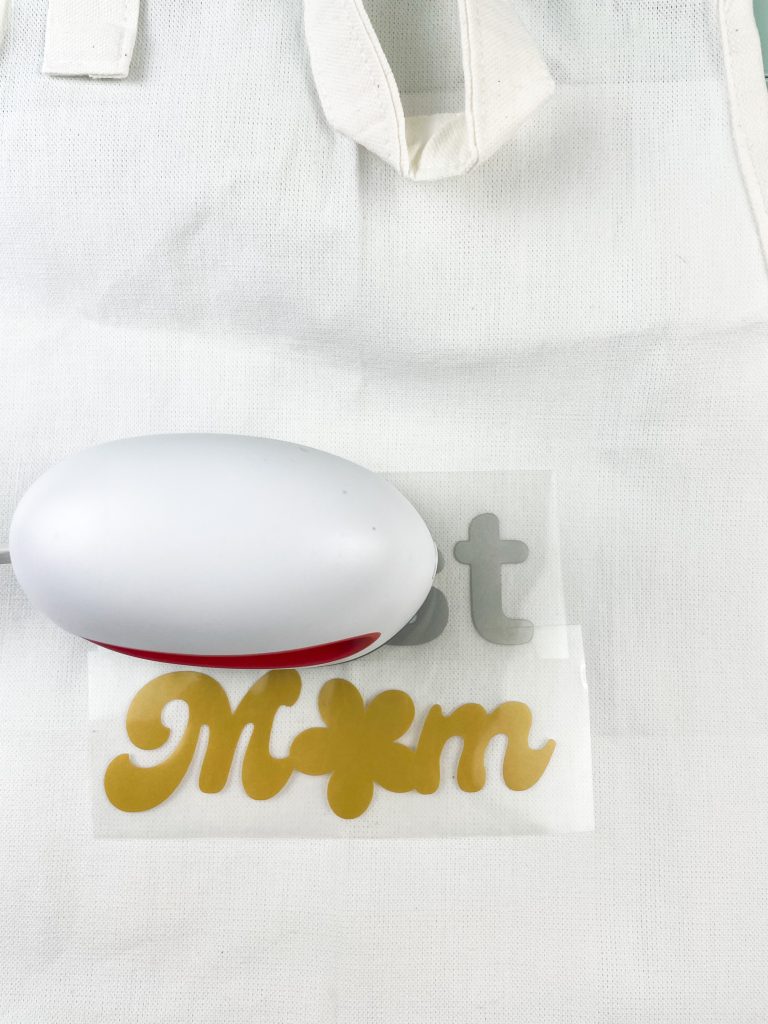
PRO TIP – When you see bubbles, you’ll know that the design is adhering to the surface.

10 – Check the instructions on the brand of HTV you are using to see whether to do a warm or cool peel. Peel away the transfer tape.

Leave a Reply