Here are my latest versions of the water bottle bracelets:
This bracelet was made with some of my Koolaid dyed fabric again. I wrapped the plastic cut from the bottle with some quilt batting to add dimension. I tore the fabric into strips and wrapped them around the batting covered bracelet blank. This time I didn’t tie the strips of fabric together because I didn’t want the knot effect. I simply started a new strip on top of where the old strip ended to cover it over. When I reached the end, I used a dab of Aleene’s Tacky Glue to secure it. I then tore skinnier strips of the same fabric and threaded some beads on them. I made knots in the fabric between the beads to hold them somewhat in place. I found it necessary with these thinner strips of fabric (since I wasn’t completely overlapping them with each other) to secure the ends of each strip with the glue.
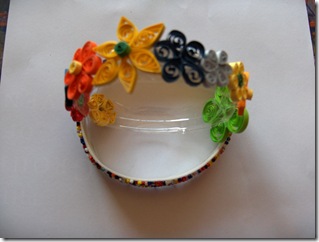
This bracelet is still a bit of a work in progress. I am covering the plastic from the water bottle with paper quilled flowers. I am finding that Aleene’s Fast Drying Tacky Glue seems to work the best for this. I plan to line the inside of the bracelet with a piece of ribbon or felt to finish it off and make it more comfortable to wear.
Sorry these pictures aren’t terribly clear. I need to invest in a camera that can handle close-ups better.
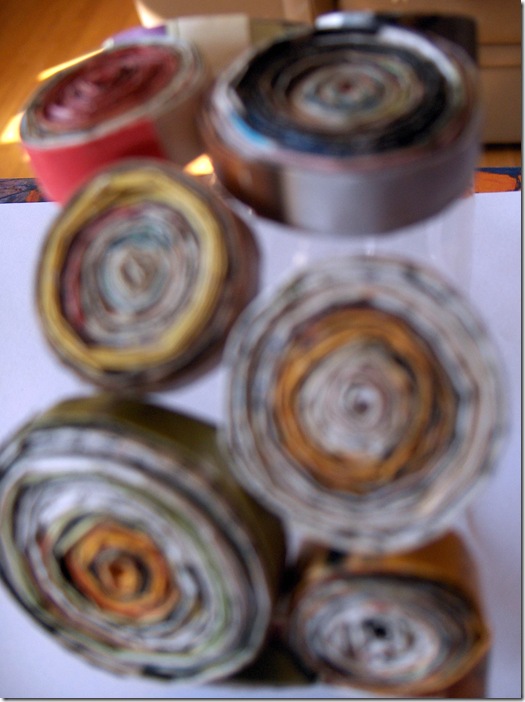
This is another work in progress. Again, I need to finish off the inside and as well, I want to do something to fill in the spaces between the paper rolls. I am thinking of filling them in with beads. This bracelet was done with coils of paper made from magazine pages. I tore strips from the magazines about 1 inch wide. I used a metal ruler to give me a nice sharp edge to tear the pages with. For each strip, I folded it in half lengthwise and then opened it up again. Then, I folded from each long edge into the middle so that it met that first fold line I had created. Now, keeping these two folds in place, fold the strip back in half again along that original fold line. This means you will end up with a strip that is 1/4 inch wide formed by 3 folds – 2 into the middle and then folding the resulting piece in half.
You need several of these folded strips attached together to make a coil. The number of strips you use will determine the diameter of the coil. As you can see in the pictures, I made coils of various sizes on the bracelet. I tried to group some of the predominant colours in the magazine page strips together to create those stripes of colour in the coils that you can also see in the photos. I found it best to take my first strip and apply glue (I used Aleene’s Tacky Glue Stick) along the inside of the folded strip. Fold it closed so that it’s sealed with the glue. I then repeated the application of the glue to the inside of another strip but before folding it closed, I would insert the first fully glued strip about 1/4 inch into the second strip and then fold it closed to seal it.
Repeat with as many strips as you wish to use for your coil. I found that about 6 strips made a coil approximately 1 inch in diameter. Experiment a bit with your strips to get the sizing you desire. It’s best to start with fewer strips because you can always add more. Once you have one long strip made of the smaller strips glued together, it’s time to start coiling. I again apply some glue from the glue stick along part of this long strip and then I begin to roll it up into a coil. When I have reached the end of the glued part, I simply apply some more glue and continue coiling. Repeat this until you reach the end of the strip and have a completed coil. To apply the coils to the water bottle bracelet, I once again found that Aleene’s Fast Drying Tacky Glue worked best.
For this seed bead bracelet, I applied a strip of super tacky self-adhesive double-sided tape to the water bottle bracelet. I dumped out some seed beads and just kept pressing the tape covered bracelet into the seed beads until I got good coverage. I still need to finish off the inside of this bracelet and I am trying to figure out some sort of sealant to use on it so that the beads stay in place. They aren’t falling off yet but I just don’t think they would hold up to the bracelet being worn without having a bead fall off here and there.


Sister Diane says
So many cool ideas here, Cyn!
I couldn’t resist popping in with a thought on the close-up photos. If you can take a nice, sharp photo from more of a distance, then all you need to do is pop it into Picnik and crop out most of the background. Presto! Instant Close-up!