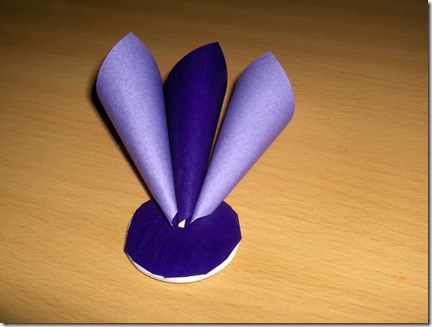
This pretty paper starburst makes a lovely ornament or gift package topper. I made mine with squares of origami paper but other types of paper work well too. You need a paper that will curve nicely into a cone type shape and hold that shape. You can make this an earth friendly project too by using pieces of junk mail, newspaper, brown paper bags, or pages from a magazine as your paper. Leave them as is or dress them up with paint, glitter, sequins, or other goodies. The squares of paper I’ve used are 2 inches and when finished, my starburst is about 6 inches in diameter.
I used the red Terrifically Tacky Tape to hold each piece of paper into a cone. I found that any liquid glues worked as well but there was a lot of holding and waiting for it to dry time and the tape eliminated that.
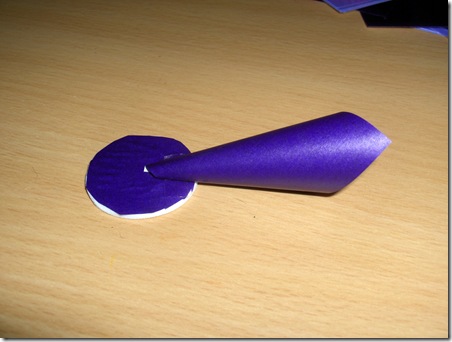
I cut a circle out of a scrap of cardboard. I covered it with a piece of my paper just in case it showed through at all. This circle becomes your foundation for each of the cones to be glued onto – I found that using hot glue for this assembly stage worked well for me. To add a final embellishment and cover the centre of the starburst (not that you necessarily need to cover it!), I added a pompom.


Martha says
I just found your site, I love it. Christmas is just over but i can’t wait to try some of these crafts, love the Starburst ornaments. I will be making lots of things for gifts for next Christmas . . Happy New Year !!
David says
I really like this but have one question, what is the diameter of the “foundation” circle? It would be helpful to me, and perhaps others to have this information. Thanks in advance for your answer and help.
Cyn Gagen says
The foundation circle was an inch and a half in diameter. Hope this helps!