I am so thrilled to kick off “Snow Week” on my blog as a part of a Let it Snow Blog Party with some of my favourite creative bloggers! It’s ironic that I picked this week as Snow Week, however. You see, we had an unseasonably warm autumn but right at Christmas time, the snow began to fly! In fact, I was a bit concerned as the day after Boxing Day we were leaving to head to Arkansas to spend New Year’s with my family there and Boxing Day saw a lot of driving and visibility issues due to blowing snow. Arkansas even got hit with it and had to declare a state of emergency! So, I was sure that picking a week in January as my “Snow Week” would be just perfect. Not so much. The grass is green, the temperatures have been in the 60s and there’s not a flake of snow to be seen outside! Then again, maybe that DOES make this the perfect week to celebrate snow with some projects that bring it inside! In any case, all week long I’ll be sharing some of my favourite snow related projects with you here on the blog.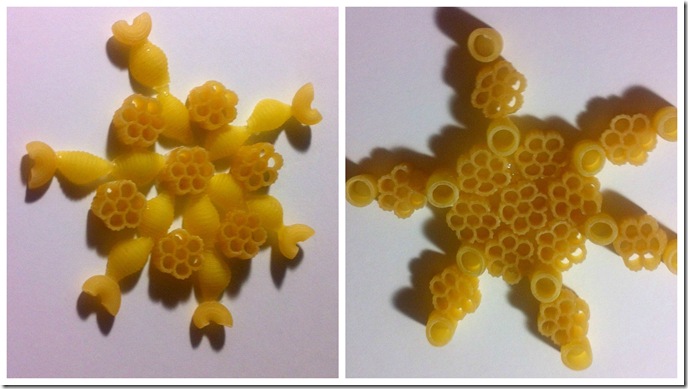
If you’ve been following my adventures here on Creative Cynchronicity for a while, you’ll know that I’m not a huge fan of snow – at least not the real stuff – BUT I love the handmade kind and each year beginning at Christmas and going through to Valentine’s Day, I fill my big picture window at the front of my house with all kinds of DIY snowflakes. AND each year, I try to find some new kind to make to add to my indoor snowstorm. This year’s material of choice was pasta! (NOTE: I apologize for the quality of the pictures. My camera suddenly starting adding a green cast to every picture so I had to resort to snapping these with my phone’s camera – I’ll get you some better pictures as soon as I buy a new digital camera!).
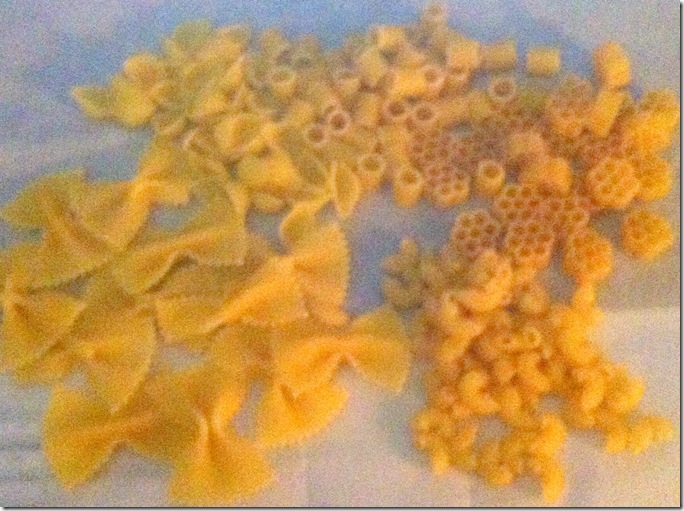
Materials needed: an assortment of pasta shapes, some white glue (I used Aleene’s Fast Grab Tacky Glue – plain white glue like Elmer’s will work just fine but requires more drying time), waxed paper to work on, some acrylic craft paint and a paintbrush OR some spray paint if you decide you want to paint them, and some string, yarn, or fishing line to hang them up with. Oh and you’ll need just a bit of creativity and imagination!!
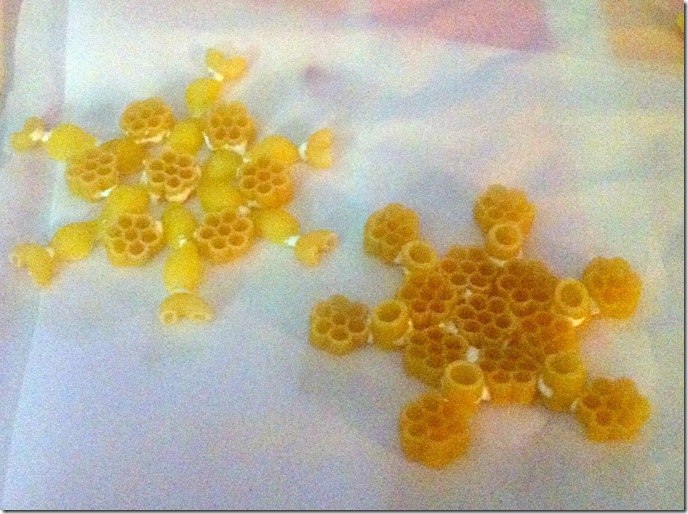
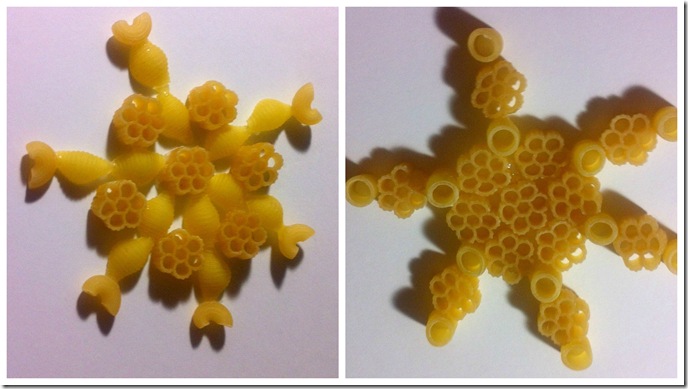
To make the snowflakes, I just started playing with the pasta, moving the shapes around my work surface and building out a 6 sided shape that was pleasing to me. This would be a great project for the kids! You know they have such great imaginations and would come up with some amazing designs for these snowflakes!!! I worked on a piece of waxed paper because I found that for some of the more irregular shapes, I needed quite a bit of glue to hold the snowflakes together. The waxed paper can be peeled away from the snowflake once it’s dry quite easily.
If having kids work on these or using the plain white glue, you may find it helpful to do them in stages. For example, in the upper left snowflake, you would start with the center wagon wheel and glue the 6 shells around it. Let that dry thoroughly before adding the next section of wagon wheels; let that dry thoroughly and so on. You may also find that once the snowflake is completely dry, it can be helpful to flip it over and add some glue to the other side for more stability. I didn’t find that necessary with the Aleene’s glue but you might need it with other types as the snowflakes can be a bit delicate. I let mine dry for a good 6-8 hours just to be sure they are as strong as possible before going on to paint, embellish, or even just hang them up!
What kinds of pasta snowflake designs can you come up with? Maybe you’ll even want to glam them up a bit with some glitter, sequins, rhinestones or other bling? I’d love to see what you make! Share your ideas and links to your projects in the comments below.
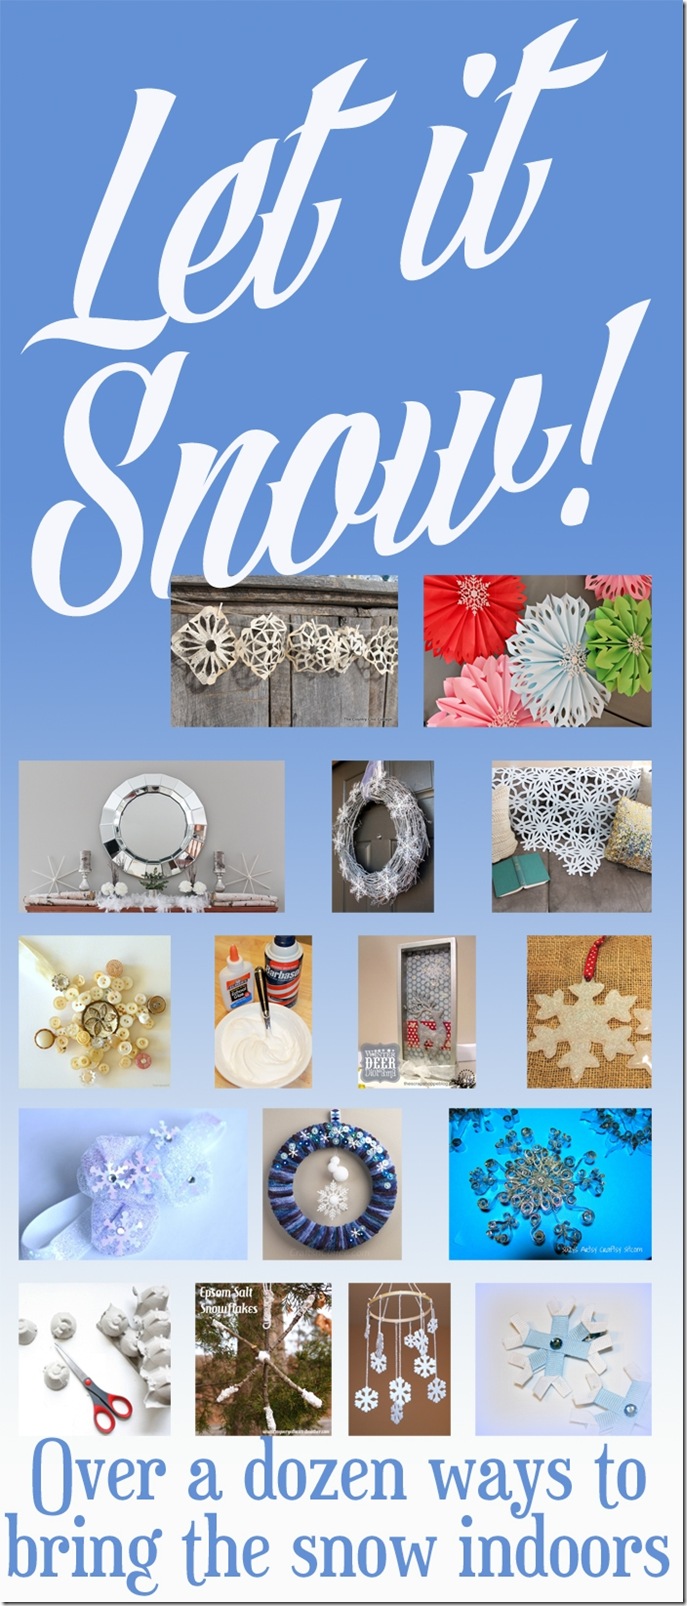
For more fantastic snow related projects, be sure to visit my blogger friends who are participating in this blogging party below:
Heather says
Love your pasta snowflakes Cyn!! I love the idea of filling up a big window with snowflakes too! I saw a storefront window at Christmas, women’s clothing store, with a background of snowflakes from floor to ceiling and thought that would be so pretty to do at home!
admin says
Thanks so much Heather! I’ll reveal my window later this week. 😉
Wanda says
Wow Cynthia, these look like fun to make and I can’t wait to see the finished snowflakes!
Carolina Moore says
These look great! I bet if you added a coat of paint, you wouldn’t be able to tell that they started out as pasta!
Jill @ Create.Craft.Love. says
Those pasta snowflakes are so neat! What a fun idea!
Lisa Hall says
These are great snow projects…so happy you shared them!
I really want to try the macaroni snowflakes with my 5 year old Granddaughter.
I have this one pinned!