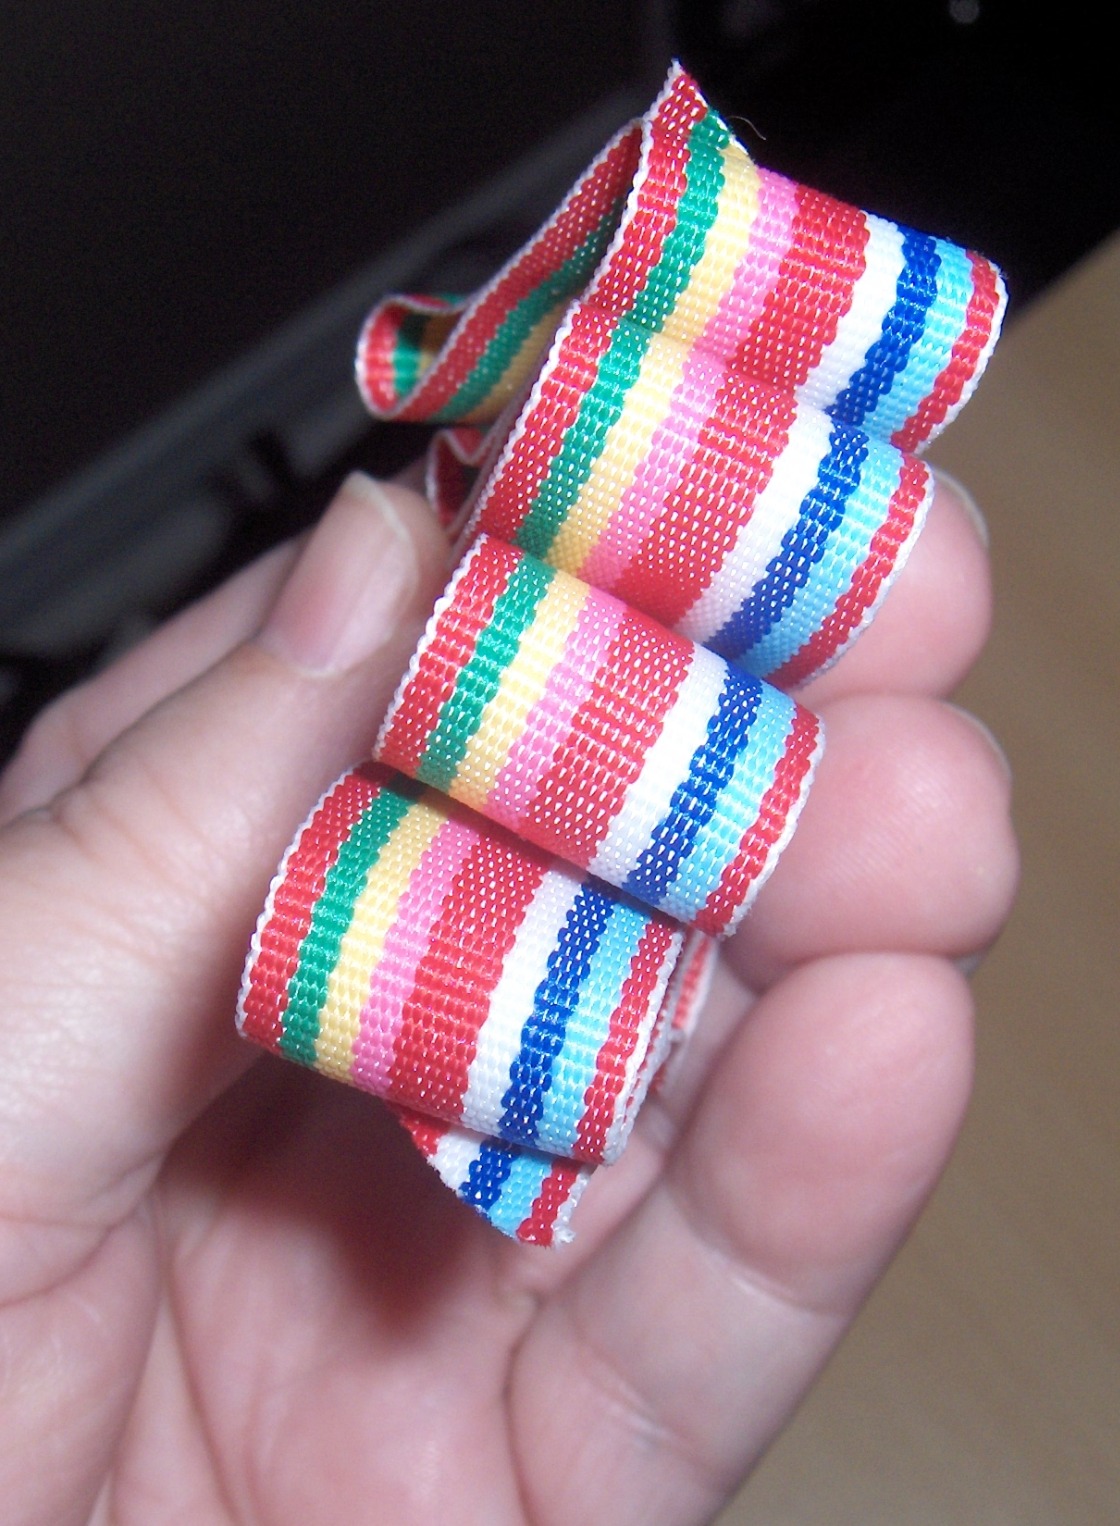
Aren’t these cute? They look so much like ribbon candies! I saw these on Martha Stewart several years ago and have been wanting to make them ever since. Every time I find just the right ribbon, I’ve been buying it and storing it away until I had the opportunity to do so. I found that the best ribbon to use was grosgrain – it just seems to have the right texture and degree of stiffness to it. Of course, to make it look like ribbon candy, you need the ribbon you’re using to be striped. Most of mine was found at Michaels but Martha orders hers from a Canadian company called Masterstroke Canada. They have gorgeous ribbons there and even have a ribbon candy ornament making kit you can order: http://www.masterstrokecanada.com/miva/merchant.mv?Screen=PROD&Store_Code=MC&Product_Code=77548507001
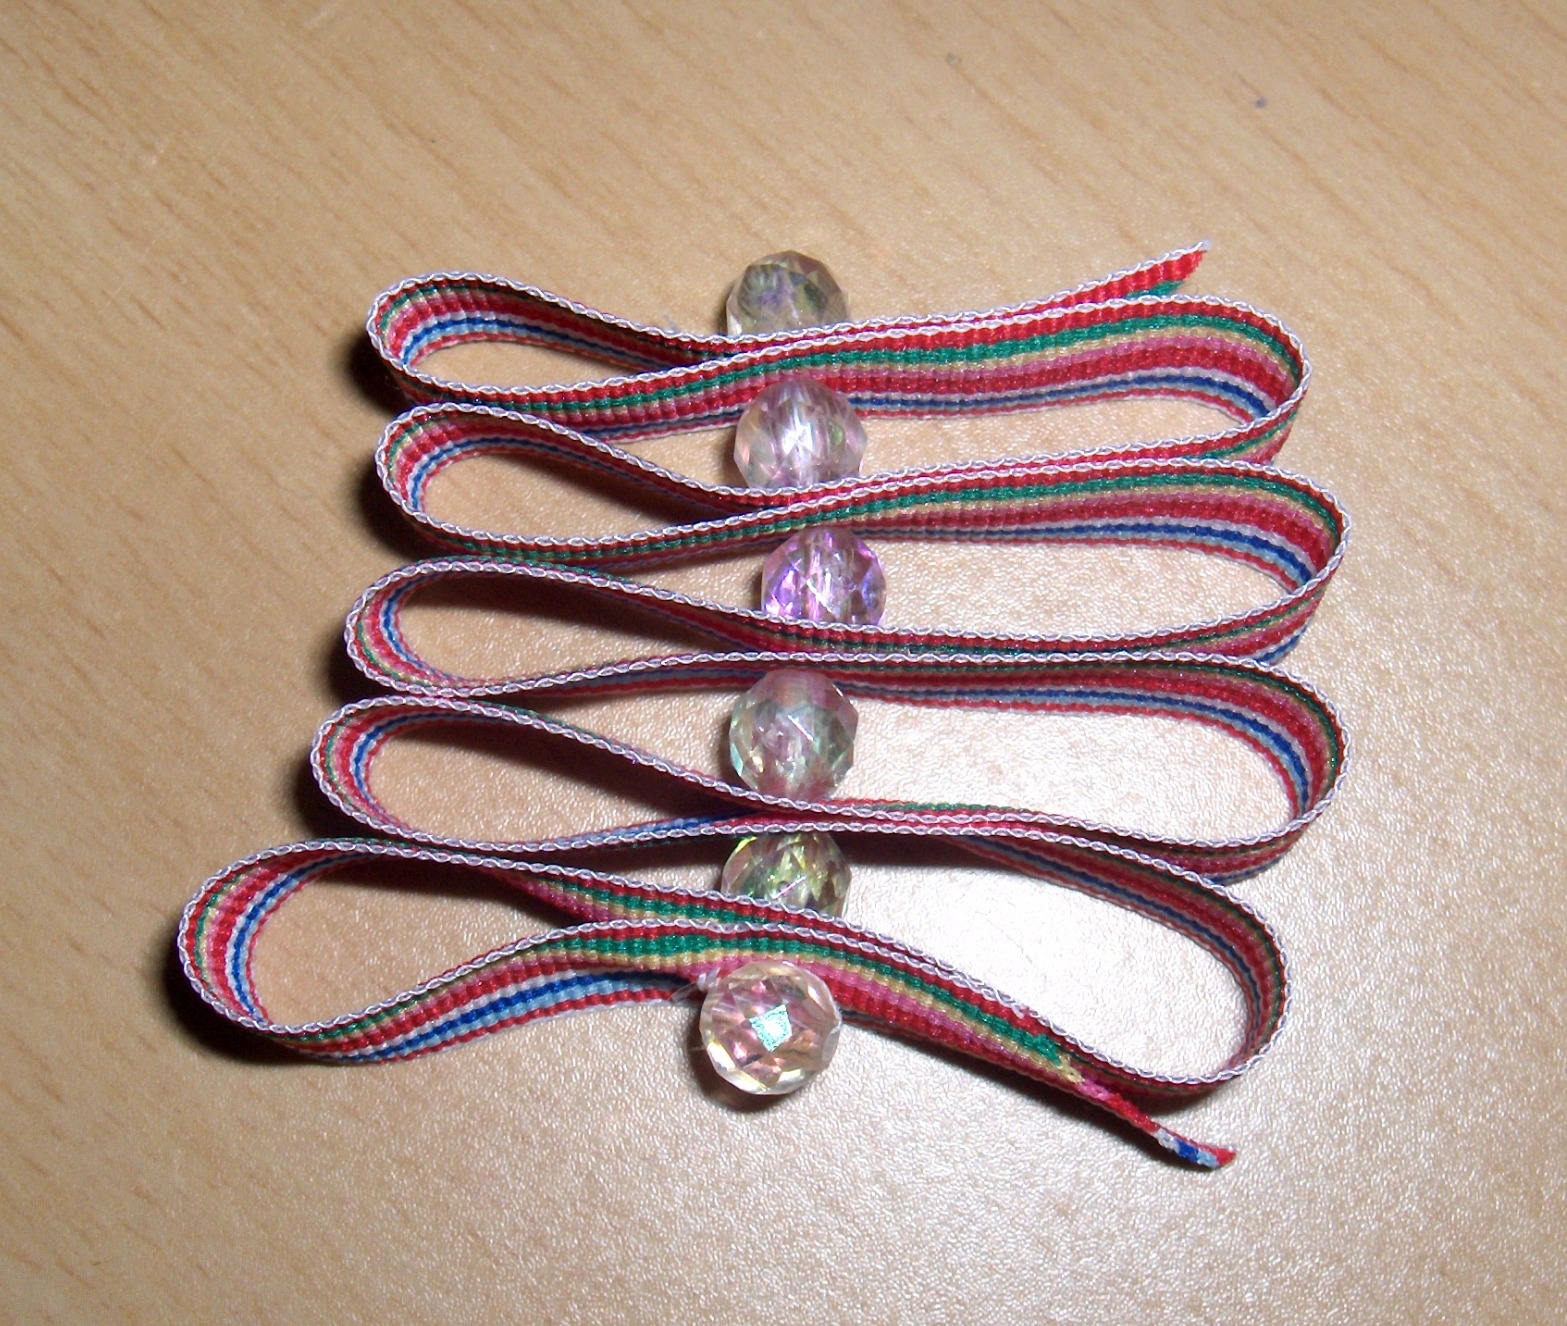
This project is quite quick and easy to make. I don’t measure out and cut the ribbon from the spool but rather form it still attached. Then when I’m satisfied with how the ornament looks, I can cut it to length. This gives me the flexibility to make different sized ornaments without having to do a lot of measuring and calculating (yay for no math!). I used clear crystal beads with this but really you can use pretty much any kind you want – they just need to be big enough to add a bit of separation between the layers. My beads are about 1/4 inch in diameter (about the size of a traditional pony bead). Start gently folding the ribbon back and forth into loops (basically an accordion fold but you don’t want to try creasing this – you want it to lay in soft folds). I do a few folds back and forth before adding a bead. I used a needle and thread and started by securing a bead to one end, did a few folds of ribbon and ran my needle and thread up through the center of those folds, another bead, another few folds…rinse and repeat…err repeat this cycle until you are satisfied with the size of your ornament. End off with a bead secured in place and add a hanger (you can use thread or ribbon).
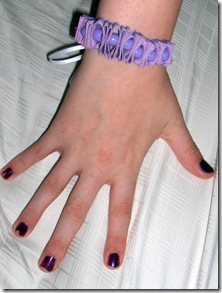
 With a few adjustments (making the folds smaller and adding ribbon ties to each end) you can also turn this into a cute stocking stuffer for someone by making it into a bracelet instead of an ornament.


[…] top left: Crystallized snowflake ornament, spool ornaments, ribbon candy ornament, puzzle wreath photo frame […]