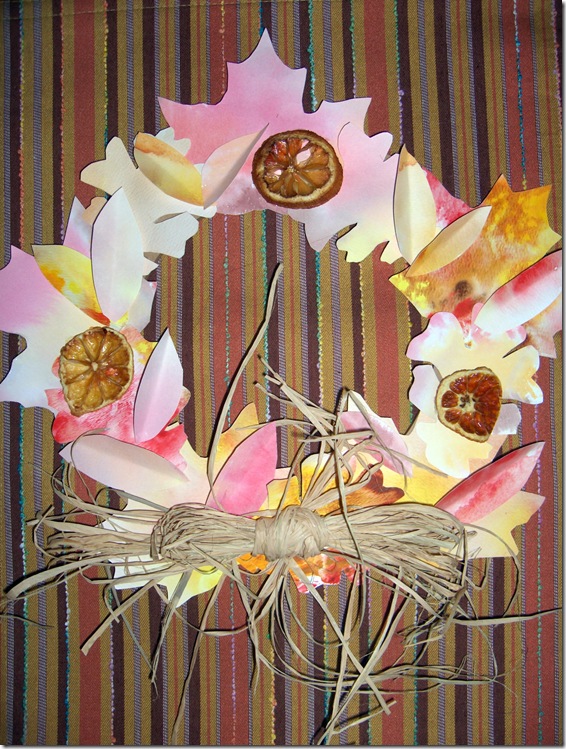
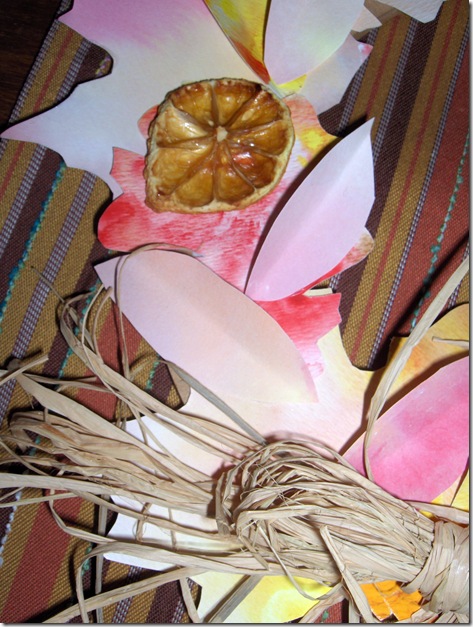
Today on Cool2Craft I demonstrated how to use an easy and inexpensive paper dyeing technique that I then turned into a cute Autumn wreath for the door of my house. If you’d like to see how the paper dyeing technique is done, check out the Youtube video:
[youtube=http://www.youtube.com/watch?v=cxIM4K21C5Q]
The technique is simple and uses only a few basic supplies: you need washable markers (I used Crayola), a piece of transparency plastic (I used 3M Transparency Film that I got from Staples – this is the kind of plastic sheets you use in your printer etc. to be then shown on an overhead projector. I bought a pack of 25 because I use them for many purposes and here in Canada, I paid about $30 for that but they do sell smaller packages. I’ve heard that you can use laminating film as well but haven’t personally tried this. Plastic page protectors will NOT work. The marker doesn’t go on nicely – instead the marker ink will just…hmmm not sure what the word is “bubble” or “pill” up on the plastic.), a spray bottle of water (I prefer my Mini Mister from Ranger because of the amount of control it gives me), and some paper (the paper needs to be a somewhat absorbent paper like cardstock or watercolour paper – even the inexpensive construction paper works) OR as you see below, I also tried it out on some canvas fabric and on some artists’ canvas boards.
You simply “scribble” over the plastic sheet with the markers, laying down several colours and bearing in mind that they will blend together a bit once you add the water. Next spray with water to soften and blend the marker colours. Now, lay your piece of paper (or other material) down over the plastic sheet so it can pick up the colour. Because of using water based markers and then spraying with additional water, this takes on a very soft, watercolour kind of image. If you’d like to try this technique out in making a wreath of your own, as promised, here is the link to the PDF of my leaf pattern. They are very simple basic leaf shapes that I hand drew but they do the trick for both this wreath and the door decor I posted about yesterday as well. You can resize them to make larger or smaller leaves so that you have a variety of shapes and sizes.
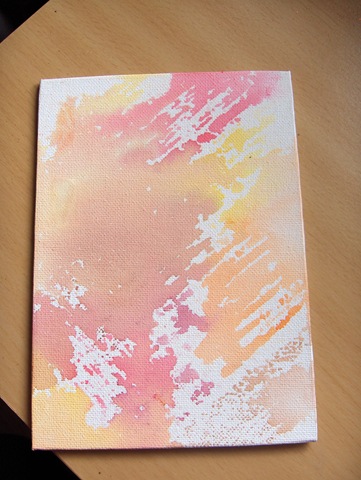
Done on canvas board pictured above
In addition, here are the detailed instructions for drying the citrus slices in your oven:
I only used lemons and oranges here because that’s what I had on hand at the time but I have done this very successfully with limes and grapefruit as well. I cut them about 1/4 inch thick, spread them out on a cookie sheet, and put them into a 275 degree F oven for an hour. I like to line my cookie sheet with some of the “easy release aluminum foil” or some parchment paper because I do find that as the fruit dries it can leave behind a discolouration on the cookie sheet. I’ve had no problems in getting that discolouration cleaned off but it can take quite a bit of time and elbow grease so I just prefer to line mine instead. In addition, I find that then when I’m ready to remove them from the cookie sheet, I can simply lift off the whole piece of foil or parchment and transfer them to another surface to finish drying that way. After the first hour, I turned the oven down to 200 degrees F for the remaining time. Most of the slices took about an additional 3 hours to dry most of the way – I always take them out while they’re still just a bit moist and tacky because I find that they can go from just right to burnt looking in no time. They will continue to air dry once you take them out of the oven. It’s a good idea to go in, every half hour or so, and flip them over for more even drying. This is also helpful because some of the pieces (for example the ends of the fruit) will be smaller than the others and they will dry faster. This gives you the chance to check on them and remove them from the oven a bit earlier, before they have the chance to burn.
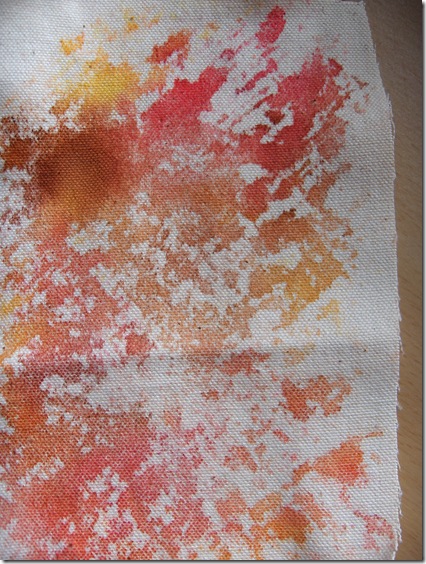
Done on canvas fabric pictured above


Cindy Coleman says
Loved how you colored the paper. Great idea. Especially on handmade paper.