Here’s a couple of projects I started dabbling with over the weekend.
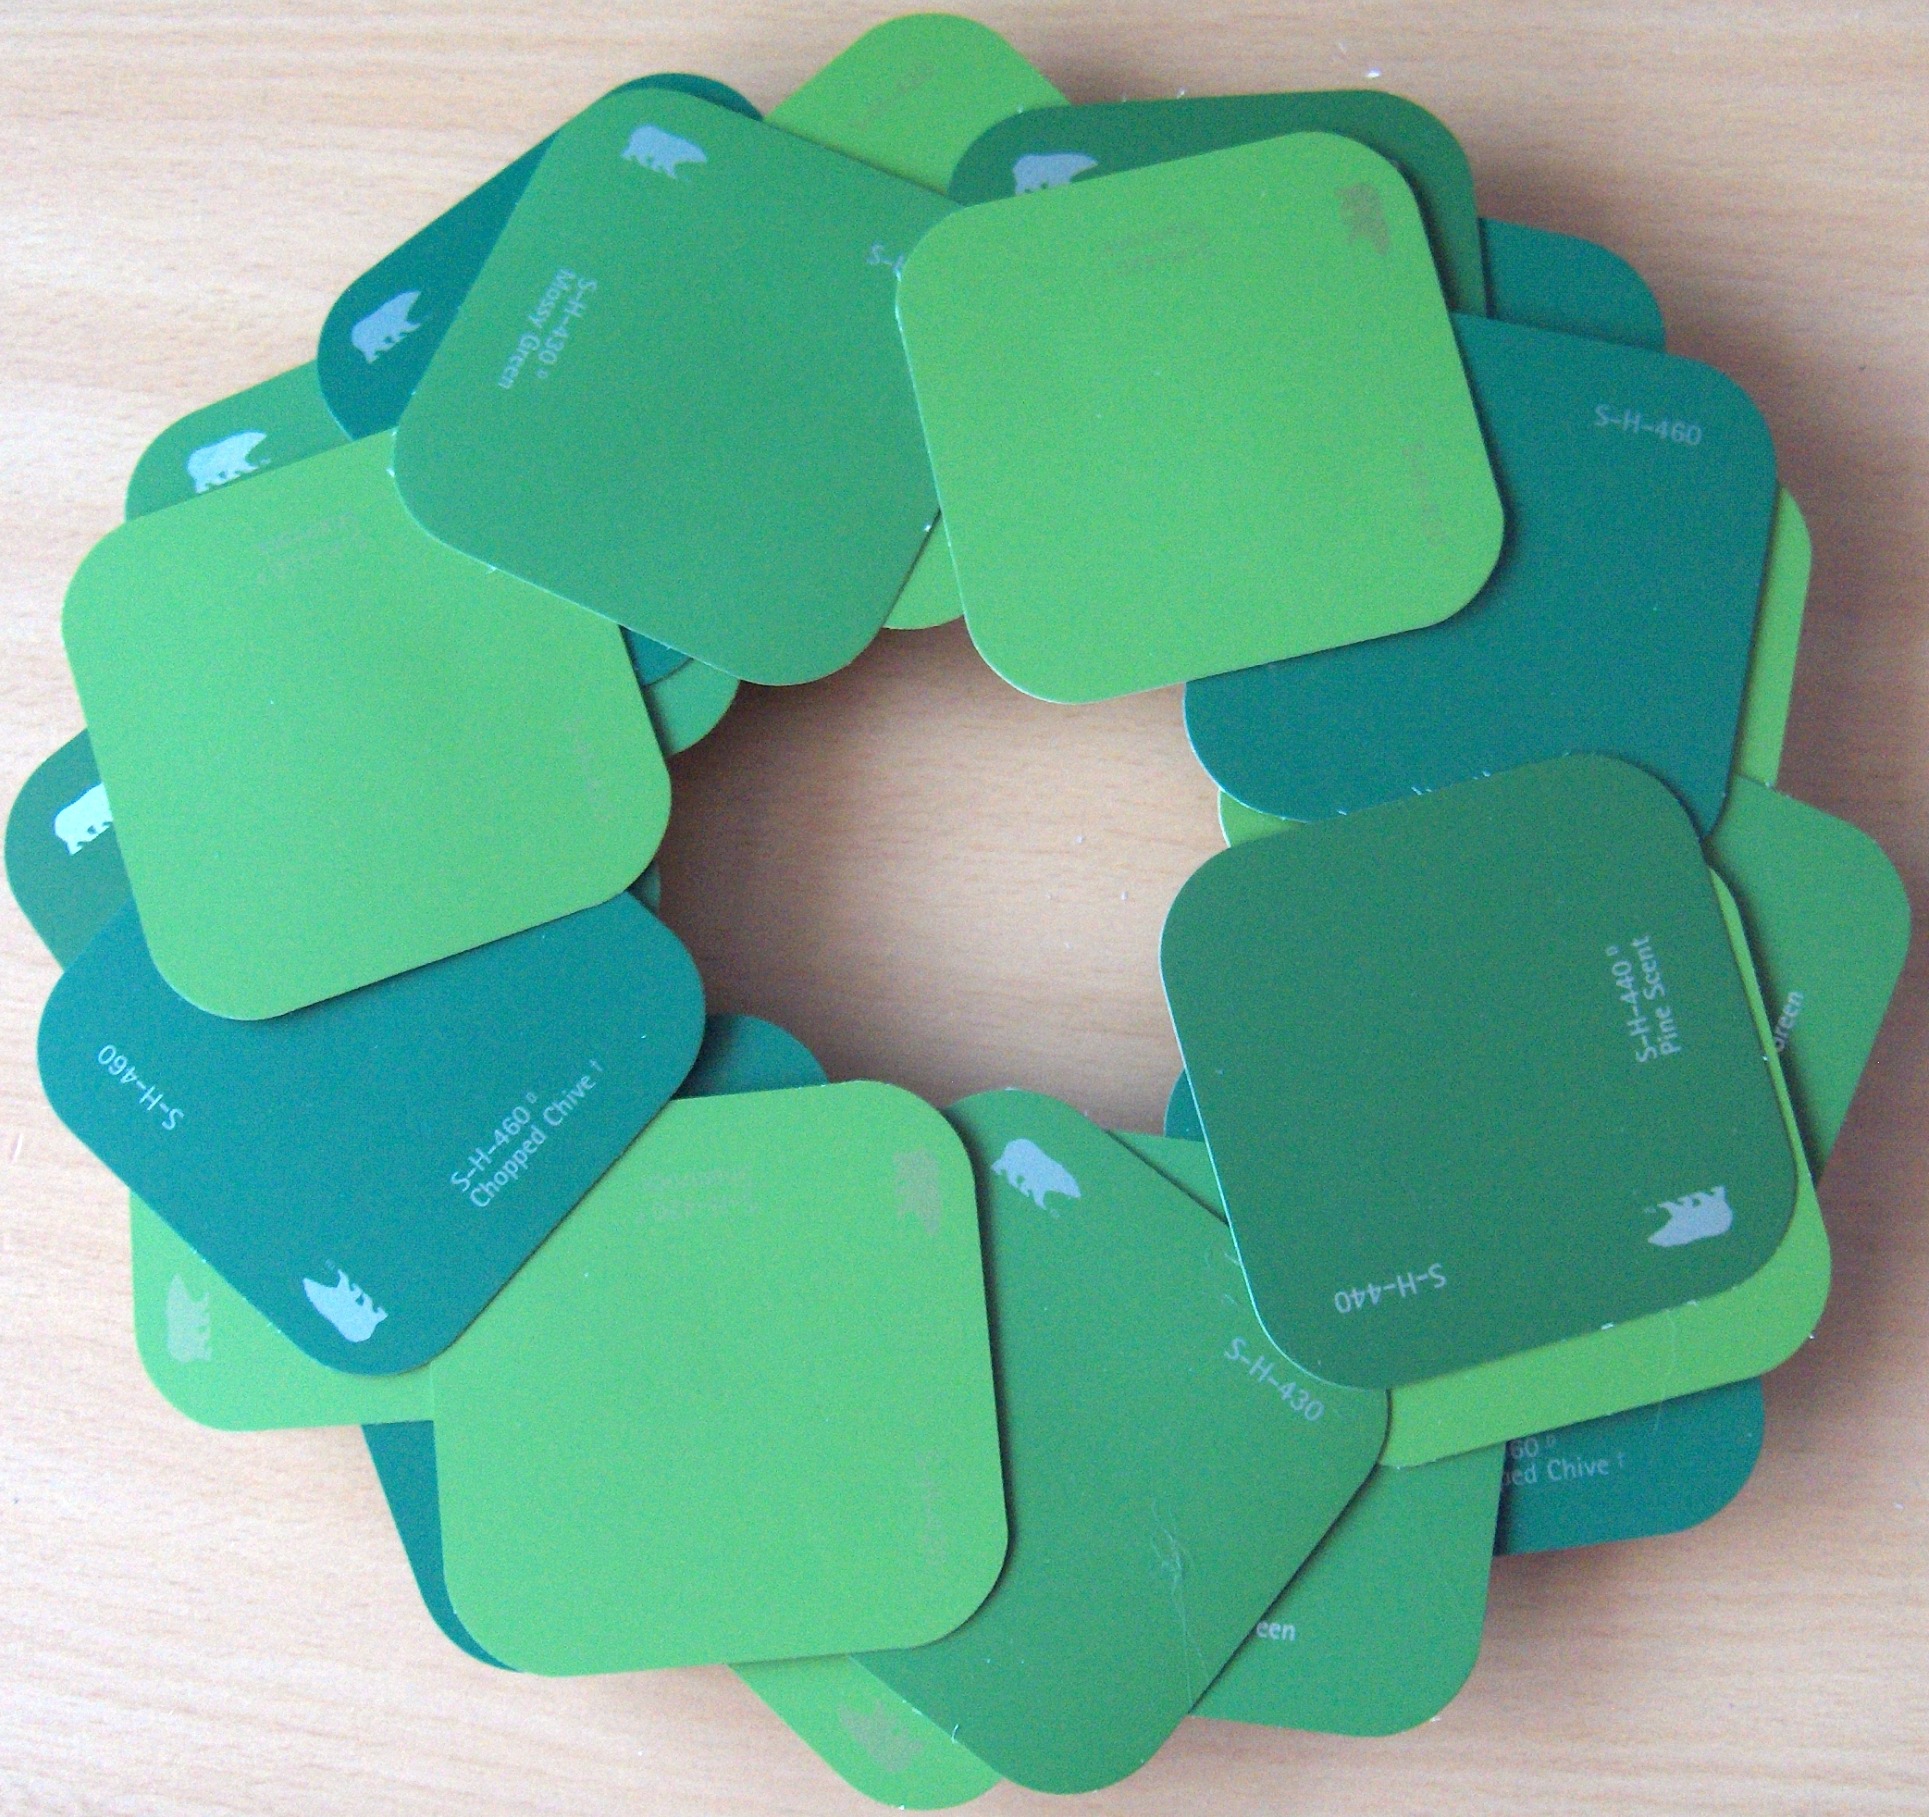
 For this one, I began with a wooden ring (about 6 inches in diameter) as my base. You could cut a ring from cardboard or use a wreath form but this was just what I had kicking around here. (It’s actually one of those wooden rings from the 70s meant for using with macrame!). I then started hot gluing these paint chips onto it. They’re Behr paint chips, about 2 inches square (well, rounded square) in the colours Pine Scent, Shamrock, Mossy Green, and Chopped Chives. I just glued them around the base and then continued layering them on top of each other for a nice full look. Normally, I would have painted my base in case it showed through but I skipped that step, knowing that I would have really good coverage with the chips. Right now, it’s sitting here on my studio desk in what I call “ponder mode” – meaning that I haven’t quite decided on exactly what embellishments I want to add to it. I have a bunch of ideas but none has really struck me as just the perfect one yet.
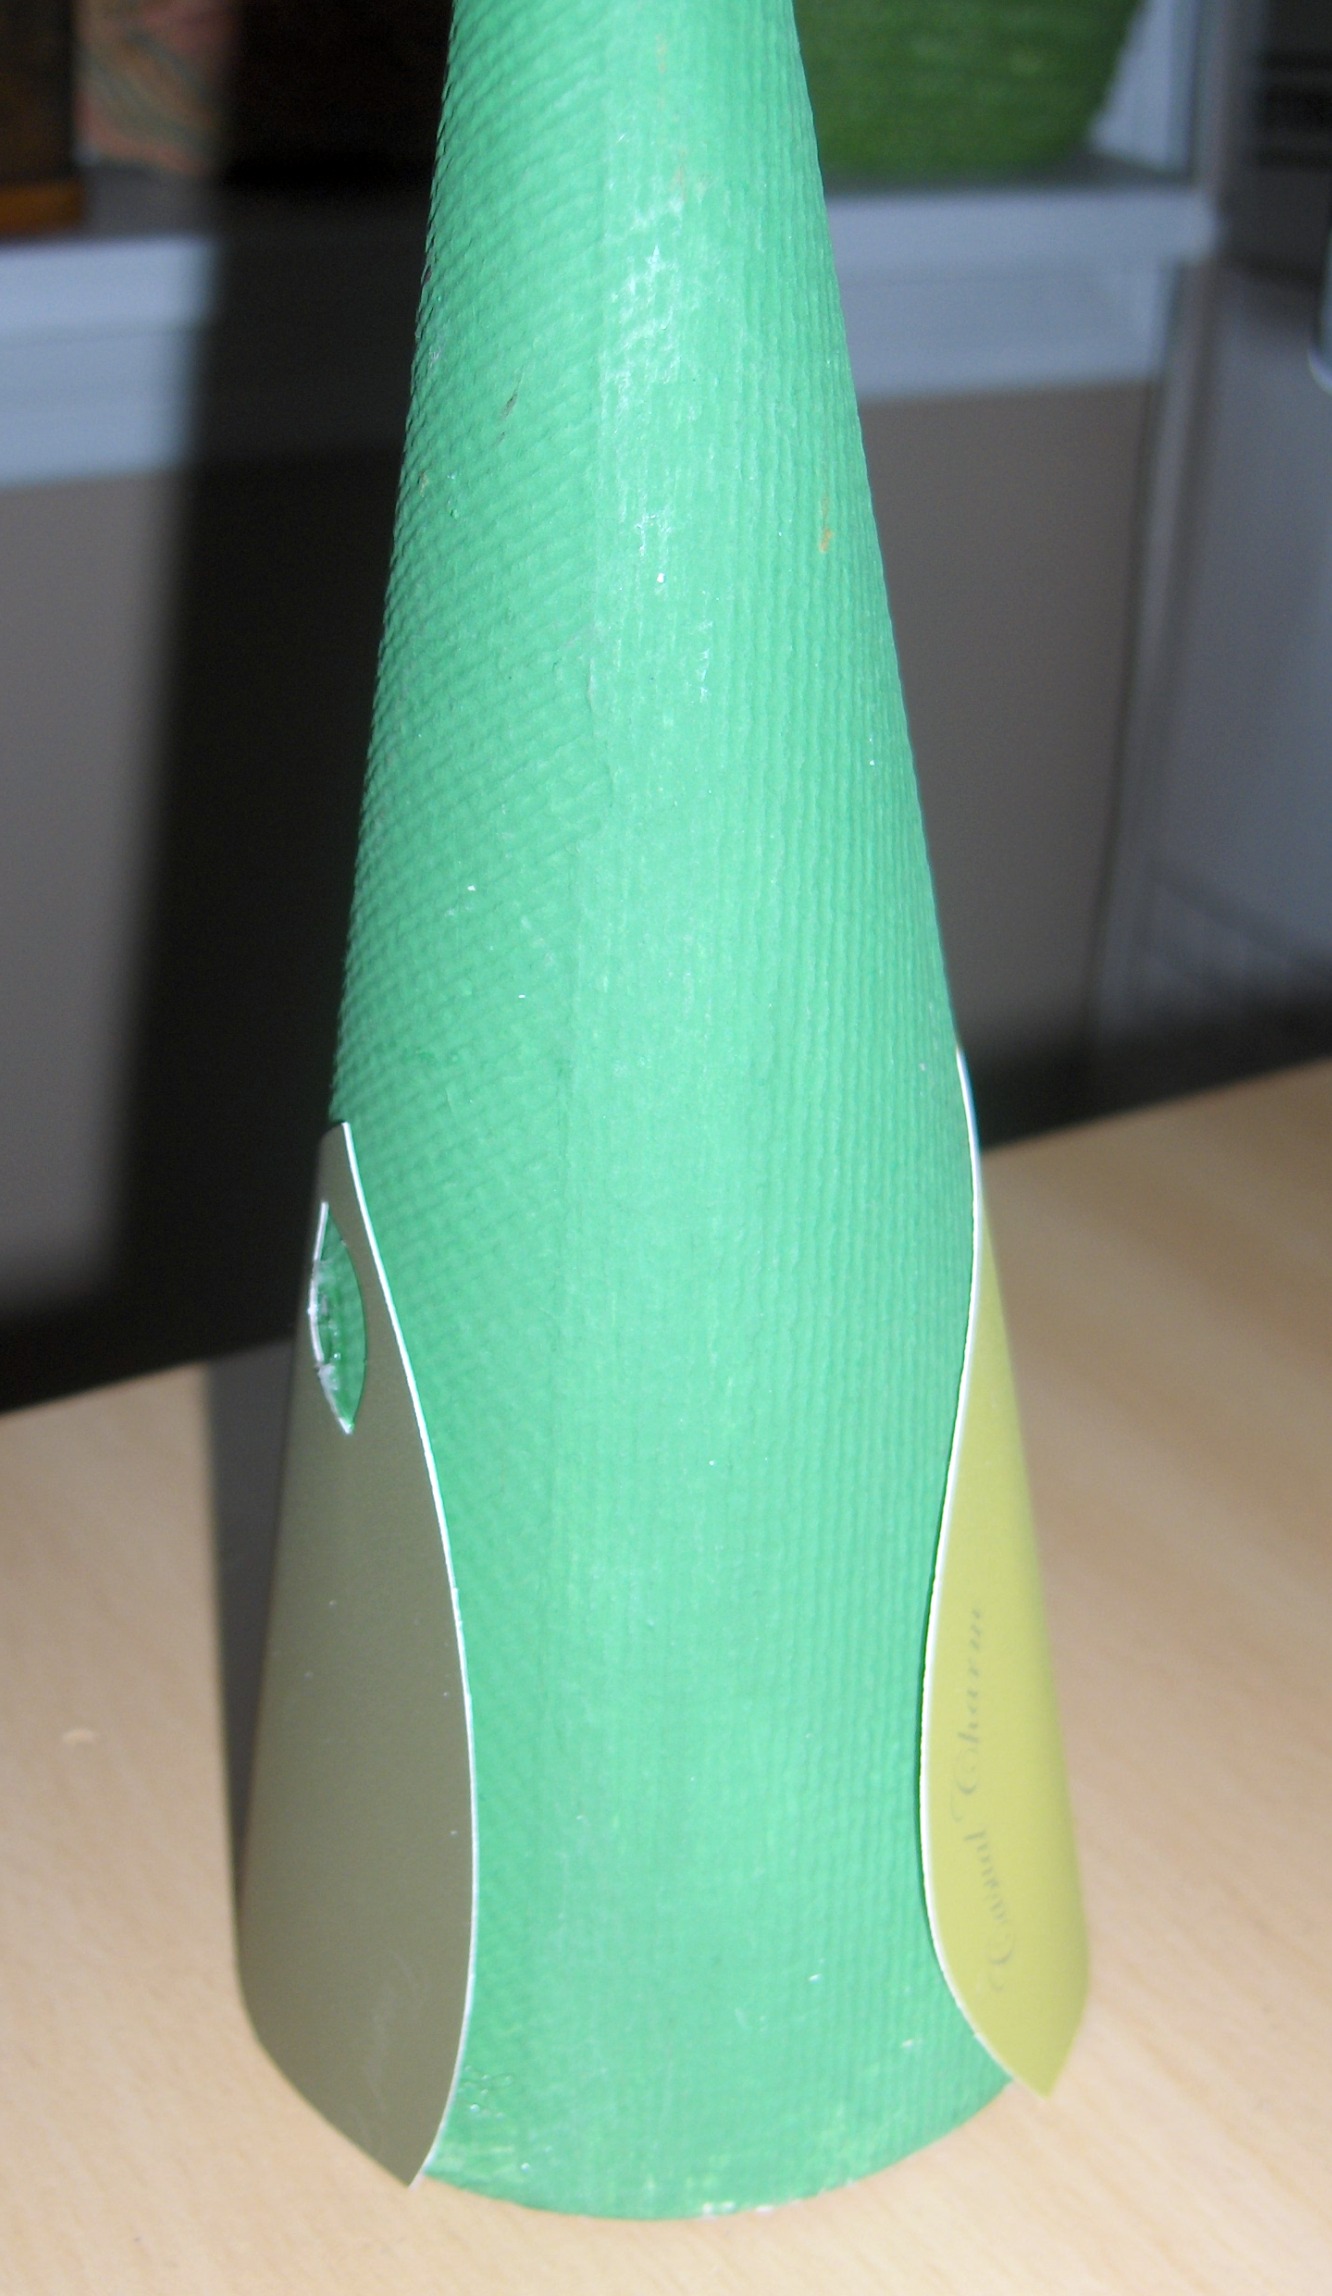
 For this one, I began with a pressed cardboard cone that I painted green (in case anything shows through). Then once again I started hot gluing on paint chips but this time the chips came in a pretty leaf shape I just couldn’t resist. They’re Behr paints again in the following colours: Ivy Topiary, Dusty Olive, Retro Avocado, Green Energy, and Sliced Cucumber (don’t you just love these names?). Because they are this kind of curved leaf shape, I cut the tips off a few of them in order to glue them around the base of the cone and still allow the cone to sit flat on a surface.
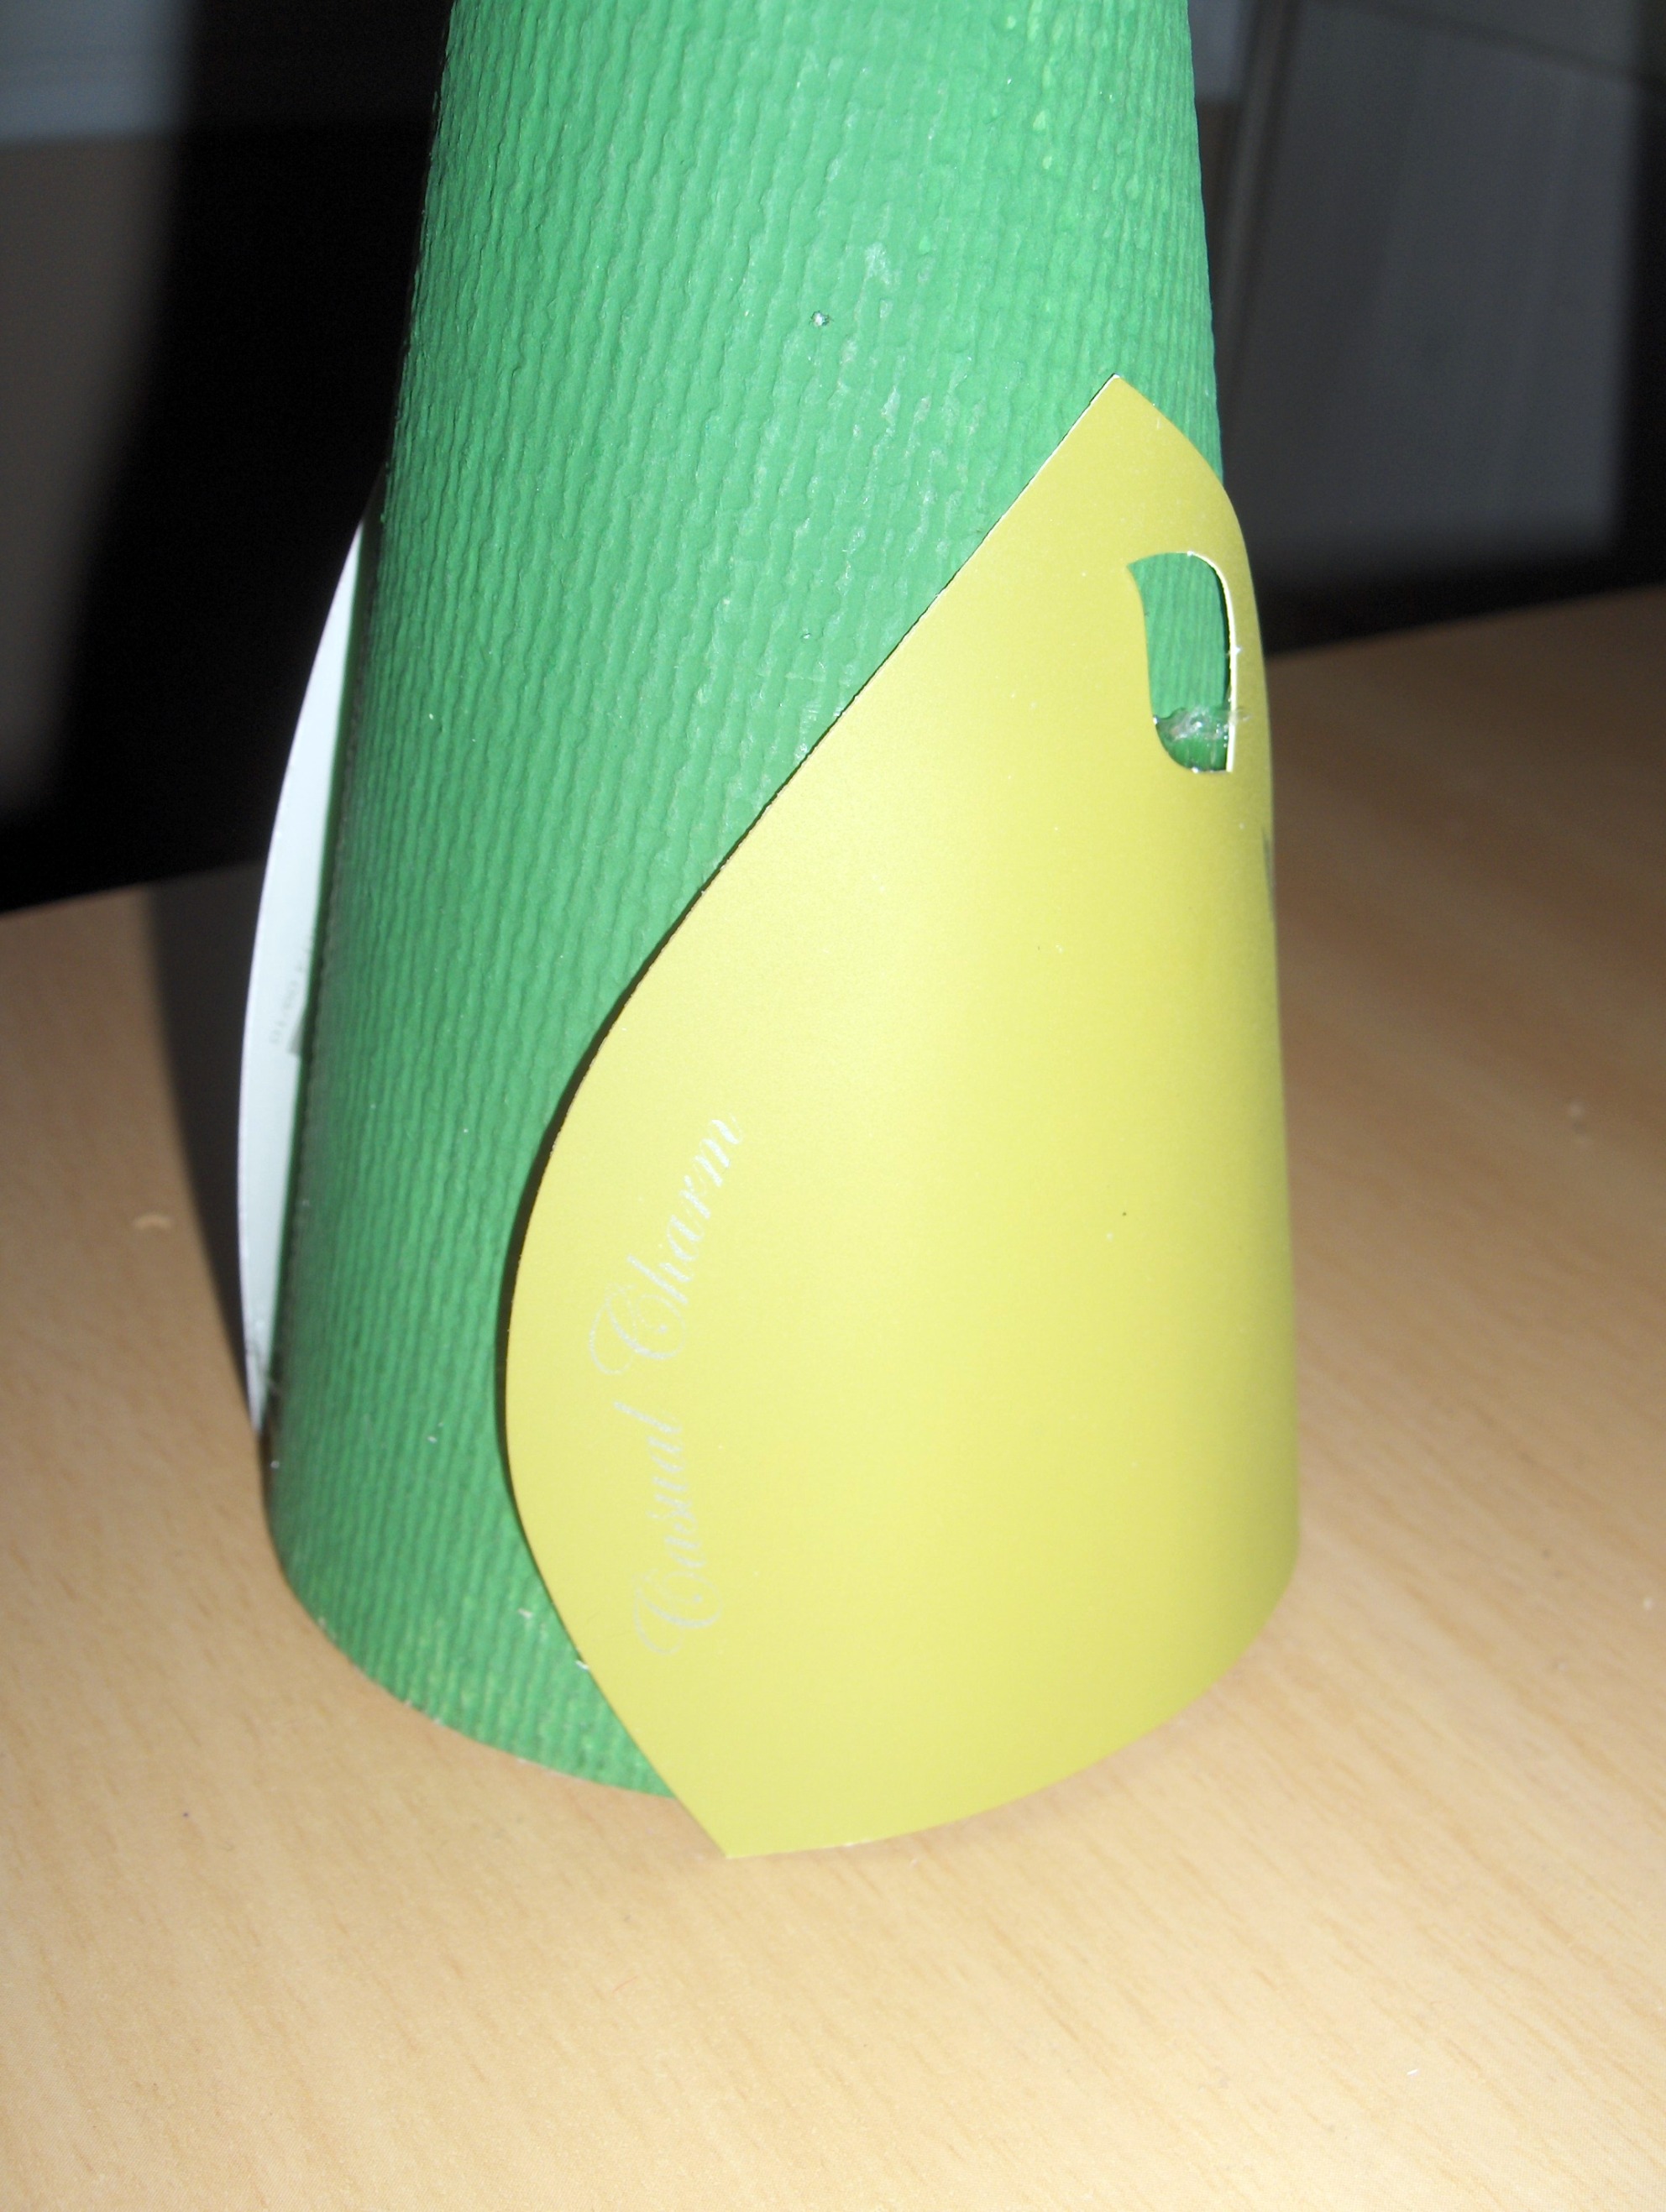
 In this picture you can see that on each of these leaves (they’re about 3 inches long), there’s a spot where you can punch out a tiny little leaf shape. I went ahead and punched those out of the bigger leaves, either to add as a final embellishment to this project or to use for something else.
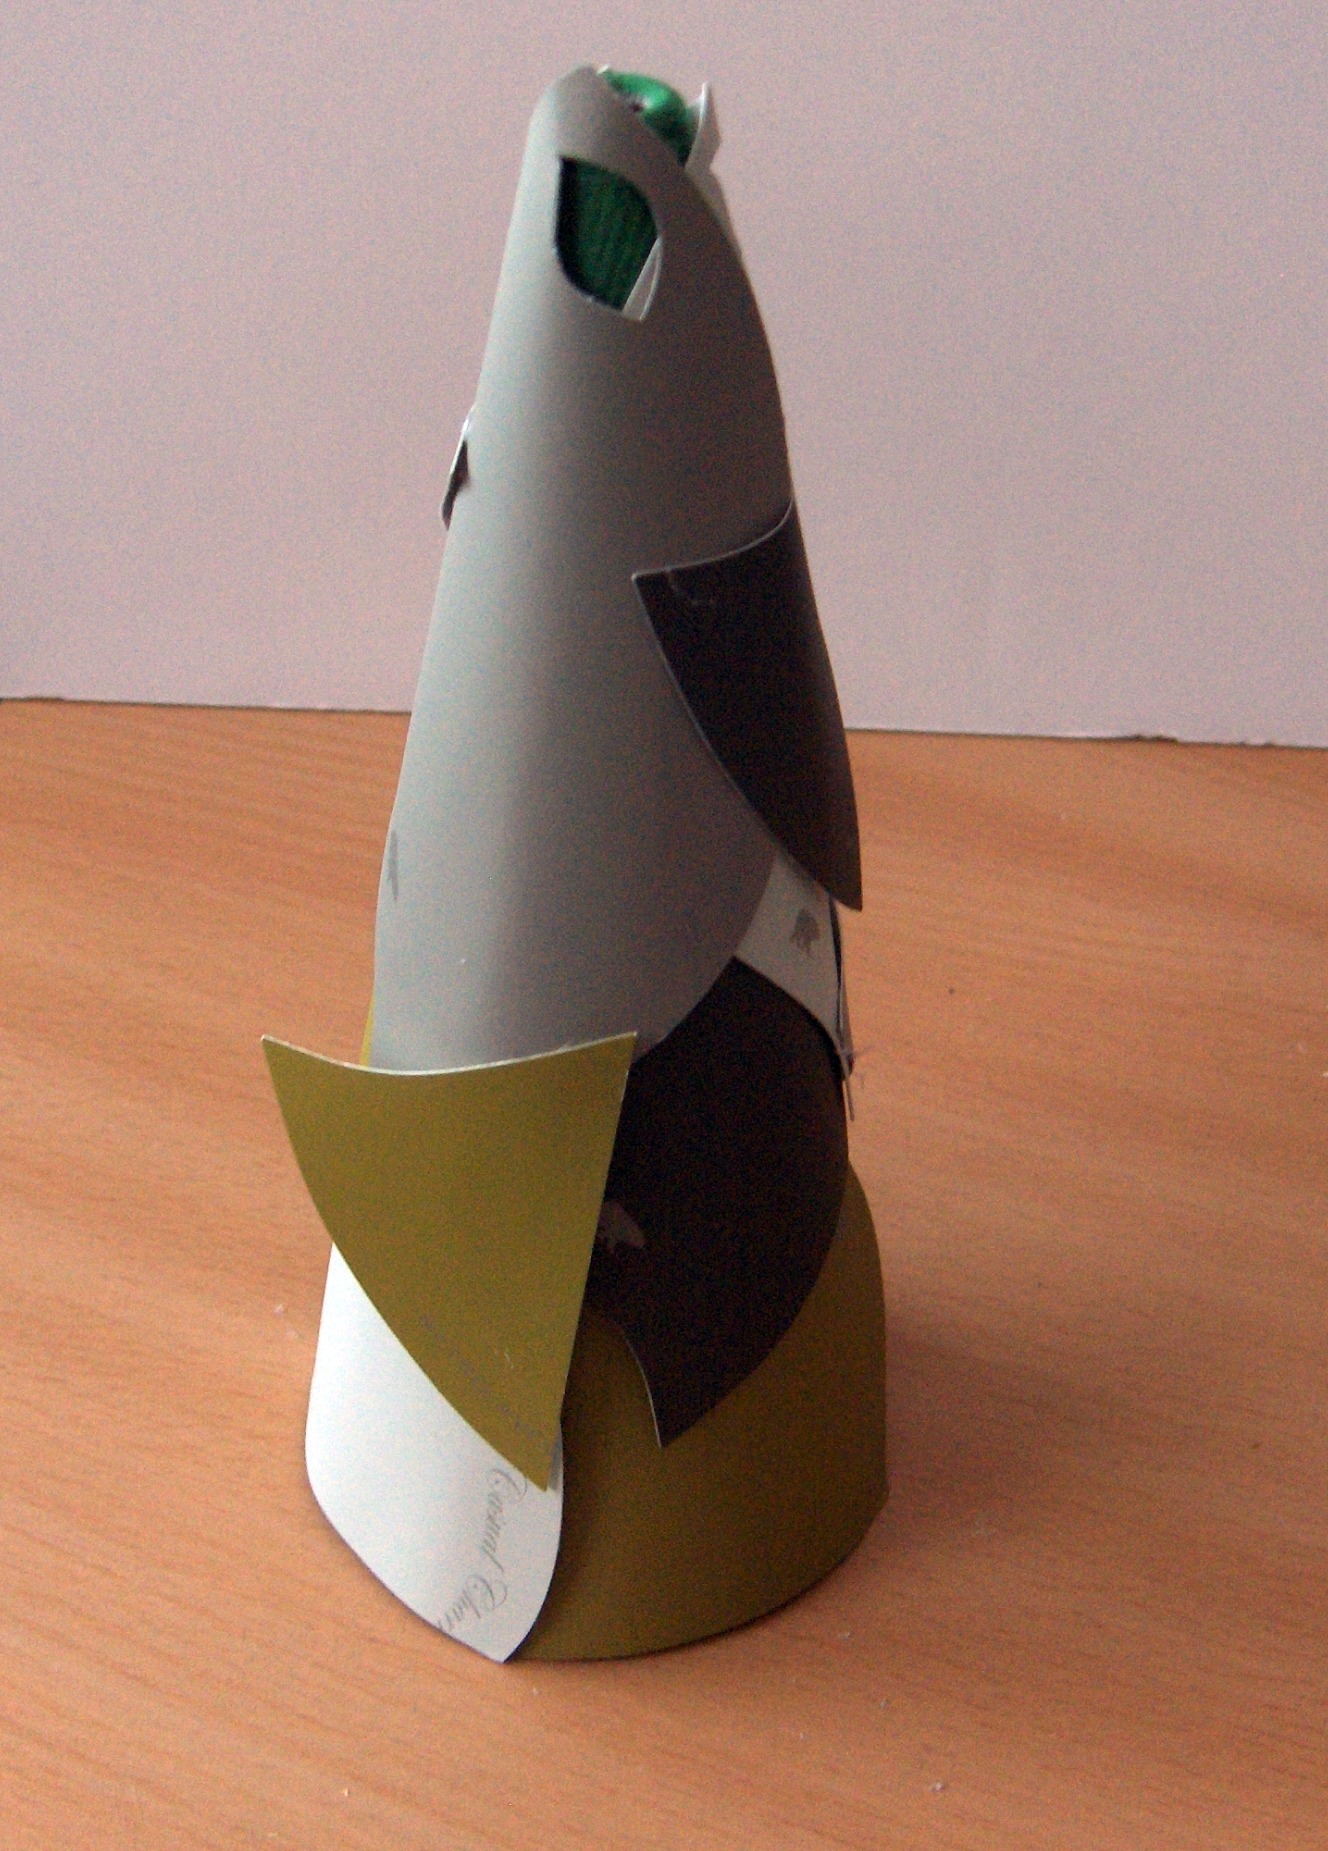
 As I began filling in the tree with the paint chips, I added bits that I had cut off from the tips of the leaves (the ones leftover from creating a straight edge on the leaves that were being put at the base of the cone) in such a manner that they would stick out from the cone, adding more dimension to the tree. As with the wreath, I haven’t decided precisely what embellishments I want to add to this tree to finish it off but I will post more pictures when it’s complete.
Leave a Reply