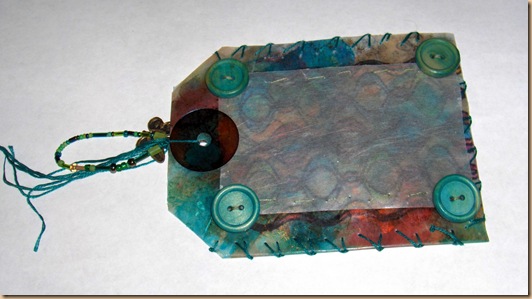
Check out this oh so pretty DIY luggage tag I made using Mul-tex. It’s simple to use, durable, and versatile, making it ideal for this project. If you’ve never heard of mul•tex™ before, you can find out more about it here – Rolled Paper Beads, Pendant, and Flowers Tutorial
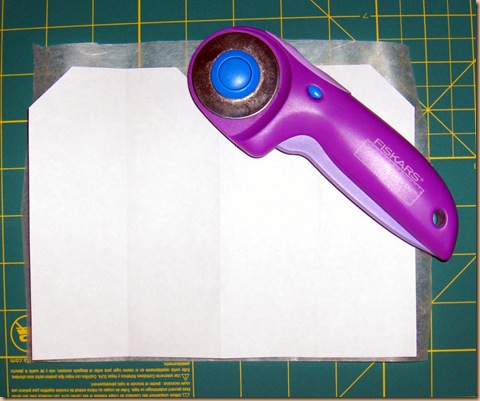
I decided to make a DIY luggage tag out of mul•tex™ because it’s such a durable material and the glossy laminate side is moisture resistant. I created a luggage tag pattern, a folded one so that I could fold my final product with the laminated part on the outside on both sides. This material cuts just beautifully with my Fiskars rotary cutter!
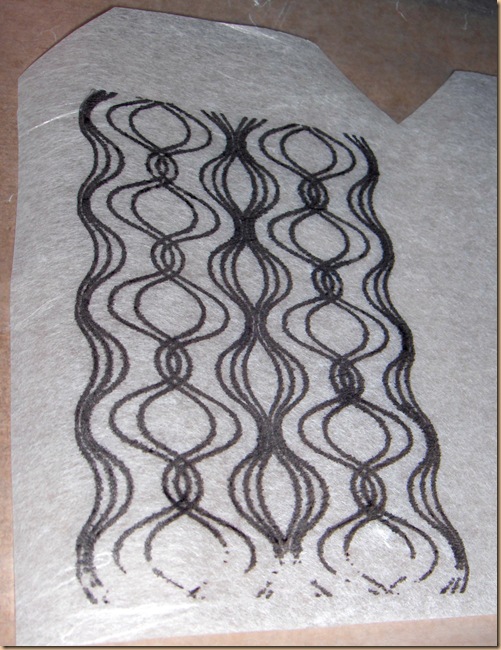
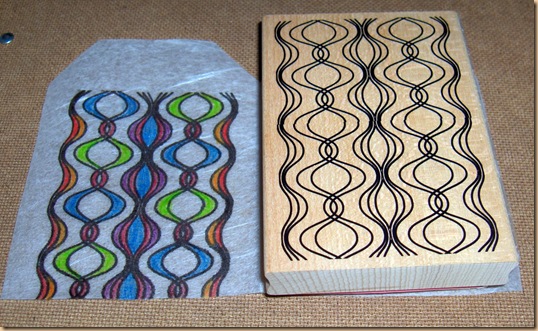
On one side, on the mulberry paper side of the mul•tex™, I stamped a large image with my new Ditto (from Hampton Art) rubber stamp. The mul•tex™ takes ink so nicely! (I happened to use Staz On black ink because it was handy but I’ve used regular ink pads with great success as well.)
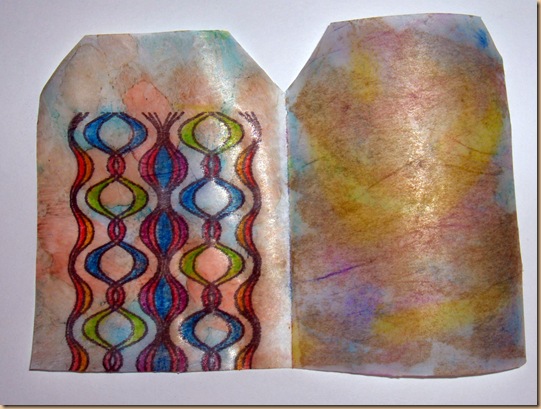
After stamping this background image, I used my Derwent Inktense pencils to colour it in and then used a small paintbrush dipped in water to paint over it and “activate” the ink.
Next I started playing around with various inks. I used the following alcohol inks by Adirondack: Stream, Bottle, Terra Cotta, Denim, and Latte. Then, I also used my Ranger Distress Ink pad in Frayed Burlap.
I sprayed on some Ditto Glimmer Spray. One is a sort of greenish turquoise and the other is between a cherry and burgundy. I WILL say that I found these much easier to use than the Tattered Angels Glimmer Mists. I’ve seen people use those with great success and maybe it’s just my luck, but they just sputter and splatter all over the place when I use them. These came out as a lovely mist.
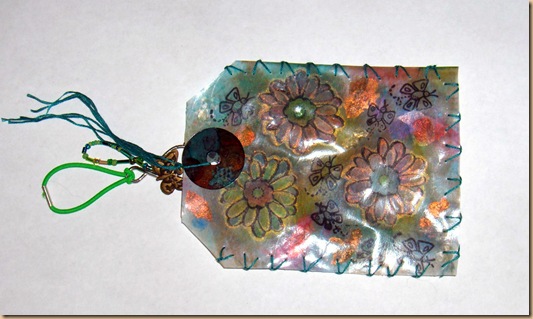
I stamped some flowers and butterflies onto the other side. The flower stamp is from the 2010 Janet Dunn collection for Studio G (also by Hampton Art) and the butterfly stamp is from the 1998 Trena Hegdahl collection for Westwater Enterprises. I coloured in the flowers with my Derwent Inktense pencils (colours used in this project: dark aquamarine, poppy red, crimson, sea blue, carmine pink, violet, thistle, apple green, sienna gold). I outlined the flowers with my Stickles in diamond. As you can see, this material accepts the Inktense pencils very well but you want to be sure not to press really hard or you may end up poking marks into the mul•tex™ with the point of the pencil that you then can’t get out.
Finally, I added some Mica Flakes and Gilding Bitz from US Art Quest, adhering them with Duo Embellishing Adhesive from US Art Quest (first time using it and it worked beautifully!).
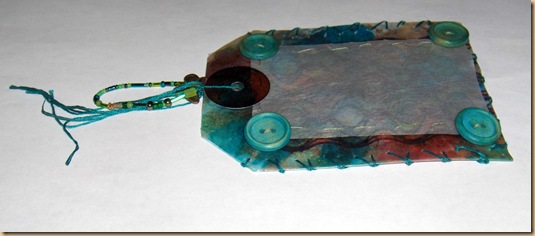
I took another piece of mul•tex™ sized slightly bigger than a business card, If you dampen your finger and rub gently, you can rub the mulberry paper away from the glossy side, which is just what I did with this piece. Although mul•tex™ is translucent, I wanted it to be clear so that you could easily see the business card through it. I sewed this piece onto the luggage tag around three sides, leaving one end open to insert the card.
To secure the pocket even more and add some decorative flair, I sewed on four buttons (from the dollar section at Michaels). Bear in mind, that it’s very easy to sew on mul•tex™ but it’s not as forgiving as fabric. If you poke a hole in it where you didn’t mean to, it will show. I was able in those cases to press down and rub those spots to make it less obvious, but on close inspection, it will still show.
I folded it so that the mulberry paper side is to the inside and the glossy laminated side is to the outside for extra durability. Again, as with most papers, once you’ve folded the mul•tex™ and creased it, it can be tough, if not impossible, to get that line out again so proceed with care. I embellished this with Mica Shapes from US Art Quest to kind of resemble the circle reinforcements on typical tags – I coloured these shapes with more alcohol inks. I punched a hole and tied on some embroidery floss to which I added some beads and a butterfly charm. To make it functional, I used a clasp with a loop of elastic so it can be easily attached and removed from a suitcase handle.
More tutorials created using mul•tex™:



Dale Anne Potter says
Oh MY – I will be ordering some this Mul-Tex from C & T as soon as its available to order….looks like alot of FUN!!!
THANKS for these two tutorials Cyn!
lisalizalou says
Very fun project and you’ll be able to spot your suitcase faster on the carousel at the airport with a colorful personalized tag.
decorablesart says
wonderful! The tags look SO pretty, Cyn. Great job!
Sue Miller says
Love the Ditto Glitter Spray…where do you get it??
cydlee61 says
I got it at Michaels. They just started carrying it sometime in January. Here in Canada, it’s around $6.99 but they’ve been having a lot of sales on the Ditto stuff and so I got it half price.
Janet Licari says
A very nice job on your project…Mul Tex is interesting. Love the colors and bling!
quilt 4 fun 2 at hot mail dot com
maria clarke says
hi there,
i watch your show on repeat, and was wondering whether this product is available in the uk? i have tried to google but it seems they don’t shock this product in the uk. how would i be able to buy this product?
cydlee61 says
Maria,
It’s not actually available anywhere yet as it won’t be released until April. Then it will be sold first on the C & T Publishing site: http://www.ctpub.com/productdetails.cfm?PC=2523 and after that it will start rolling out to stores. I don’t know if they ship to the UK but i sent you an email about it with more information in it.