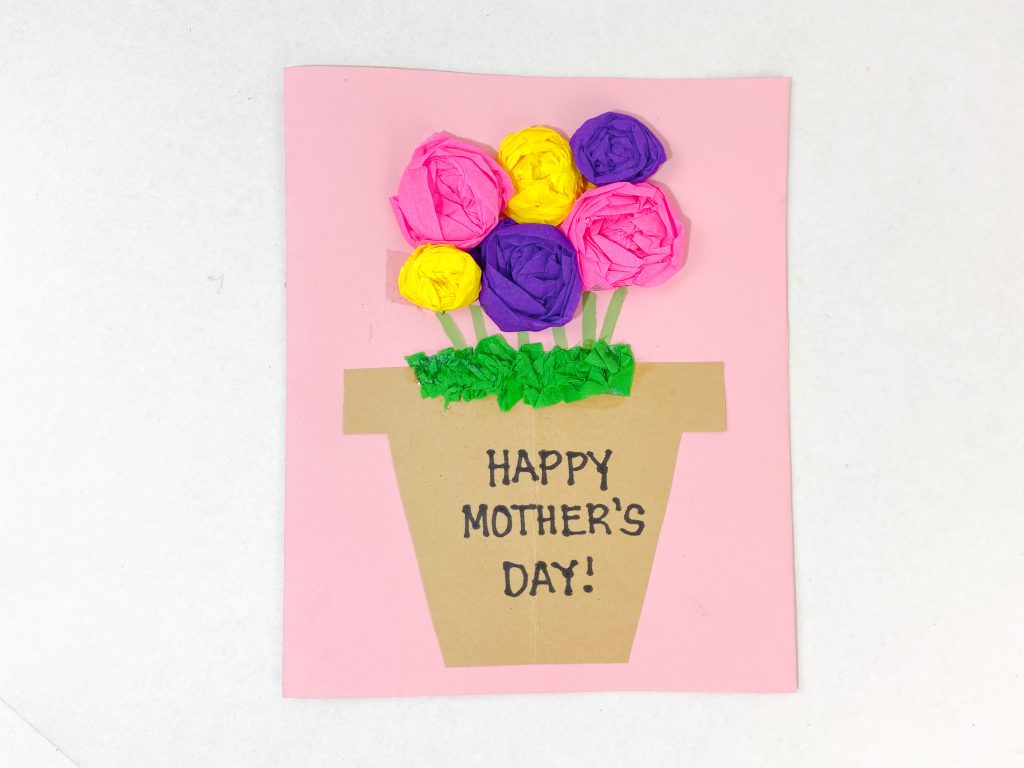
This Mother’s Day Flower Pot Card is simply adorable. It’s easy to make and there are lots of variations you can use to make it more suitable for a variety of age groups.
The supplies needed are very inexpensive – most can be found at your local dollar store or you may even have them on hand.
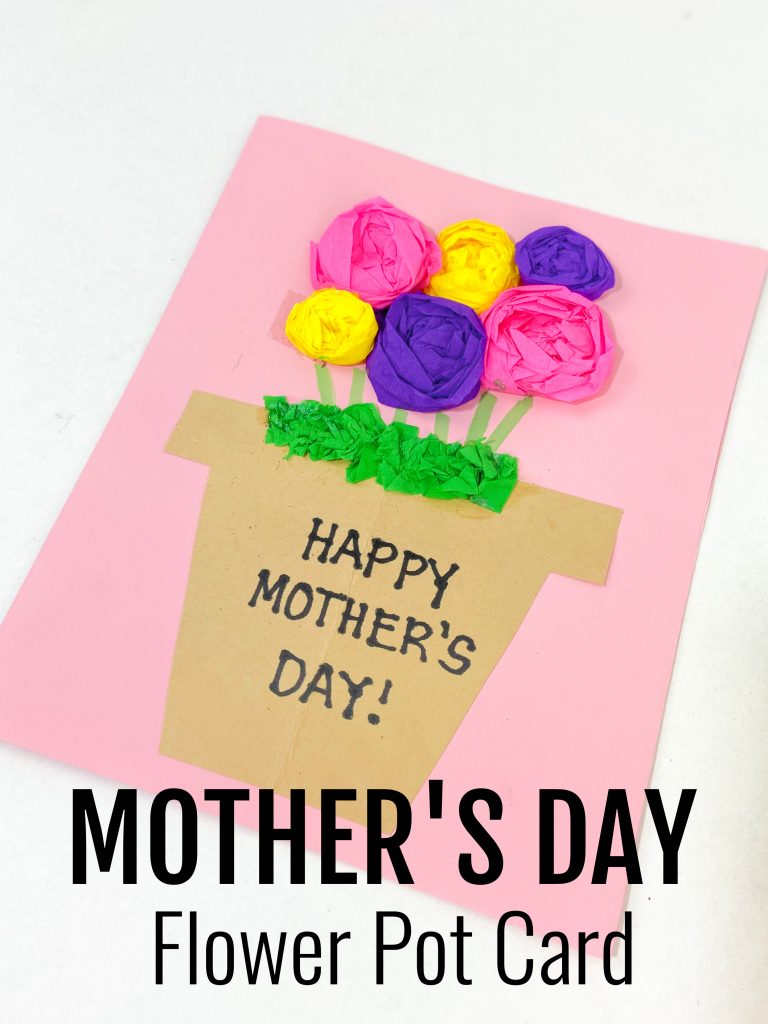
Mother’s Day Flower Pot Card
MATERIALS NEEDED:
Disclosure: Some of the links in the post below are affiliate links provided for your convenience. This means that if you purchase something through one of these links, I get a small commission at no added cost to you.
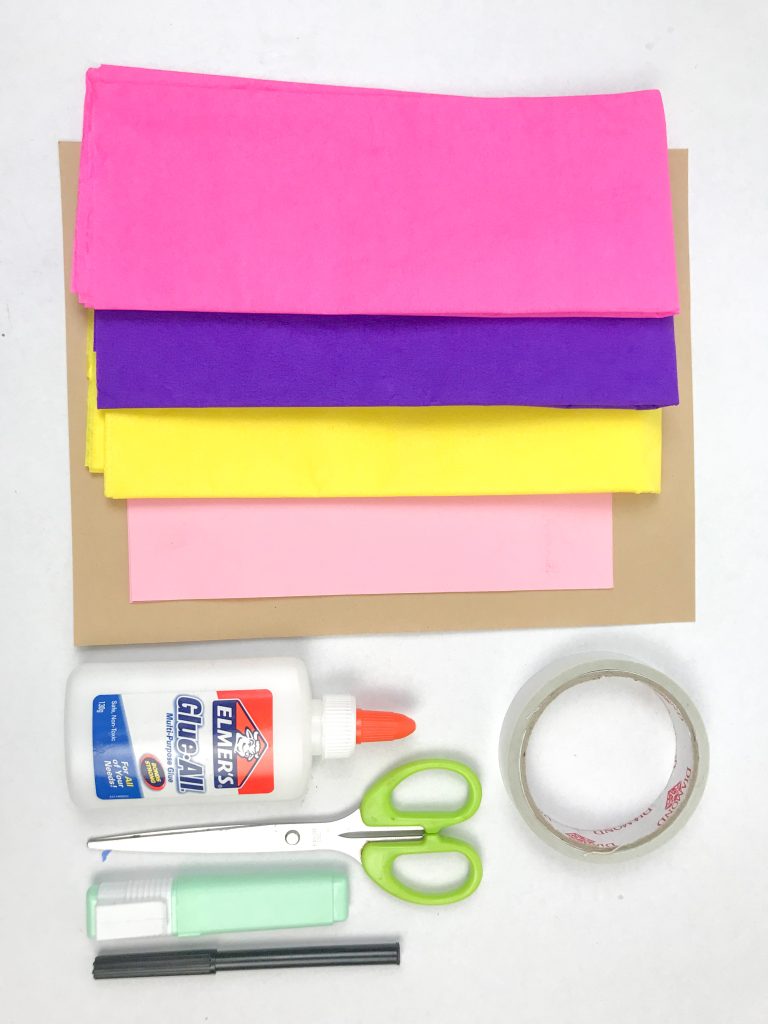
Crepe paper in desired colors
Brown craft or construction paper
Pink (or your choice of colors) construction paper
Glue – a glue stick will work well for the paper gluing as will kid’s craft glue
Scissors
A marker for writing the sentiment
Double-sided tape – you might find this works best for attaching the crepe paper flowers


INSTRUCTIONS:
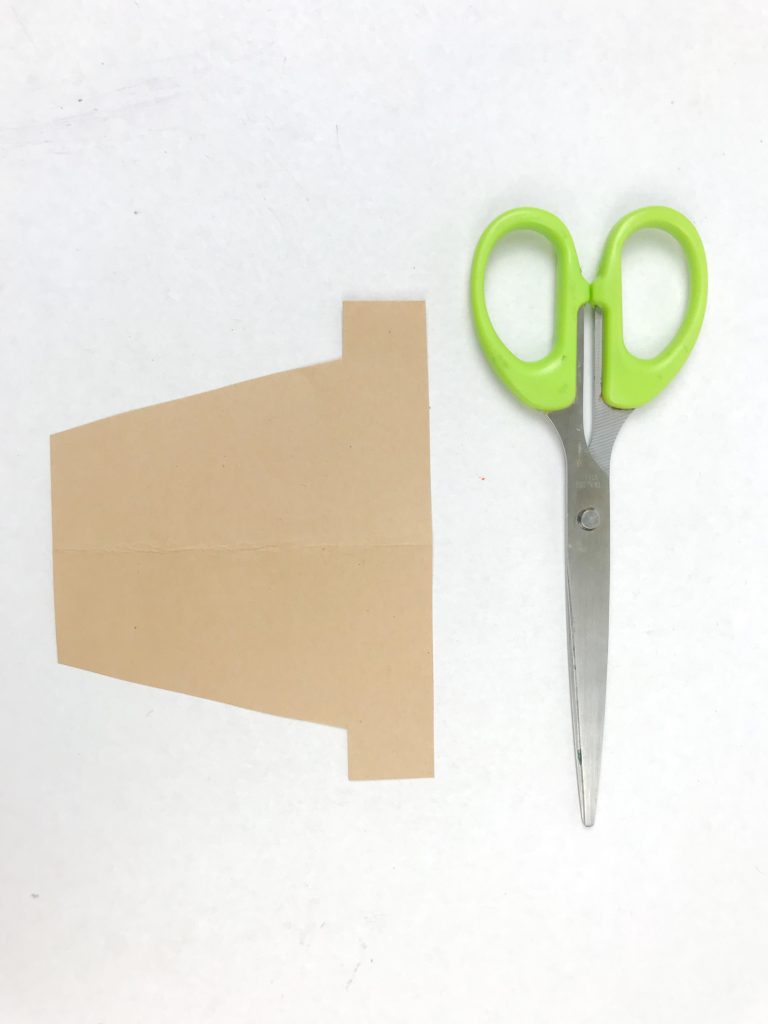
Make the flower pot from the brown craft paper. You can print the design directly on a piece of brown craft or printer paper or use the template for tracing. If making these with a group, I suggest making a cardboard template that can be traced again and again.
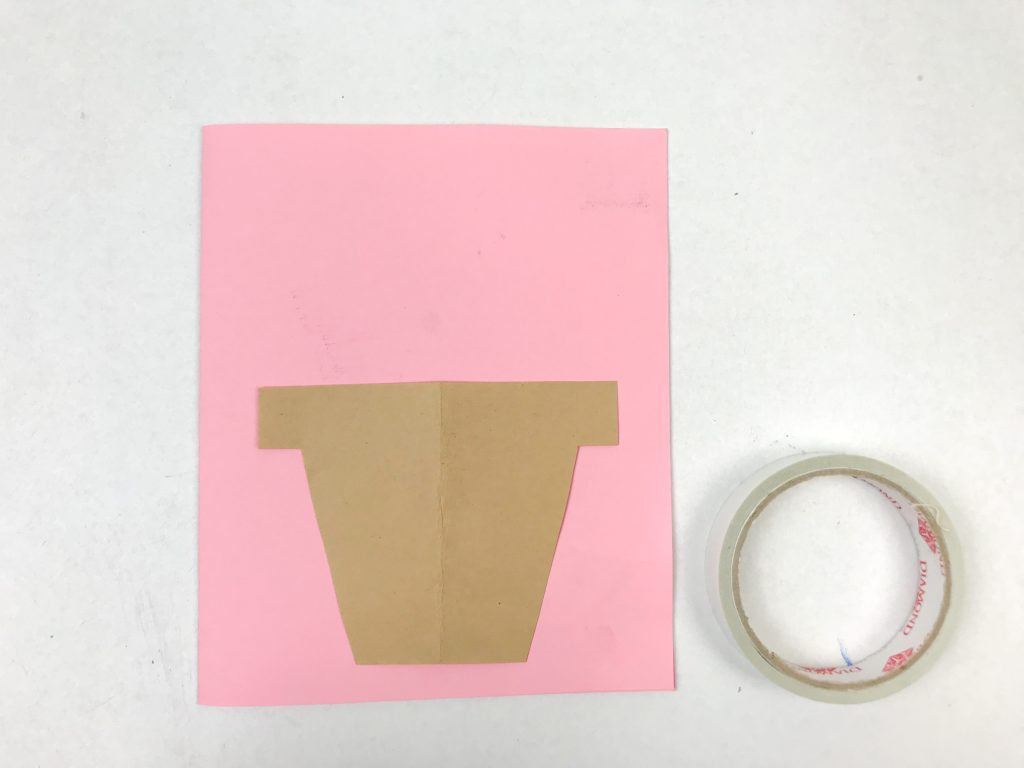
Fold a piece of pink construction paper to make a card. Glue the flower pot onto it. Write your sentiment on it with the marker.
How to make the flowers
There are several different ways you can make some paper flowers to add to the pot. Cut strips of crepe paper, twist the strip and roll it up as you go. Twist and roll, twist and roll until you have a large enough flower.
You can also cut strips and then starting at one end, begin gathering it towards that end. As you gather, it will start to form a circular flower shape. Keep going until you have a flower the size you’d like.
Make fringed flowers by cutting a strip of crepe paper. Along one of the long sides, make little snips to create a fringed effect. Now, starting from one of the short ends, begin rolling up the strip. Fluff out the fringed portion to create the flower.
For super simple flowers, you can cut pieces of crepe paper and then scrunch them up (as you would do with a piece of trash). Glue on as many balls of crepe paper as you need to form a flower.
Cut circles of crepe paper. Using the eraser end of a pencil, poke it into the center of the circle. Gather the circle up around the pencil. Glue down several of these gathered circles to create a fluffy flower.
Of course, there’s also the old-fashioned way we used to make flowers from tissues. Cut a bunch of squares of crepe paper. Lay them one on top of the other. Gather in the center and secure with a piece of tape or pipe cleaner. Starting with the top layer, pull each side up towards the center. Repeat with each layer.
You can also let the kids experiment and form flowers any way they’d like.
Leave a Reply