I am a member of the Collective Bias® Social Fabric® Community. This shop has been compensated as part of a social shopper amplification for #CollectiveBias and its advertiser.
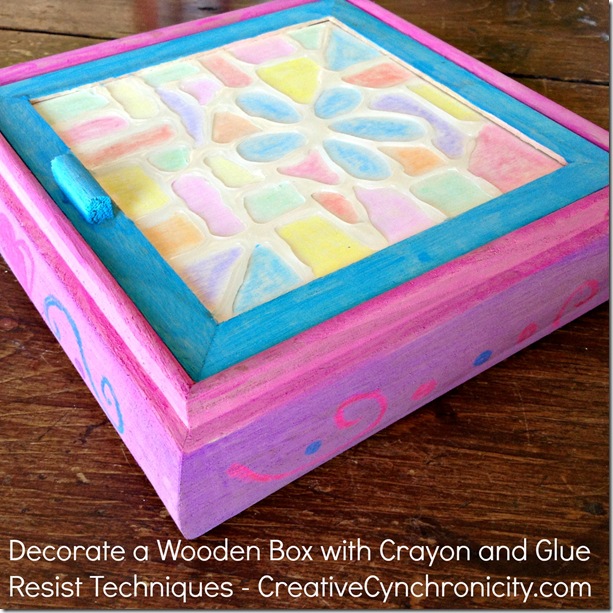 When I was a classroom teacher and even as a mom, it always bothered me to try teaching art to children using sub-standard supplies. So, when I was asked to share a #ColorfulCreations kids’ arts and craft idea using Crayola crayons, washable paint, and sidewalk chalk, I was thrilled. These products allow kids to learn about using art materials, applying art concepts, and finding success instead of frustration with their projects.
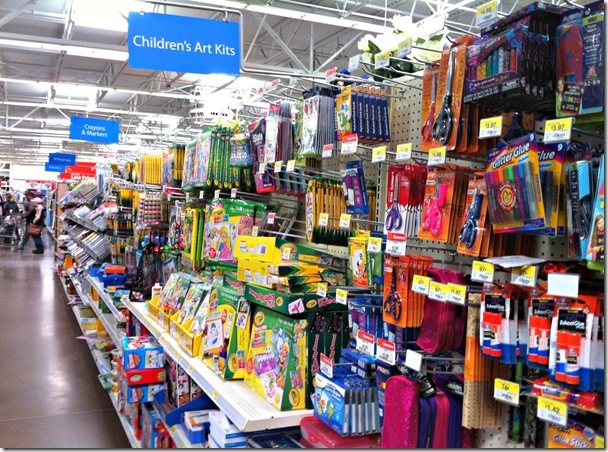 So I headed off to Walmart in Fort Gratiot, Michigan to get the supplies I needed to make a fun art project with the kids. I know they always have a great selection there. My daughter came along with me and even at the age of 25, she still ooh’ed and ahh’ed over the selection of Crayola products. From twistable colored pencils to glitter markers to metallic fx crayons, she was like a kid in a candy store! I guess you’re never too old for Crayola (shhh, don’t tell anyone but I have my own box of crayons tucked away in my art studio – great for my art projects but also just for some “I want to be a kid and play again” moments! It’s a wonderful way to destress!).
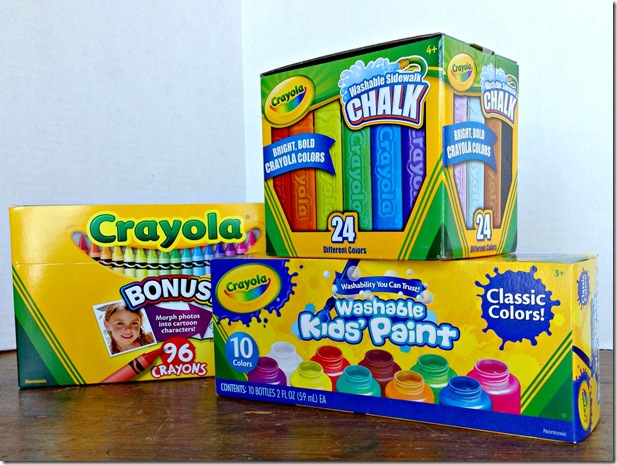 I found some great little wooden jewellery boxes at the dollar store and thought these would be fun for the kids to decorate and give to their grandmothers as gifts. They have a mirror and dividers on the inside and a nice flat surface on the outside of the lid for us to make our creative magic on. You could use wooden frames, construction paper, or cardboard as your surface instead. The other supplies you need besides some surface to work on are: Crayola Crayons, Crayola Sidewalk Chalk, Crayola Washable Kid’s Paint, Crayola No-Run School Glue, paintbrushes, and cotton swabs. You’ll want to have a container of water on hand for paint brush cleanup too. I like to have the kids work on a sheet of waxed paper to protect their work surface.
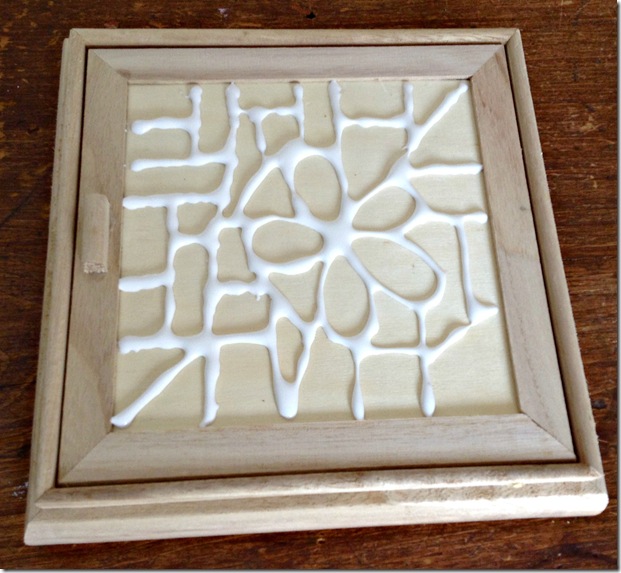 To decorate this wooden box, we’re going to be using two different resist techniques: one utilizing the glue on the top of the box and one using the crayons on the sides. For little ones, you might want to have them draw their design on the surface lightly with pencil. Then you can go over their lines with the glue. For older kids, they can use the glue themselves – either with a pencil pattern to follow or just by winging it! If they get some glue in places they didn’t want it, a cotton swab dipped in water is a great tool for cleaning it off. I always like to let this dry overnight just to be sure it’s thoroughly dried and ready for the next step. For most kids, this is enough work on it for one day anyway (and if you’re using it in a classroom or scout group setting, the timing is usually just right to do this part in one session and the rest in the next).
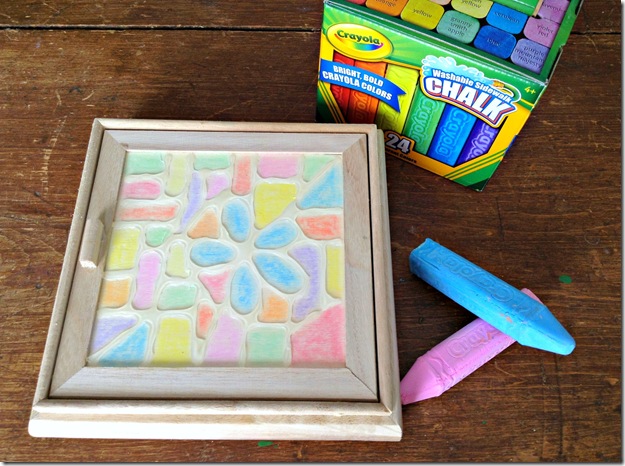
Once the glue is thoroughly dry, you’re ready to have the kids apply the chalk. I love that the Crayola Sidewalk Chalk is tapered just like a crayon so it’s really easy to use, even in smaller spaces. My daughter’s fiance pointed out that he was thrilled to see that the box is labelled with all the chalk color names. He’s colorblind and it’s really tough for him sometimes to use the right colors when they aren’t marked because he can mix them up. Have the kids apply a little chalk into one of the spaces created by the glue outline. They don’t need to fill the space completely because they’re going to then take a cotton swab and blend the color into the space. You can even dampen the cotton swab to give it almost the look of a cross between chalk paint and watercolors. The nice thing about the glue outline is that it helps define the spaces, giving almost a stained glass or mosaic feel and it helps the kids stay contained within those spaces. It’s also really pretty to paint the background black first, let that thoroughly dry and then apply the glue lines so that you’ll have black lines peeking through the chalk colors. 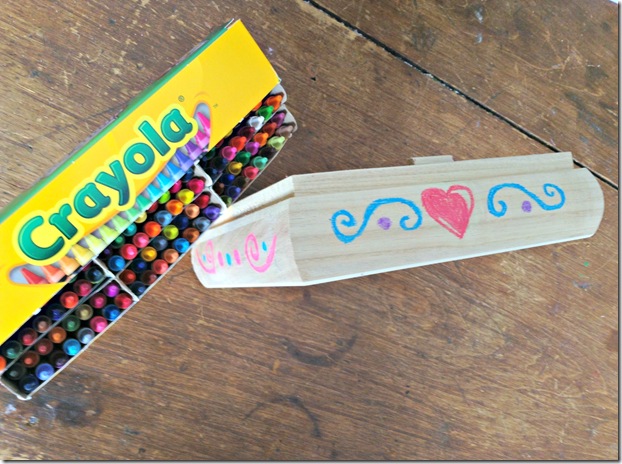
The next step is to decorate the sides of the boxes. Use crayons for this – you don’t have to press super hard because the Crayola crayons go on so beautifully but it is good to thicken the lines a bit so that they show up really well after the next step. What’s nice about this technique is that it’s easy even for young children – even just scribbling and making random marks will still work as a resist. It’s much easier for adding details – even words – to the project than it is to try to paint them on. 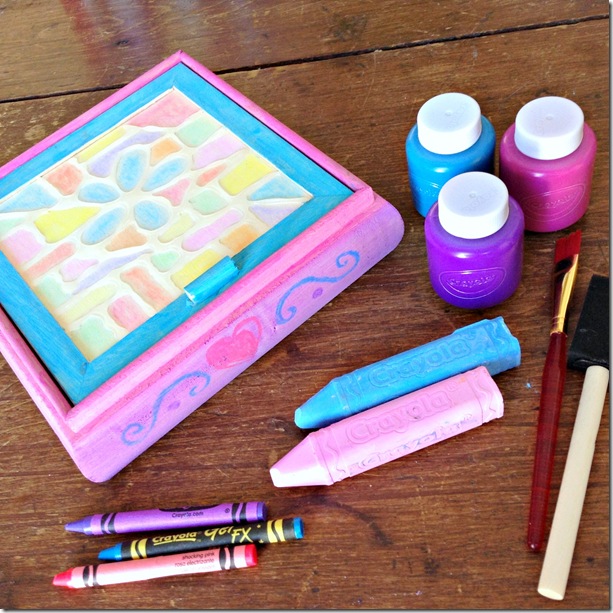 Now you’re ready for paint. Simply brush on paint to the sides of the box (and the edges surrounding the chalk and glue resist design) right over the crayon designs. The crayon will resist the paint and still show through, creating a really pretty effect. If you find that the paint is going on too heavily for your liking (I didn’t find that an issue with the Crayola paints), just dampen a paintbrush or rag with water and go over the paint to remove a bit of it. If you want to (depending on how much handling the project will get), you can seal the box with a clear sealant such as watered down white glue.
Want to find some more fun arts and crafts projects for the kids? Head on over to the Crayola Facebook page and check out their Pinterest account as well! Lots of fantastic inspiration there!
Jen Temcio @dapperhouse says
What an exciting craft to make the mosaic look with the glue! This turned out really cute! #client
Sara Pirate (@CleverPirate) says
This is so creative! Love it!
Rebecca Nash says
Love the way you used the glue to create the jewelled top!
Raina DelRio says
These are SO PRETTY! With Mother’s Day and the end of school coming, these would be perfect gifts!