For any of who have been participating in the Craftsocial chats on Twitter, you probably know that at February’s chat, we decided to have a “lightbox along” in the month of March. Many of us have blogs or in some other way like to share pictures of our artistic creations and we were discussing how tricky it can be sometimes to take decent photographs of the items we make particularly for those of us who live in areas without tons of winter daylight. Some people shared links to sites with instructions on how to create simple lightboxes that could be used to enhance the lighting of your home photography and the idea was put out for any of us interested to participate in a challenge to create our own lightboxes sometime during the month of March. I know that for me, this was something that had been on my “to do” list for quite some time so it was just the motivation I needed.
The initial post about joining the Lightbox Along which also contains links to several sites describing various ways of making your own:
Once you have your lightbox made, the Craftsocial website also provided links to sites with information on how to improve your photography:
As well as some further valuable resources for using your lightbox:
This is the site I used as the basis for creating my lightbox.
http://digital-photography-school.com/how-to-make-a-inexpensive-light-tent
The basic supplies you need are: a cardboard box, an Xacto (or similar) knife, tape, plain white tissue paper, and a piece of plain white Bristol board. I also found it helpful to have a pencil, ruler, and a pair of scissors on hand.
Basically I found a box that was an appropriate size for most of the photography that I do (of my artwork) but also was appropriately sized for storage purposes as well. The box I used didn’t have top flaps but if yours does, you need to cut those off. Lay the box on its side so that the opening is facing you. You need to cut a rectangle out of what is now the top of the lightbox as well as the right and left sides. I left a bit of a “frame” around the edges of about an inch so that I would have a base to attach the tape to. I cut pieces of tissue paper (a single layer) to fit each of the rectangles I had cut out on the top and two sides of the box. I taped those to the respective sides trying to lay them out as flat as possible. Then I cut a piece of Bristol board so that it would fit inside the box and gently curve out and extend past the edge of the box to form a surface and backdrop for the item being photographed. (see the photos) I secured the top edge of the Bristol board inside the box at the top edge of the box (for obvious reasons you don’t want it to cover the tissue paper opening at the top of the lightbox). That’s it! I have read that some people have experimented with adding additional layers of tissue paper to the box as needed because they found that one layer was too thin to provide them with the lighting they desired.
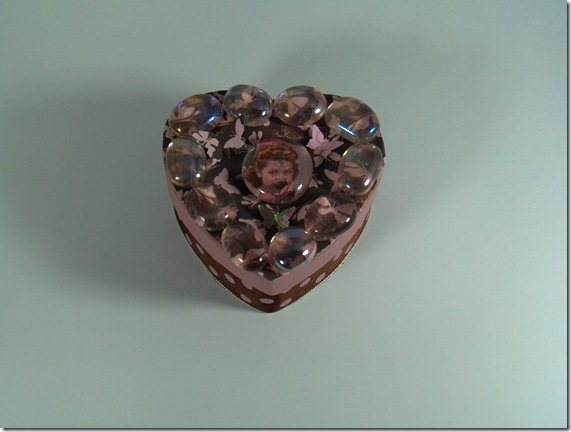
This photo was done using the lightbox:
I believe from the results I have seen online (and from remembering the photography work that my dad did) that a lightbox is an invaluable tool in helping to improve your home photography. That being said, though, I must also add that I still have some work and experimentation to do with it to get those great results. So far, when I took some test pictures with and without the use of my lightbox, I was disappointed in the results. I think this is because of the lighting, not the lightbox. I am using two clip-on lights with OttLite lightbulbs in them. I bought the OttLite bulbs because they provide pure natural white light so I don’t think there is a problem there. I do, however, think that the lamps are the issue. I’m struggling to get them into a position that I think will work well and then hold that position. They’re on one of those sort of accordion tube arms and it just doesn’t seem to stay put exactly where I want it to, so I’m thinking that I’m not actually lighting the box just right. I’ll keep playing with it though and hopefully, you’ll see my project photos improve over the next little while! Update: one issue was getting the lights into proper position and the other was that I wasn’t using the best settings on my camera. Now that I am, I’m seeing GREAT improvements using my lightbox!
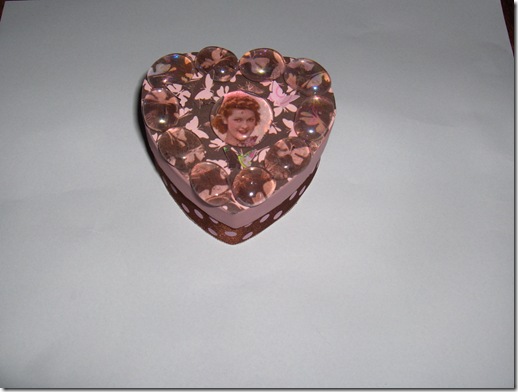
This is the photo done in the same spot without the use of the lightbox:


Leave a Reply