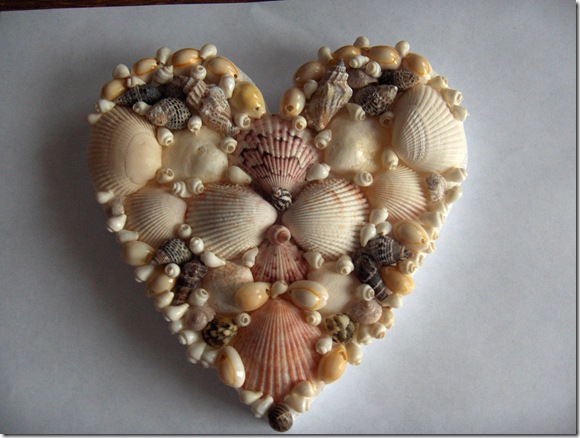
Here’s the next in my series of projects from the www.dollarstorecrafts.com Super Secret Stashbusting Challenge. If you’ve visited this blog before, you may remember the heart shaped piece of art I made in memory of my Dad. It was in the tradition of a Sailor’s Valentine and I made it by using a styrofoam heart as the base and covering it with a mosaic-like design of seashells that he and I had collected when I was a child.
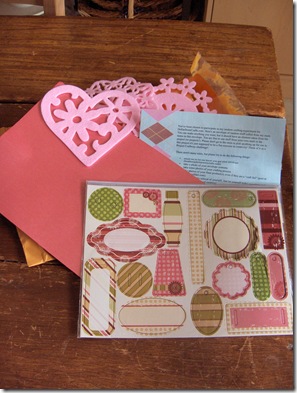
I had been mulling over ideas for creating a similar one but this time, in honour of my mother. I had a few ideas rattling around in my head but nothing that I felt really spoke of the tie between my mom and me in the way that the seashell heart had for my dad and me. When I saw the pink felt heart with cut-out designs in my envelope, I was inspired to make it the basis for my Mom’s heart (sorry it’s not red Mom! I know that’s your favourite colour!).
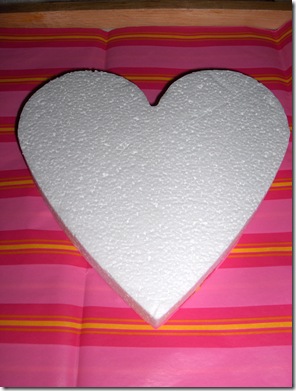
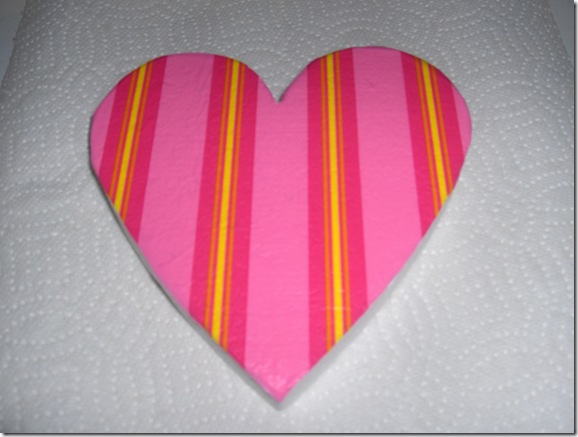
I began by covering the styrofoam heart with a piece of tissue paper that had been part of an Easter assortment package of tissue paper. I used some Liquitex Gel Medium that I spread thinly over the heart with a foam brush to adhere the paper to the styrofoam.
Then, I used Aleene’s Tacky Glue to glue the pink felt heart on top of the tissue paper and I left the heart to dry thoroughly before I moved on to the embellishment stage.
I knew that I really wanted to include some vintage buttons from my collection on this heart. I have a tin of buttons filled to the brim with my buttons that had been my Mom’s and had been handed down to her from a couple generations before her. The tin itself – hmmm, I really should come back and update this with a picture of the tin – is pretty much a small coffee can that my Mom sewed a sort of slipcover for with little pockets on the side to hold basic sewing tools like seam-rippers and the like. I have memories of my Mom sewing and repairing things for me, button tin at her side. Beyond that, I have memories of her allowing me to play with those buttons when I was a child. You know how great it can feel to dig your fingers through the soil when you’re gardening or run them through sand at the beach? I just loved to dig my hands into the tin and let the buttons run through my fingers. Then I would dump them out in front of me, count them, sort them into colours, shapes, numbers of holes or types of shanks on them; make mosaic style pictures out of them – whatever I could think of to do!
Although I was loving the buttons added to this heart, I decided that I wanted something a little different for the centers of the flowers. I felt it needed a bit more dimension and interest. I turned to the zippers that were included in my package for this. I began by opening one of the zippers all the way. I used a pair of scissors to clip off the little tabs at one end and the zipper pull on the other end. To make the little bud shapes, I started by making a fold at one end and holding it in place with a dab of hot glue. I gave it a couple of turns to roll some more of the zipper around the fold I had made, again securing it with some hot glue. Once I had this center of my bud, it was simply a matter of wrapping the remaining part of the zipper around the center. I didn’t roll it around perfectly even, rather I worked up and down at a bit of an angle to create the more rose-like appearance. I found it was very important to apply some hot glue frequently as I worked as I was unable to maintain the shape I was trying to get otherwise. I found that hot glue worked the best in applying these rosebuds to the heart as well.
What did I use for an economical on-hand hanger for on the backs of these hearts? A pop can tab! Hot glue it in place and it works beautifully!


Leave a Reply