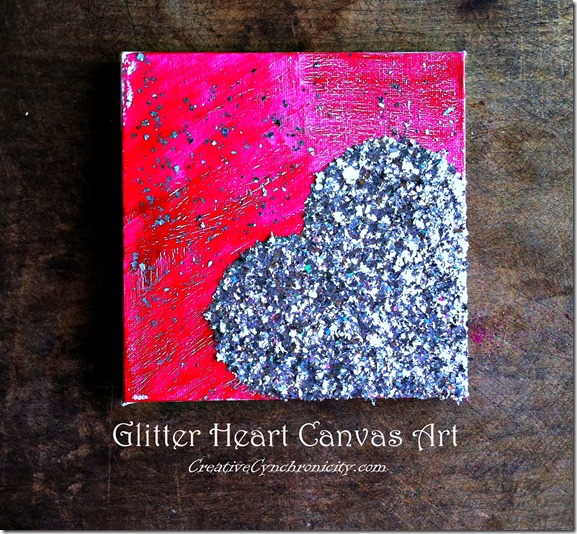
Welcome back to another fun edition of Craft Lightning! This time my bloggy friends and I are sharing great ideas for Valentine’s Day crafts that you can make in 15 minutes or less (minus drying time). I saw an adorable pillow project over on High on DIY and it inspired me to make this glitter heart canvas art.
 It’s a simple project but I think it makes a really sweet accent piece. Make a really big one to hang on the wall or a smaller one like I did to sit on a mantel. I’m thinking of using more of these little square canvases to create a whole grouping based around this glitter heart canvas.
This project requires very little in supplies and is really inexpensive to make.
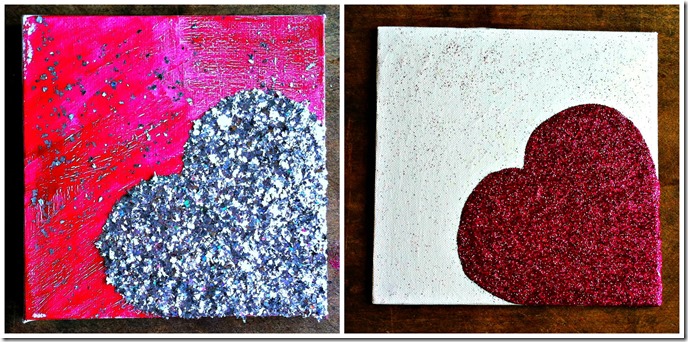
You’ll need: a square canvas (or scrap of thick cardboard – like the type that comes at the back of a pad of paper or a piece of wood or a piece of styrofoam), a paintbrush (I like the foam brushes for this project but found it helpful to have a smaller brush on hand too for any tiny touch-ups), glitter (it took about half of a 0.63 oz. jar of glitter when applied fairly heavily), Mod Podge. You’ll also need some paint if you want to paint your background. I did one painted and left the other plain canvas. OH and I used a piece of scrap paper, pair of scissors, and a pencil to make a heart template.
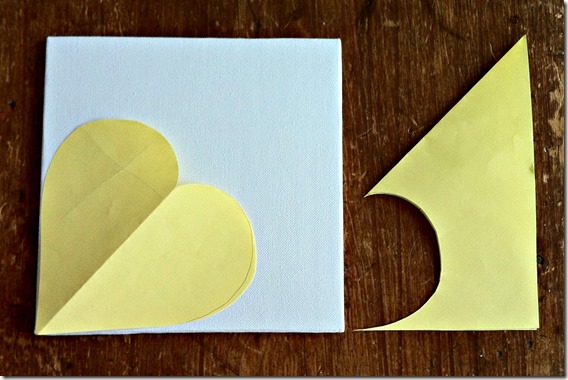
So, to get started, I wanted to make a heart template.
I am not comfortable with my free-hand drawing skills for this particular project. The easiest way I found was to cut the piece of paper the same size as the canvas. I folded it in half diagonally and then drew a half a heart on one side of it. Cut that out, adjusting the size to fit in the corner of your canvas and still leave room for the “explosion” of glitter coming from the heart.
If you’re going to paint the canvas, get that done and let it dry completely
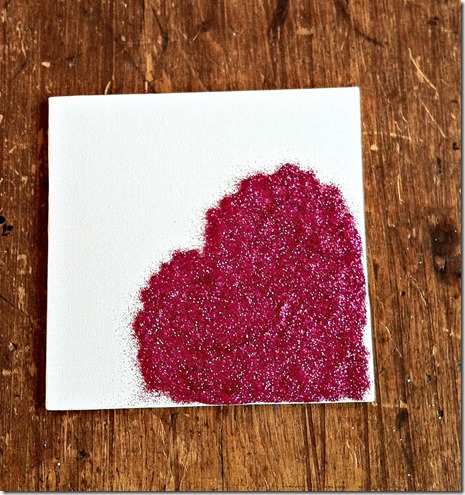
. Now using your template, lightly trace the heart into the corner of your canvas. There are two ways to proceed next. One is to paint on a layer of Mod Podge into your heart shape on the canvas and then sprinkle on a generous layer of glitter. The other is to mix glitter and Mod Podge in a 1:2 ratio and then paint that on in your heart shape.
Pros and cons?
Well, in the first method, I needed a second coat to get the thick coverage I wanted. This entails letting that first coat dry thoroughly and then I found I needed to dab instead of paint on the second coat of Mod Podge so that I didn’t actually scrape off some of the first layer of glitter in the process. I then wanted the glitter to be “sealed in” (so it wouldn’t fall off everywhere) and applying that last layer of Mod Podge was, again, a bit tricky and it took a little more time and patience so I didn’t ruin what was already there.
With the second method, I found I needed more layers – like 6 layers – to get the coverage I wanted. The good thing with this method though was that because the Mod Podge and glitter were mixed together, it seemed to seal the glitter in much better.
Once you’ve completed the heart itself, now it’s time to add a little extra glitter kind of “exploding” from the heart
. Paint on some Mod Podge and then go crazy! You can randomly sprinkle the glitter on all around the heart or apply it a bit more deliberately. Added too much? Use the “other end” (not the brush) of your paintbrush and gently scrape it off or move it around.
That’s it! It’s so pretty and it really is easy and quick to make. I made some as gifts and did them assembly line style, working on the next one while the previous was drying. All in all, I was able to make a dozen of them in just a couple hours (including drying time)!
Be sure to check out all the great Valentine’s Day Craft Lightning projects by clicking on the image below.
Happy Valentine’s Day!


Cheryl Boglioli says
Oh how fun. Love this quick but super fun Valentine project.
Angie @ CCC says
This is great Cyn! Thanks for joining!