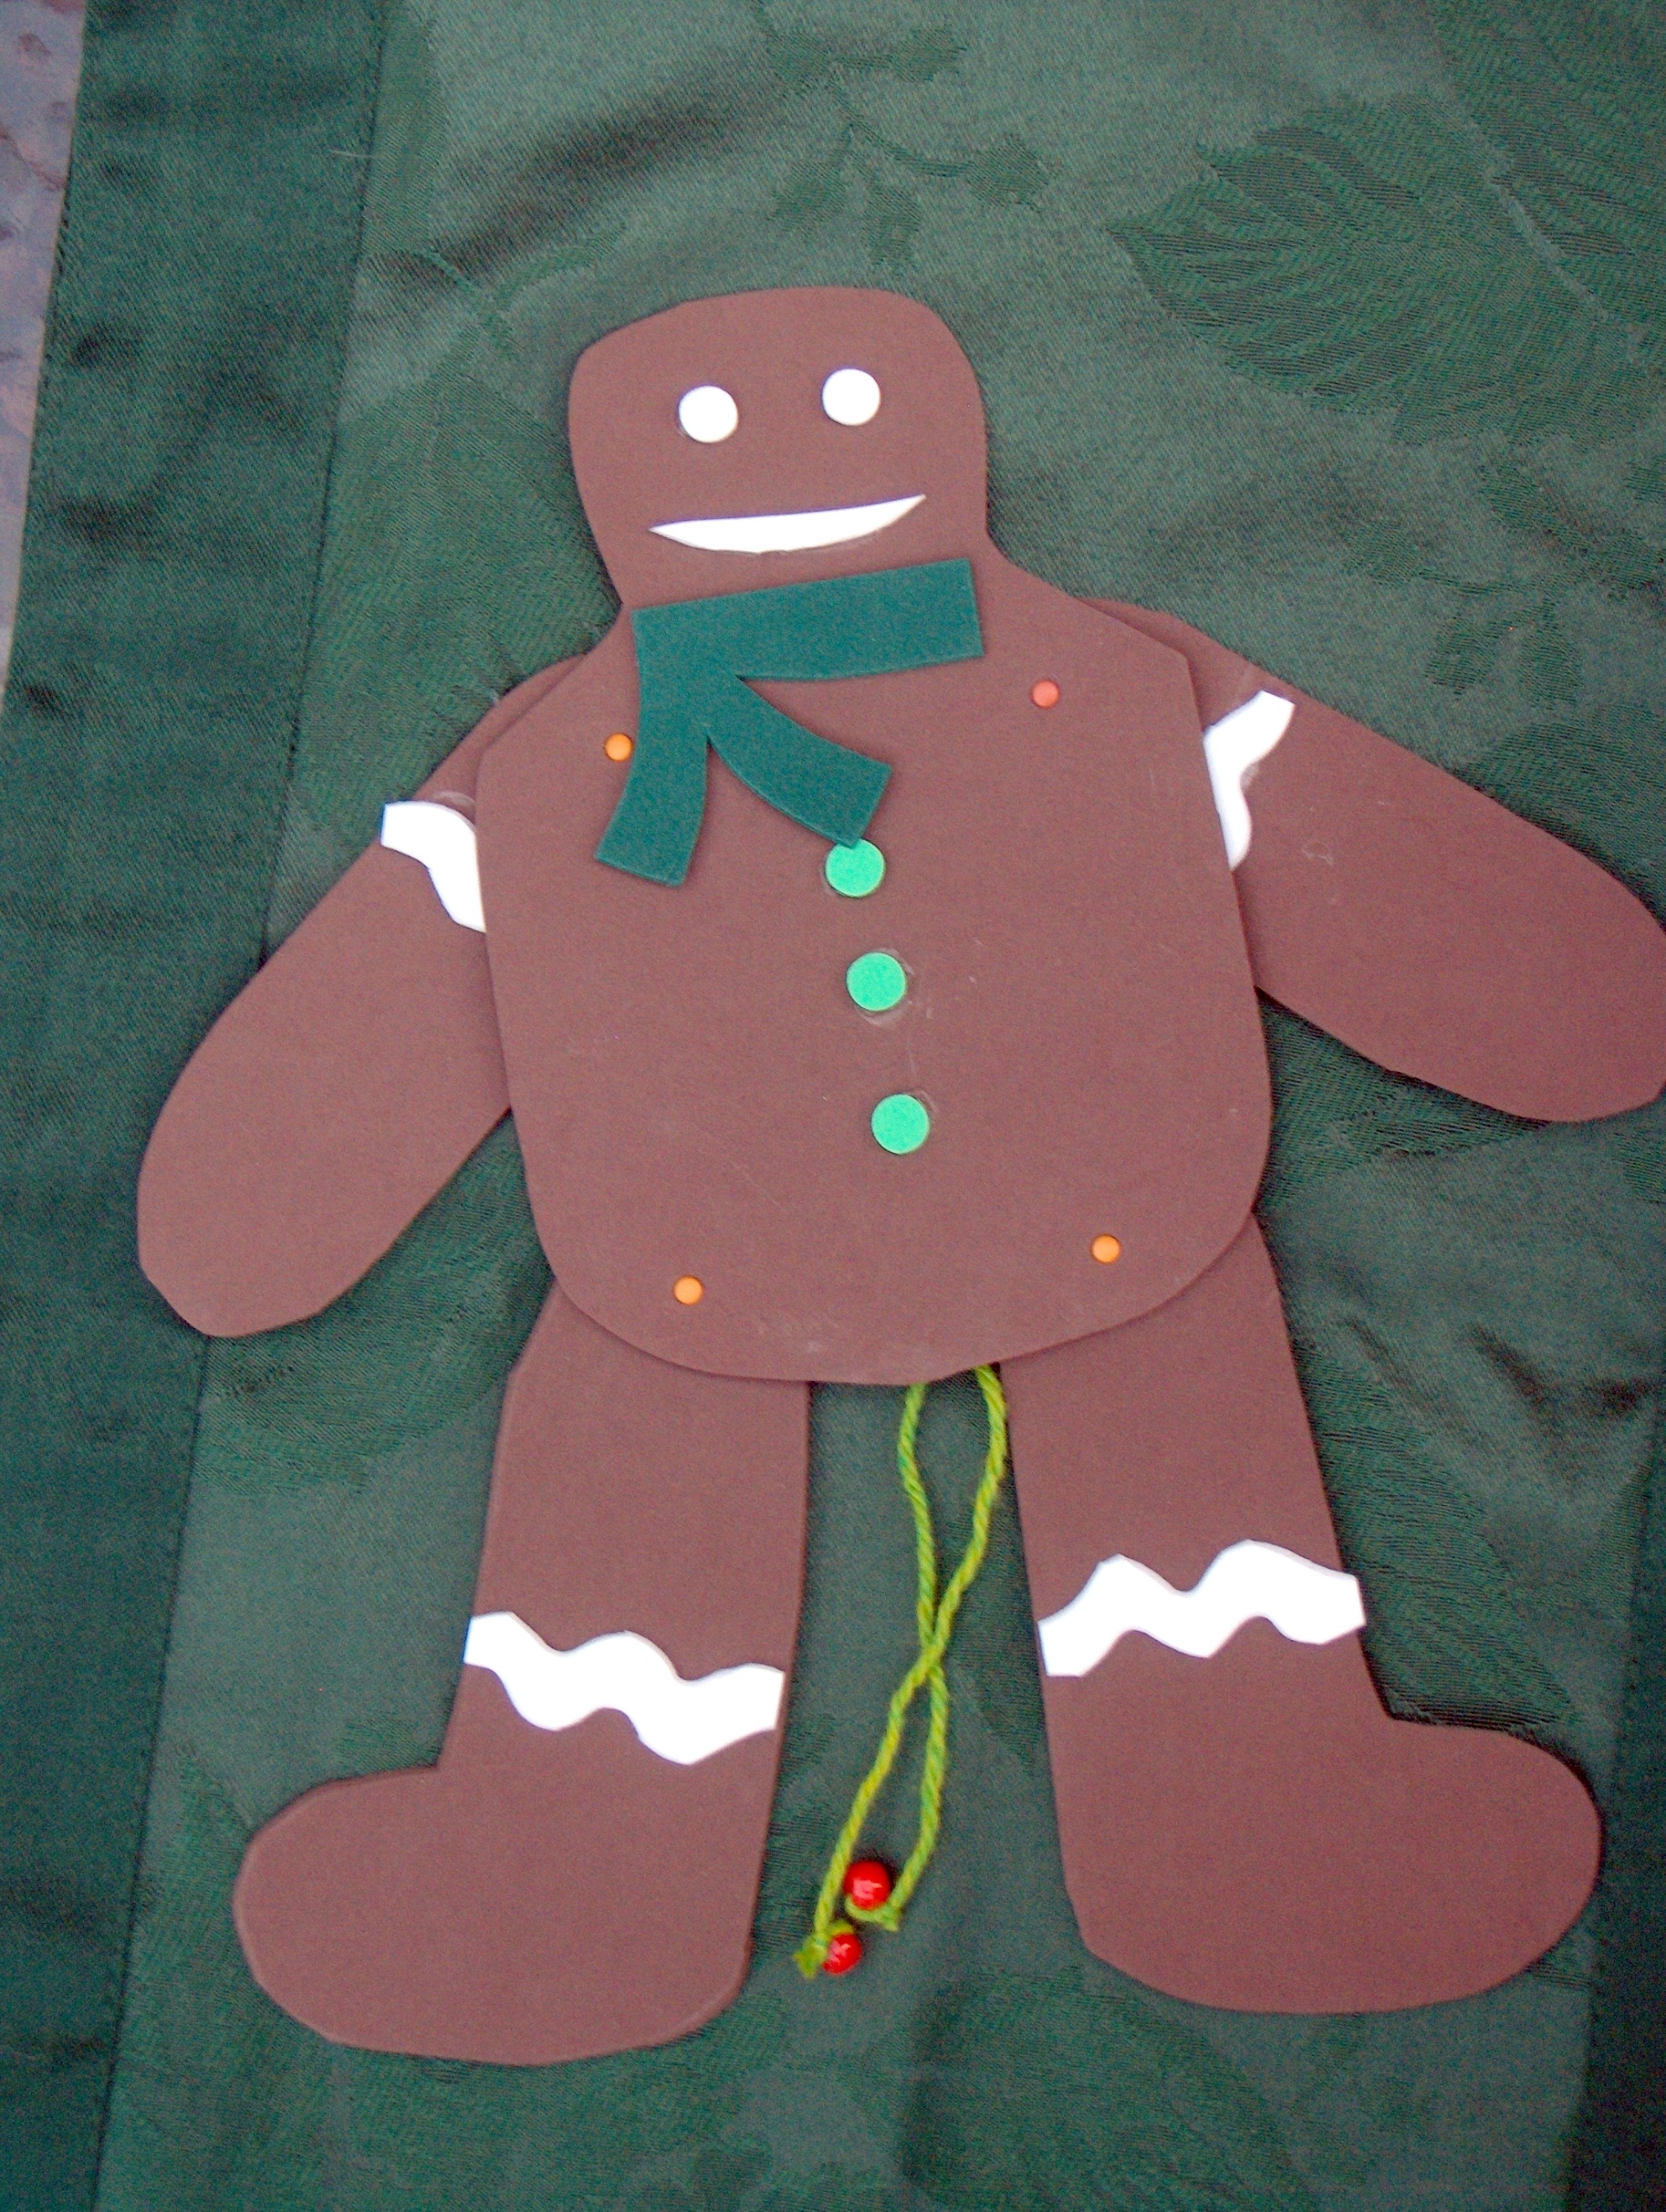
Tonight on the Cool2Craft Pajama Party Live, I showed how to make these really cute jumping characters. They both start with the same basic shape. You can make your own pattern quite simply – find an image on the internet of, for example, a gingerbread man and use that as your starting point. I found that it was good to make the body fairly big and somewhat boxy looking in order to have room for the parts you need to make it jump.
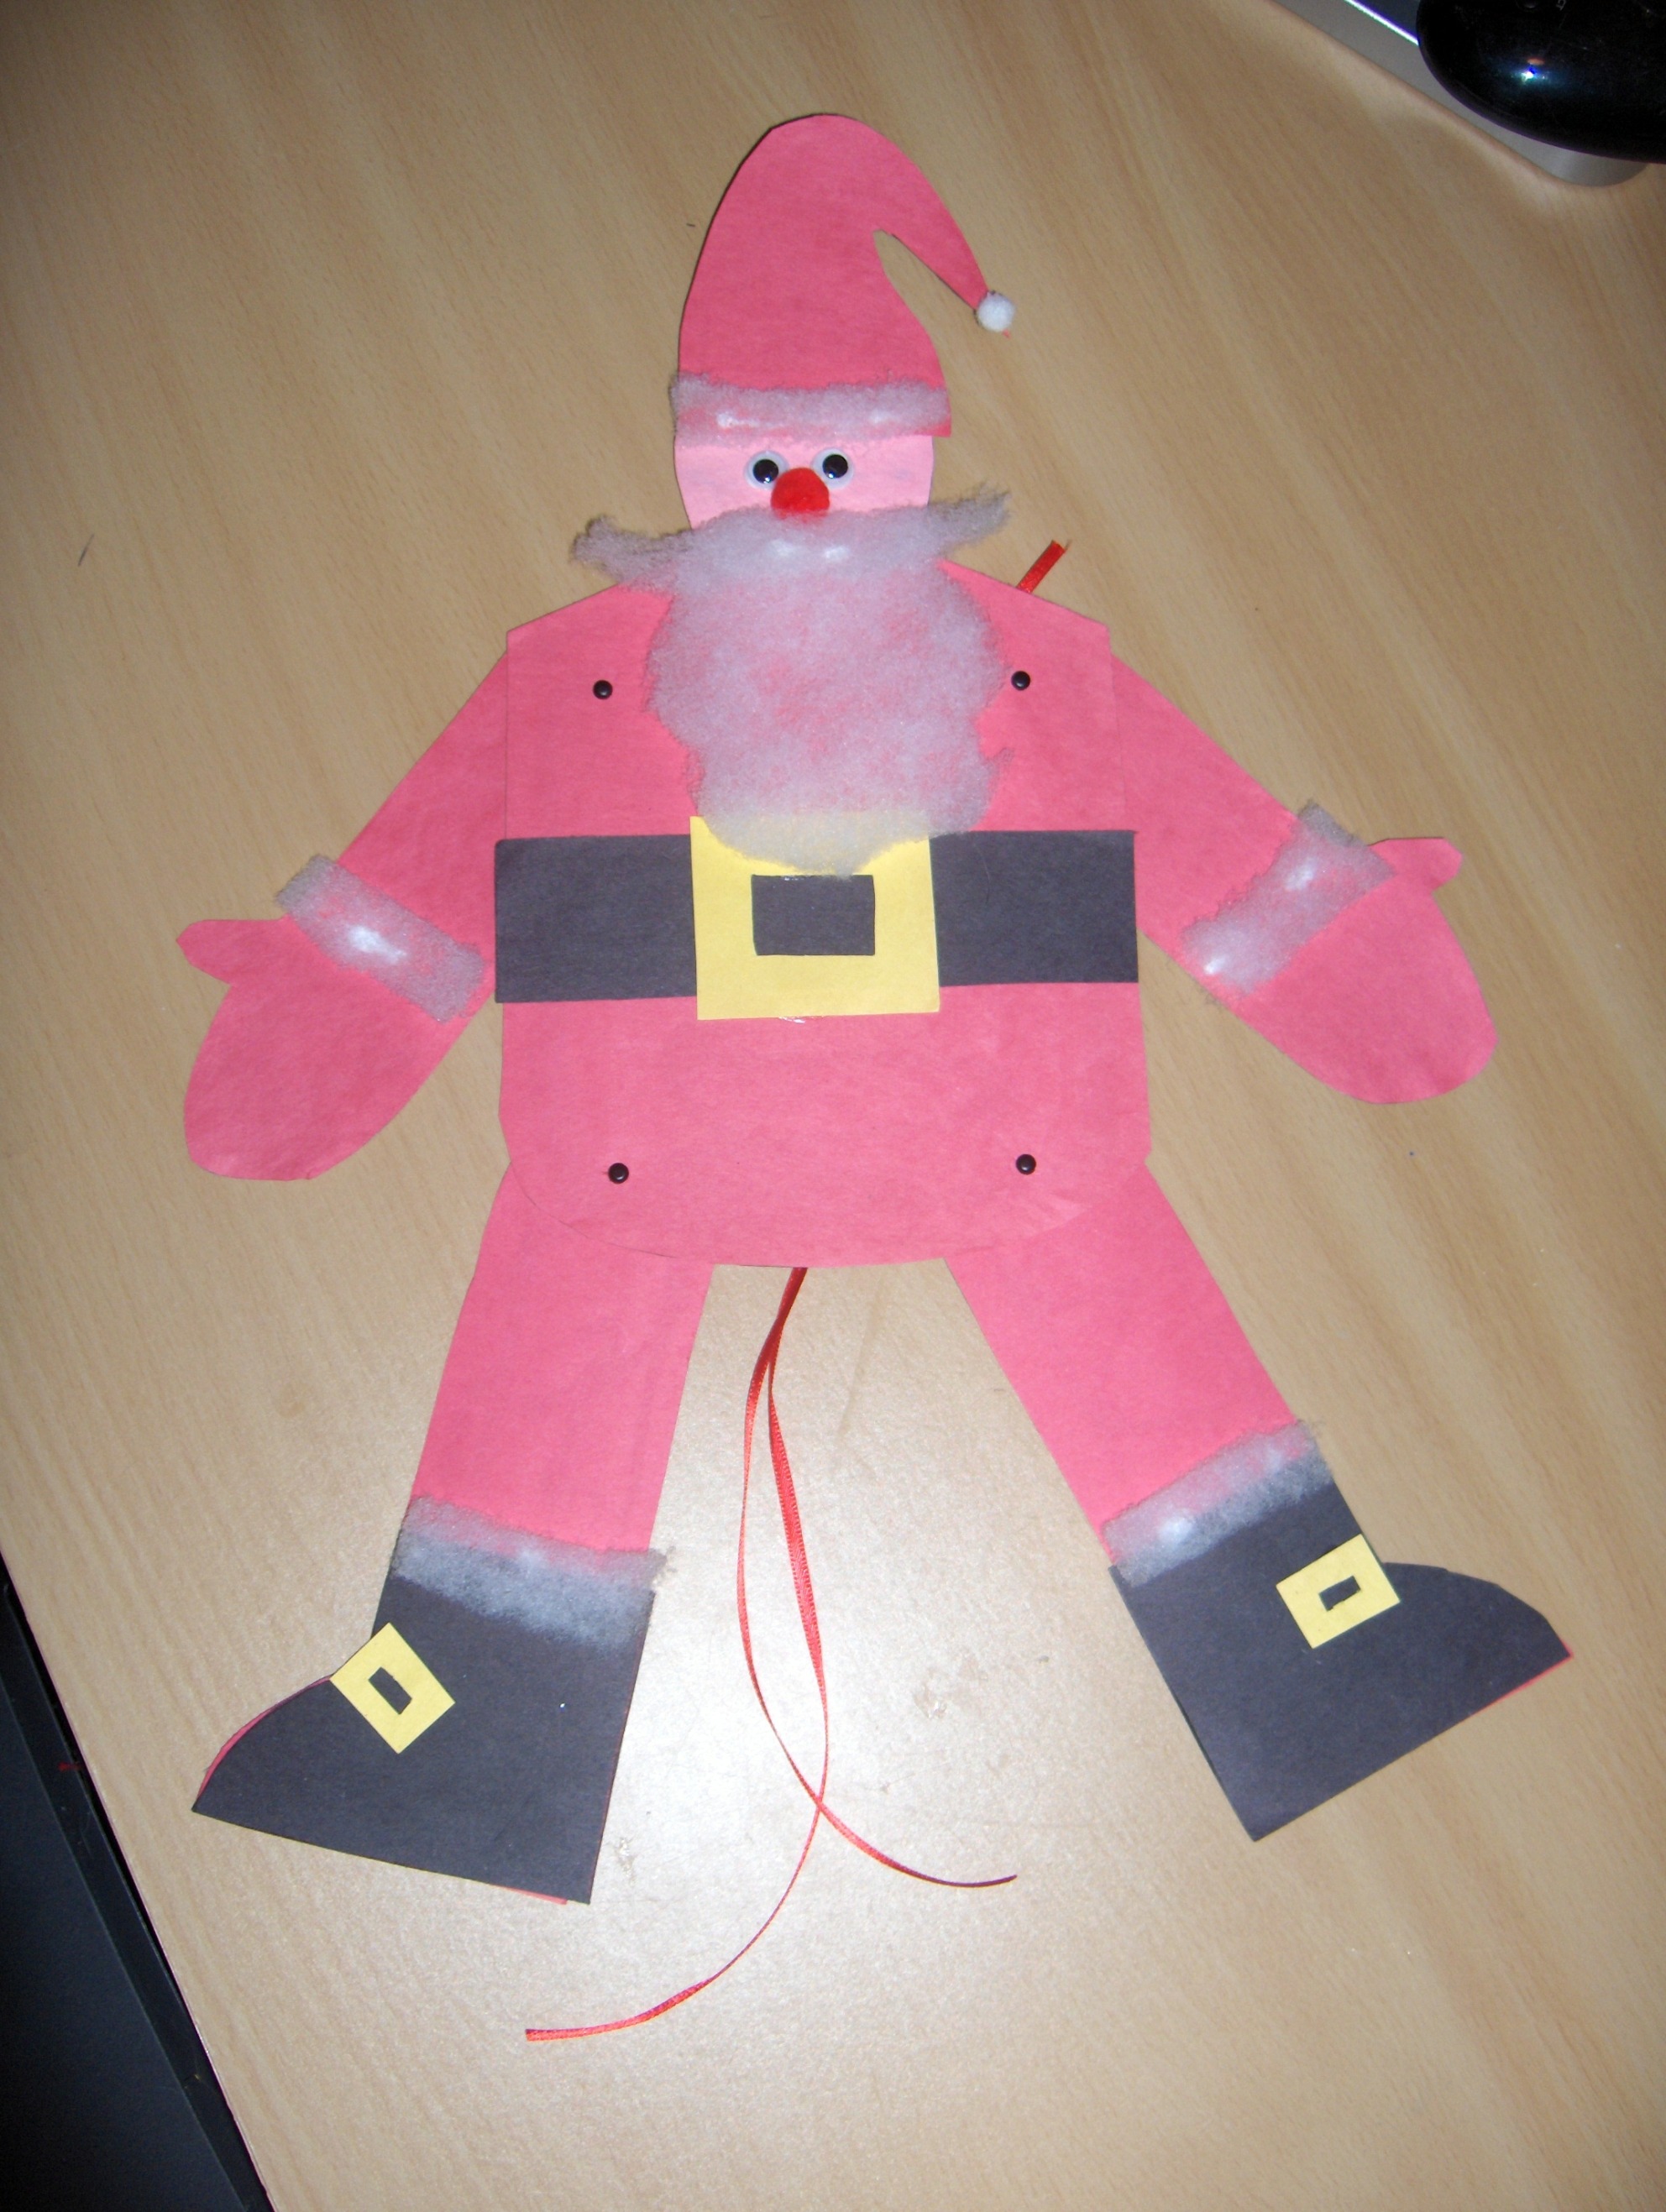
Here I used exactly the same pattern to make a Santa instead. I added a hat, his belt and boots (complete with buckles), googly eyes, a red pompom nose and a white pompom for the end of his hat, and bits of quilt batting as fur trim, his beard, and mustache. For each of these patterns, you punch holes in his arms and legs and in 4 places on his body so that you can attach his limbs to his body with brads. You also need a second hole in each of the limbs for the string that will allow the figure to jump. I learned a few important hints about making these. First of all, when I first made the gingerbread man, I made him completely out of fun foam. When I attached the string and tried to make him jump, the fun foam had too much give to it and it would kind of fold into itself instead of actually jumping. I solved this by gluing the fun foam pieces onto cardboard. You could also cover cardboard with felt, paint, or construction paper as I did with Santa. The other important thing I learned had to do with what type of string you use. The first time I used some pretty yarn that I had on hand. What I found with it was that each time you pulled the strings, the yarn would begin to stretch a little bit and after a while, he would no longer jump because there was just not enough tension in the strings. Ribbon or some kind of non-stretchy string works much better.
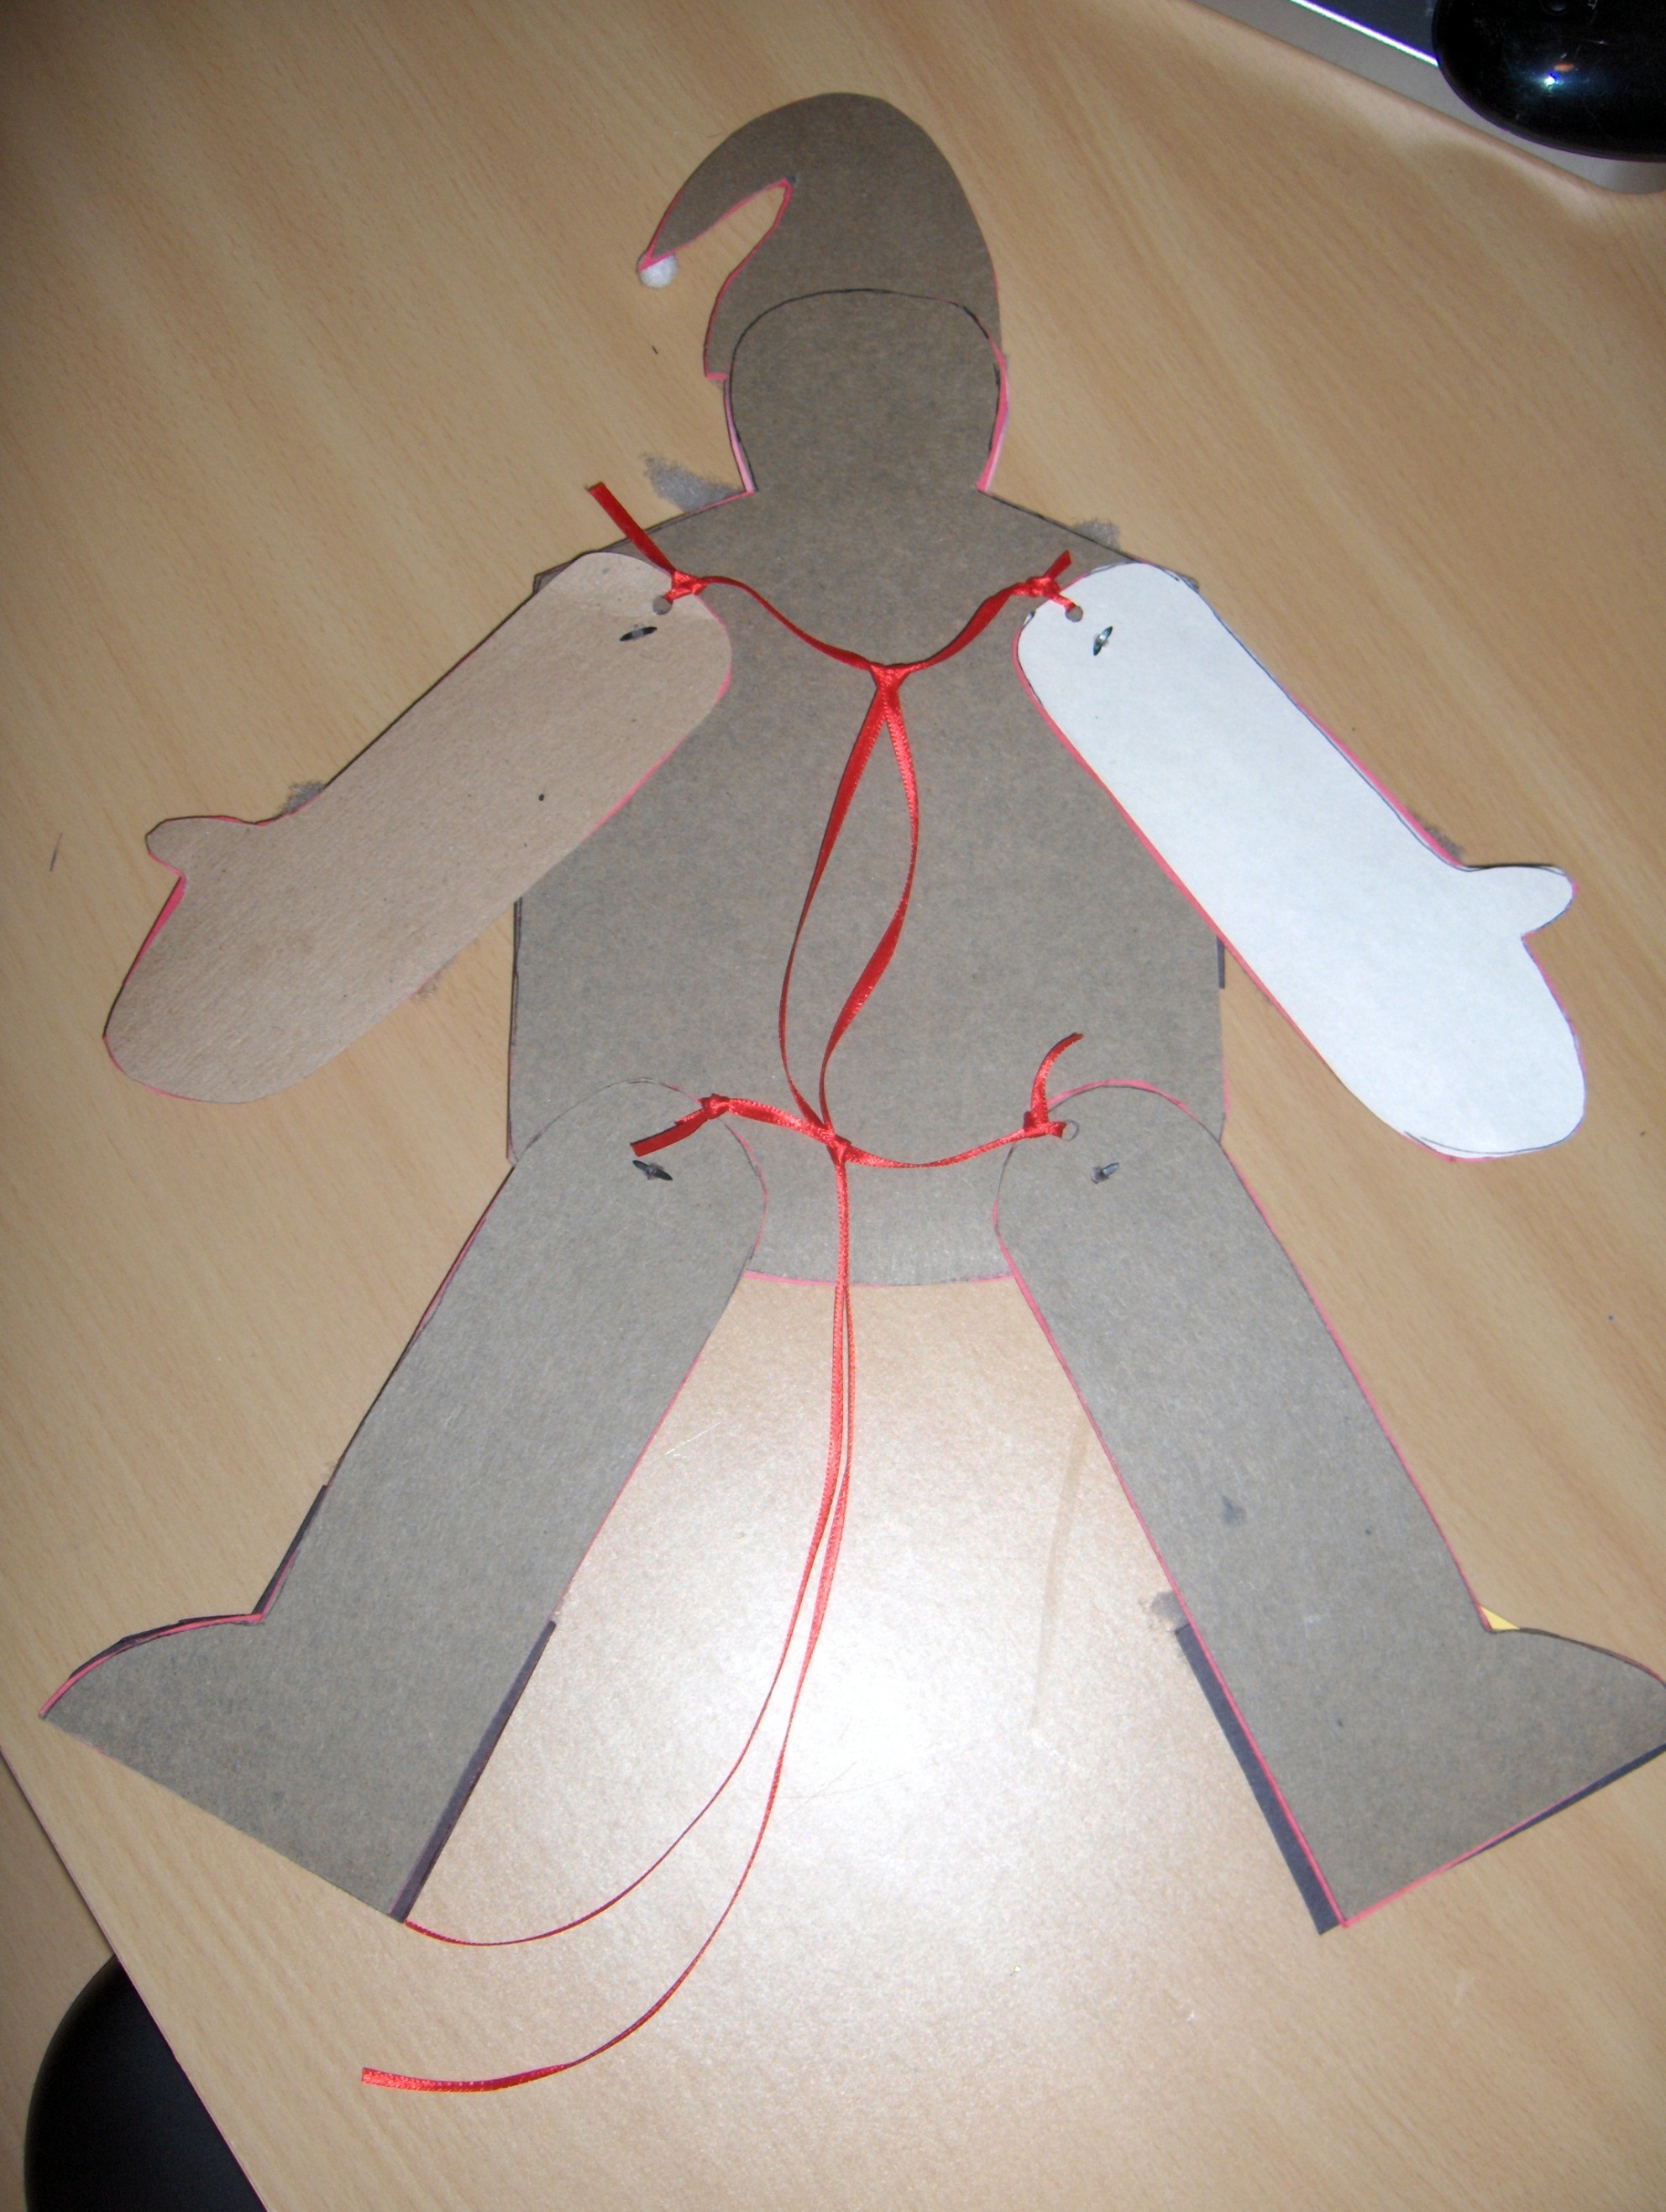
 Note that when you attach the arms and legs to the body they need to be attached to the back of the body not the front or you can’t tie on the strings that make him jump. Also, you can see on the upper arms of the gingerbread man, he has some white trim that looks like rick rack. I found this was not the best spot to place any kind of trim, especially something somewhat thick like fun foam because on occasion it will catch on his body when you try to make him jump. Trim like that should be lower on his arms and legs so as not to interfere with the moving parts. Finally, it’s important to punch the holes for the strings pretty much right at the center of the tops of his arms and legs. Too far over to one side or the other will prevent the correct jumping movement from occurring.
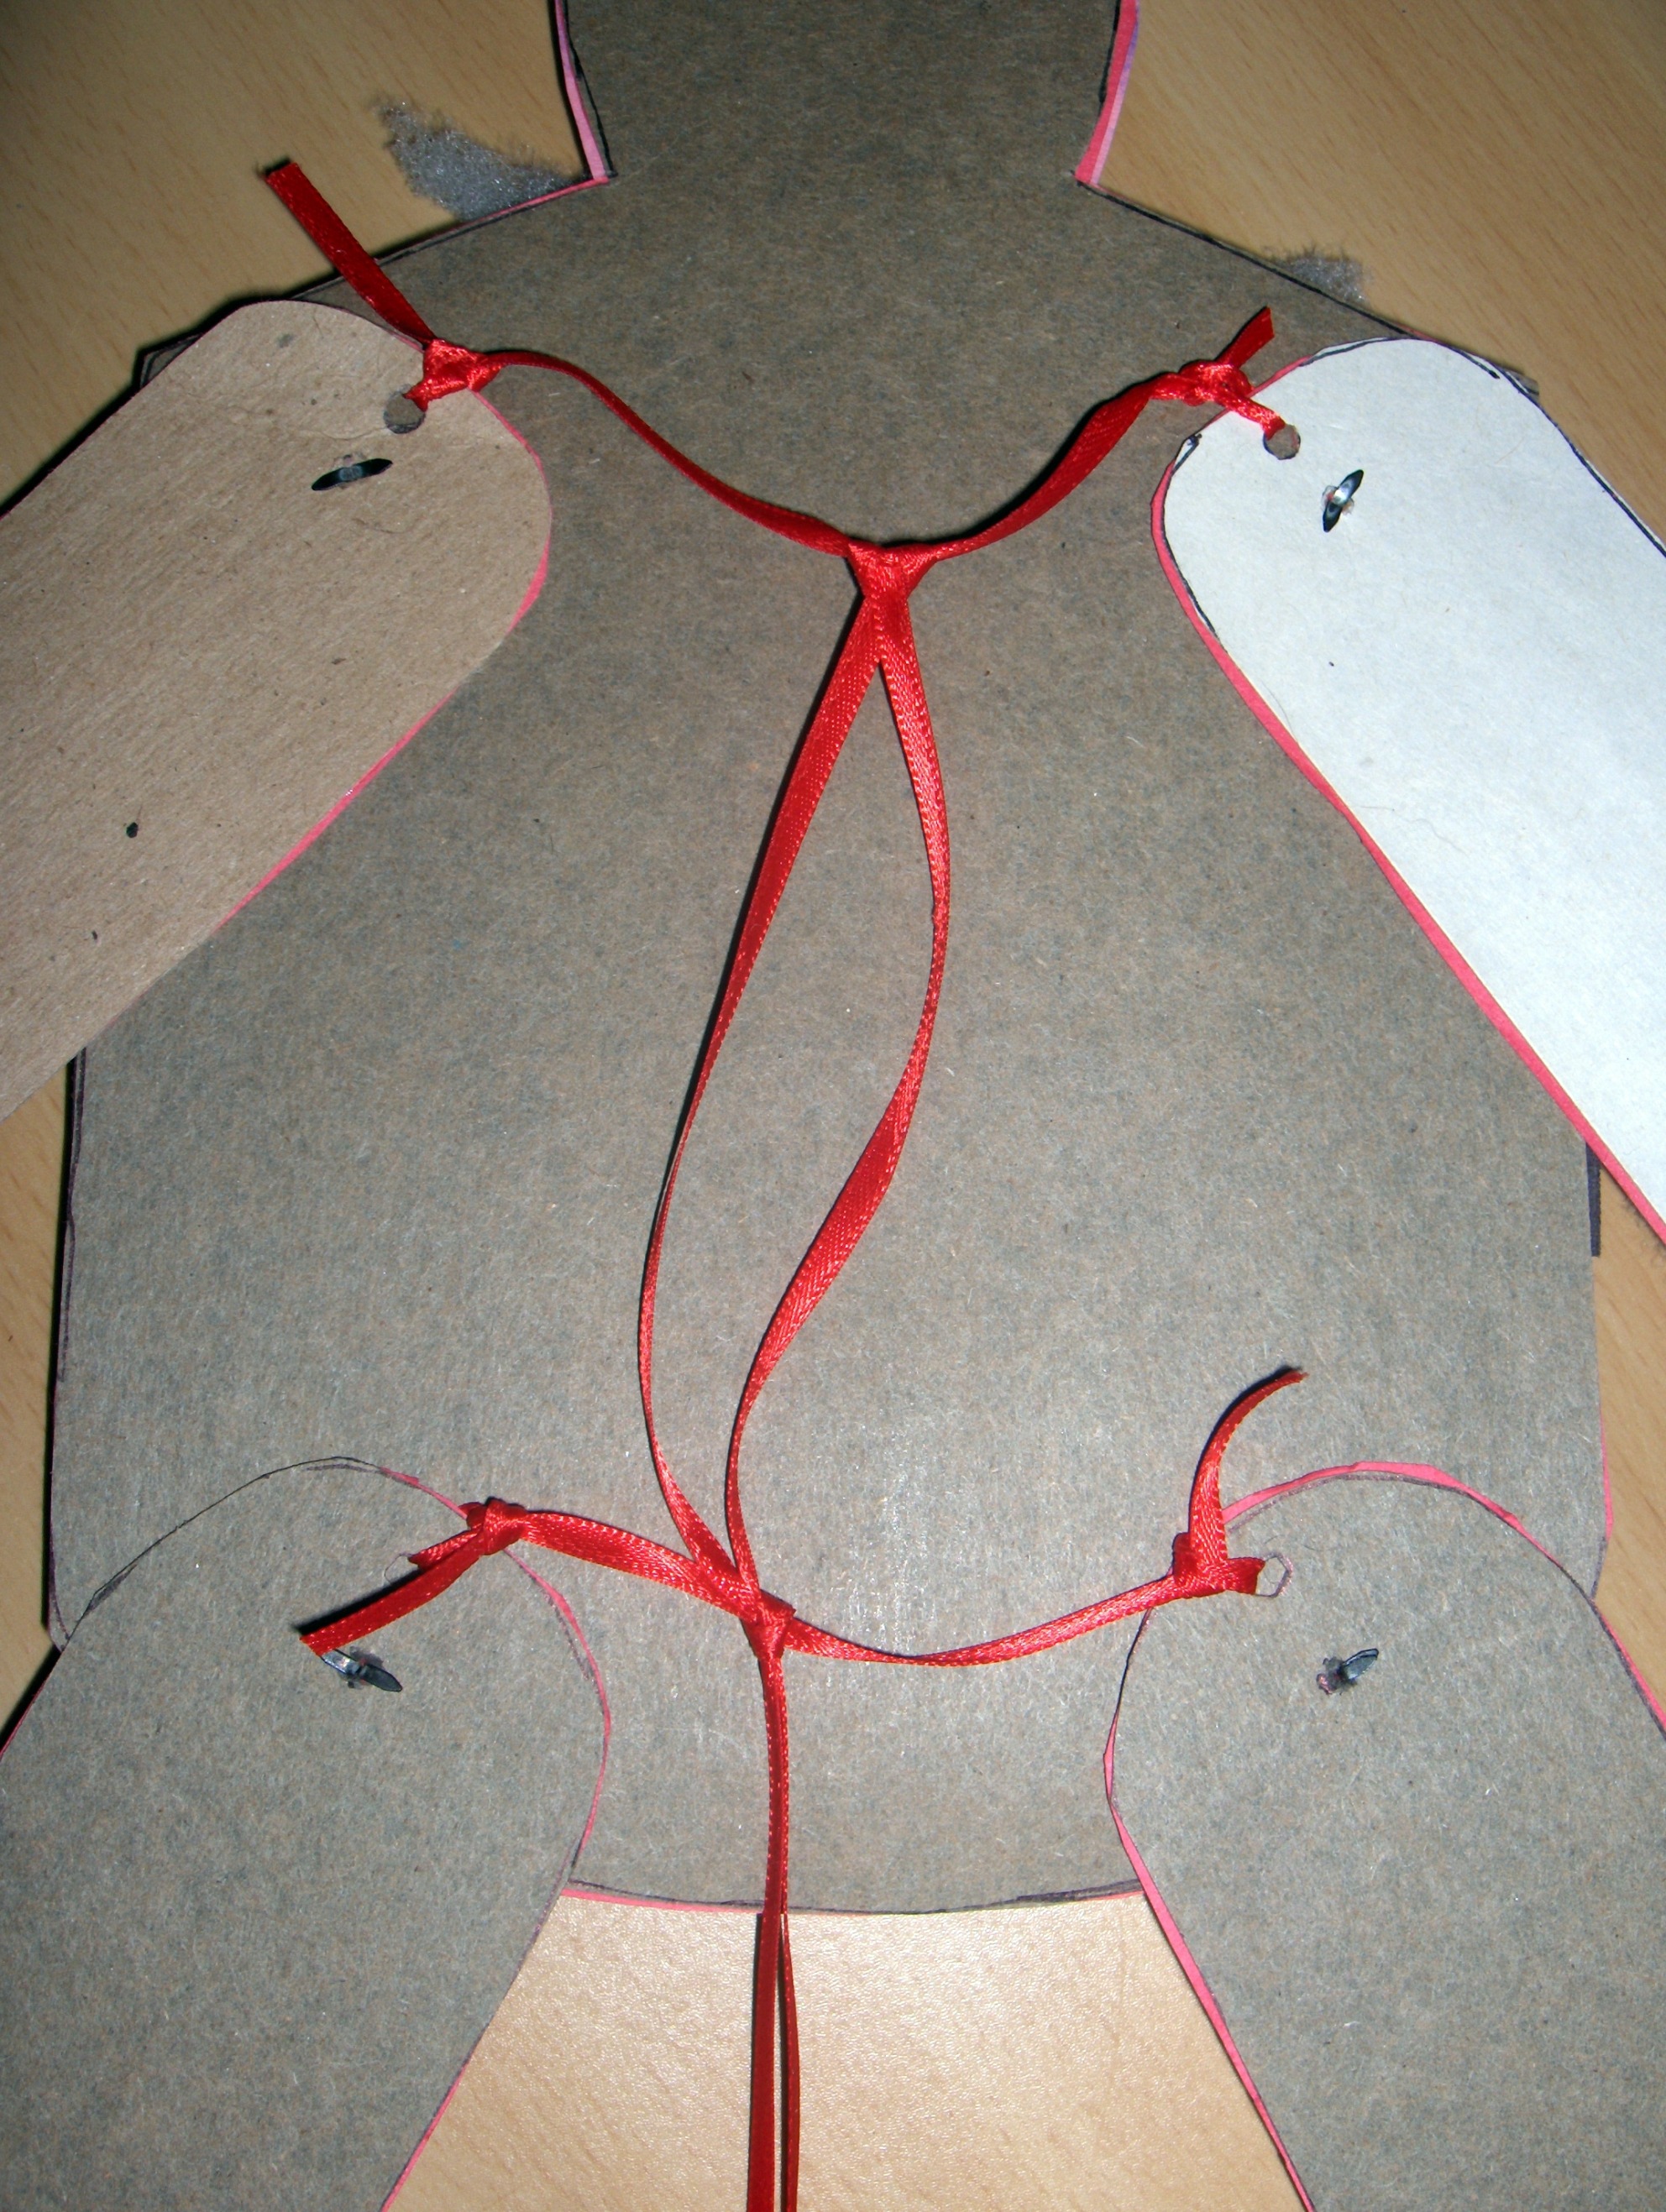
When it came to tying the strings (or in this case ribbons) on to make the figure jump, I found some other important tips. Before you begin to tie the strings on, the arms and legs should be in the up position (the way they would be when jumping). If you try to tie them together in the down position they won’t have enough slack to be able to jump. When you do tie them, you want them to be relatively snug with just a little slack – too much slack and they won’t be able to jump either. You have to tie the arms to each other, the legs to each other, and then tie those two ribbons together. At first, when tying the arms to each other, I was trying to use one continuous piece of ribbon and tying it in the middle. That didn’t work well. As you can see in the picture, I found it was much better to tie one end of the ribbon to one arm, knotting it there and then tie the other end to the other arm, knotting it there. Those knots seemed to help add strength and stability to the jumping mechanism. Do the same thing with the legs. Then take a long piece of ribbon and fold it in half. Tie that over the ribbon attaching the arms to each other and then tie it to the ribbons attaching the legs to each other and let the remainder dangle down as the pull ties that you tug on to make the figure jump. I found adding some beads to the ends of the ribbons looked cute and helped to weight them down a bit too.
Here’s the link to the playback of tonight’s show: http://www.linqto.com/PlaybackRoom.aspx?roomname=cooltocraft&name=SingleExplicit_2010_12_15_20_00_25_289
If you have any questions about making these, let me know and I’d be glad to help you!


Leave a Reply