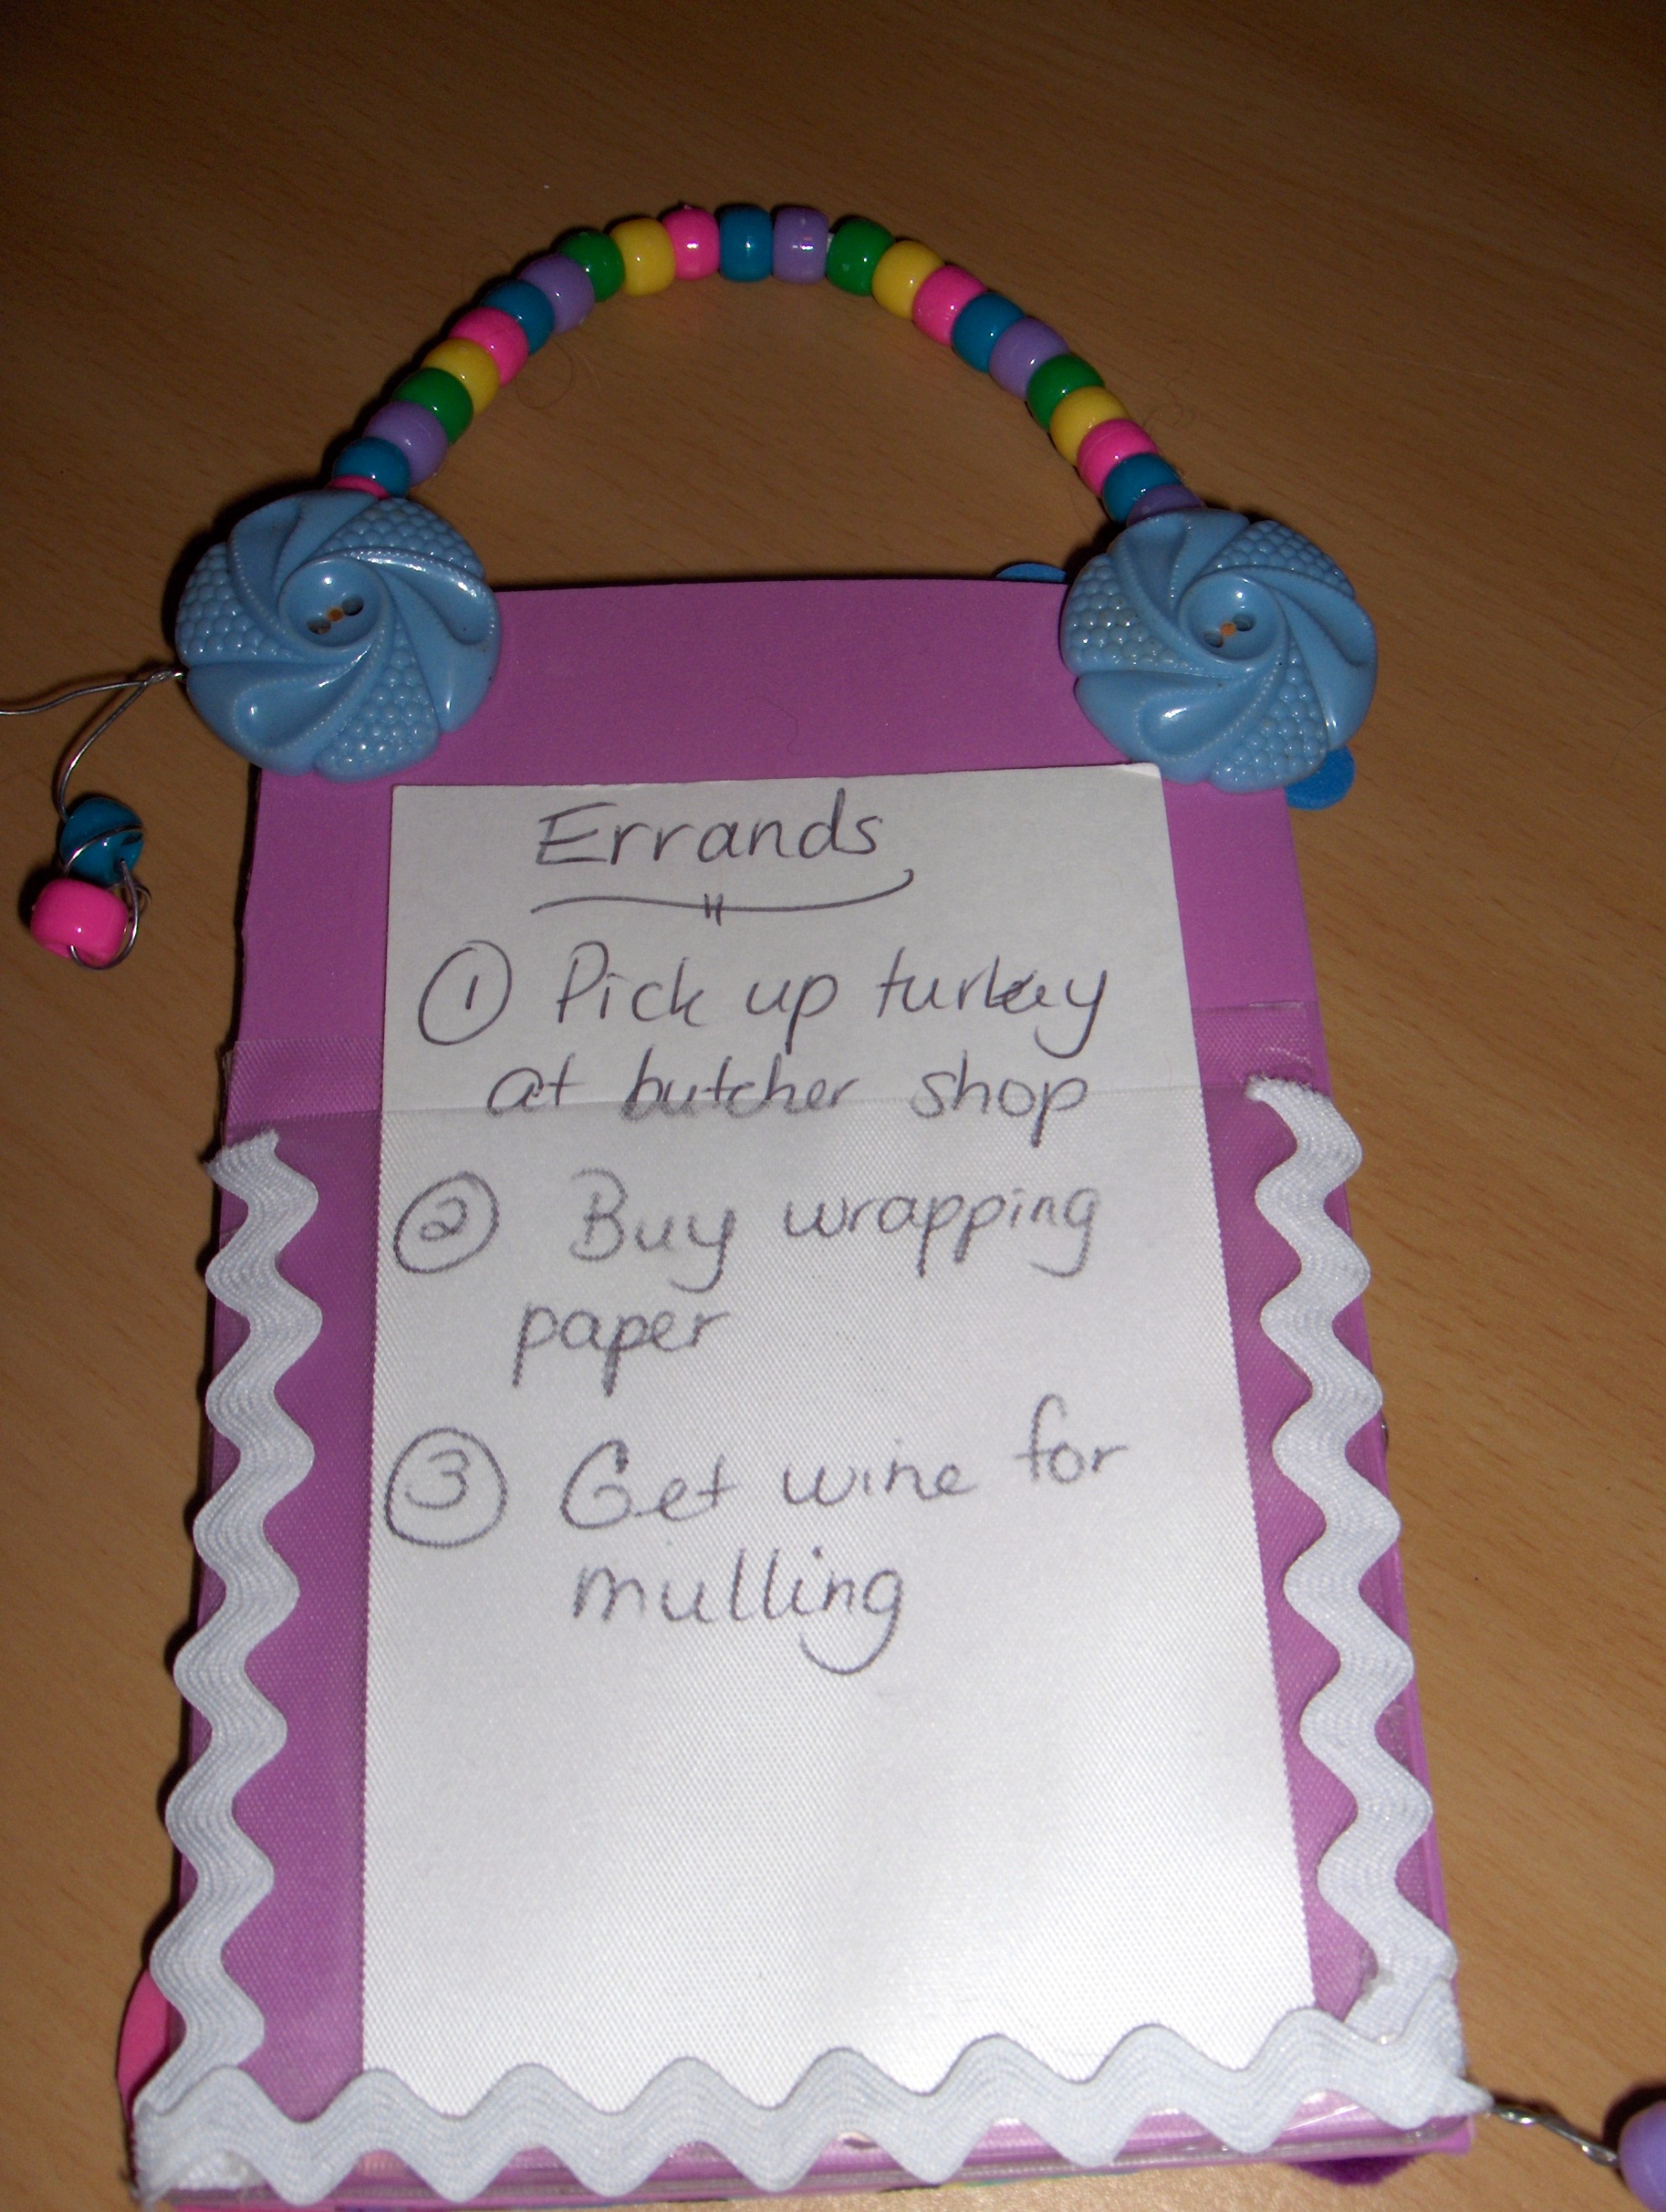
Today on Cool2Craft I showed how to make this fun and funky photo frame that serves some other purposes. Originally I made the frame to hang from the rearview mirror in your vehicle. I thought that since it takes up no more space than one of those pine tree air fresheners it would be fine (and here where I am it is) but some of the participants today told me that in their state it’s against the law to hang anything at all from their rearview mirrors. No worries – there are other ways to use this handy frame. First of all, many vehicles have other places from which you can hang something that is nowhere in your line of sight – knobs for controls and such.
Secondly, this has practical uses around the house as well. You see, the front of the frame is a place to put a photo but on the back, there’s a pocket for other uses. When I go to a parking lot, I can put my parking permit in that back pocket and hang it up so that the attendant can see it through my windshield (you could just put it onto your rearview mirror while parked and take it back down while driving if need be). Also, it’s a handy little pocket for putting a to-do list in so you can keep track of your errands while you’re out. I had my sample frame hanging up in the house and found it very handy inside as well. Hanging in my studio, it was a great place to post my project lists or ideas. Hanging from a cup hook in my kitchen, I could use the back pocket to hold a recipe card or a list of chores to be done.
This project was made with fun foam and some recycled items – the clear part to protect the photo is from one of those page protectors you use in binders. It had been damaged so I cut the piece out of it to use in this frame. The pocket on the back is one I cut from a page – again these pages were intended to go into binders to hold diskettes for my computer but since I no longer use diskettes, I wanted to find a new use for the pages. You could certainly create your own pocket by gluing around three sides of something clear – maybe the clear packaging that comes with some products. I embellished with things like pompoms, buttons, fun foam shapes, wire, beads, and so on to enhance that fun look. If you use something like Aleene’s Tacky Glue, this makes a great project for the kids to make – how about as a cute last minute Christmas gift for someone? I made mine with a glue gun and as Tiffany reminded us today, the glue from a glue gun can release in very cold or warm conditions so a combination of it and some longer lasting tacky glue will give this project permanence.
You certainly don’t have to use fun foam for this project. You can make it a little more upscale and sophisticated if you want. For example, you could take some scrap cardboard (I use old cereal boxes all the time) and use some mixed media techniques – painting and rubber stamping and collaging on it. You could also find some beautiful fabric and cover the frame with that. A while back I demonstrated how easy it is to emboss on velvet with rubber stamps – wouldn’t some embossed velvet be pretty on this? I think there are many many ways to adapt this project and make it suitable for adults and children alike.
If you’d like to see the playback of my demo and the other fantastic demo’s on today’s show, here it is:


[…] http://cynchronicity.wordpress.com/2010/12/20/cool2craft-mon-dec-202010-photo-frame/ […]