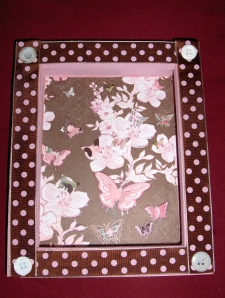
My grand-niece’s room is decorated in butterflies so since she was born I have had some fun making her some butterfly art for her room. The first one I show here was based on a design I saw quite a few months ago online somewhere. The original design showed a “flock” (don’t think that’s really the word to describe butterflies but that’s what it looked like) of butterflies all clustered together and flying up towards the sky. I went and bought two butterfly punches (two different sizes) and a bunch of scrapbooking papers in pinks and browns – the colours of the nursery. As I was looking through the papers at the store, I found several that already had butterflies on them. That’s when I decided to vary the design a bit from the original.
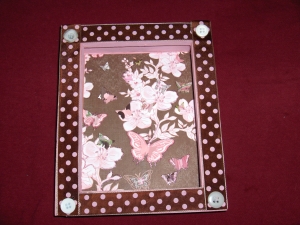
I used one of the butterfly papers as my background for the artwork. I painted a shadowbox frame but felt that the glass put too much reflection on it to see the butterflies well enough so I left that out. I found some appropriately coloured and sized ribbon and glued that to the front of the frame for interest. I later added buttons in the corners to finish it off. The picture below shows it with just the background paper added to it.
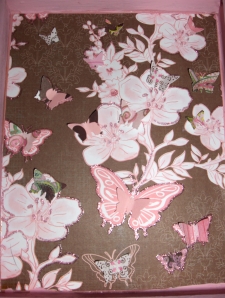
Then I used my butterfly punches and punched out a bunch of butterflies in two sizes. I used the background paper as a guide for placement of the butterflies, placing some of the ones I had punched out right on top of ones on the background butterflies and placing others randomly about. This added more depth to the original background and made it a more interesting piece. Before I glued the butterflies onto the background, I used my fingers to gently put a little bend into them so that their wings would be raised from the background, again adding a more 3D effect to it.
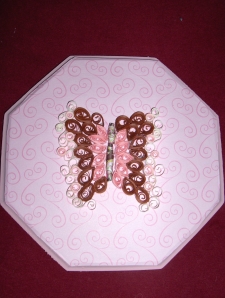
Another piece of artwork I did with the butterfly theme was to create one out of paper quilling (also known as filigree). People are always amazed when they see paper quilling for the first time because it can look so intricate. In reality, it can be quite simple to make – -it’s just that you end up working with assembling small bits together to achieve your final product so it can be a bit fiddly. Paper quilling is done with thin strips of paper that, in general, are coiled up and then formed into the shapes you need – for example, by pinching one end to make a teardrop shape or pinching both ends to make a marquise shape.
This link shows you the basic paper quilling shapes: http://www.wittyliving.com/crafts/quilling/basic_shapes.html
These shapes are then put together to form your ultimate design. There are many places online and in books to find designs for paper quilling but really, once you learn the basic shapes, I find that you can easily create your own patterns. I have used simple shapes from children’s colouring books and have even just drawn some myself. In the case of the butterfly, I found a template of a butterfly online and then just made basic quilling shapes to “fill it in”. I usually place waxed paper over my design and work on top of it. It is see-through so I can easily make out the pattern and as you glue the pieces together, the waxed paper will then simply just peel away so your design is not permanently stuck.
Links for paper quilling designs: http://www.wittyliving.com/crafts/quilling/
http://www.mypaperquilling.com/
http://www.handmade-craft-ideas.com/christmas-quilling-designs.html


LunaOrtiz says
Love all your great projects and ideas!
Luna
cydlee61 says
Thanks so much! Lots more to come!